Cho Chang (Katie Leung) sparkle tutorial in PS7
Go from this 
to this
in PS7.
Image heavy.
1. Starting with this base
I made from a picture of Cho Chang in costume at MuggleNet.com, duplicate the layer, and set the new layer to soft light, 75%.

2. Make a new layer (shift ctrl n) and taking paste this gradient
into the layer. (Or you can make it yourself - it's from the Pastels gradient set) Set it to Color - 20%.
Your icon should now look like this:

3. Duplicate the base again. Drag it to the top of the layers. Set it to Darken, 40%. Your icon should look like this:

4. Taking this texture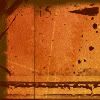
by colorfilter in a new layer, flip it horizontally and set the mode to hard light, 25%.

5. Since there's a line going through her face, I took the eraser (set at opacity: 70%, soft edged brush) and erased around her face.

6. Duplicate the base again, and drag it to the top of all the layers. Set it at Soft Light, 100%

7. Taking this gradient
by me, paste it as a new layer, set to soft light, 100%.

8. Taking another gradient
by me, paste it as a new layer, set to soft llight 100% again.

9. Taking a glitter brush from Hybrid Genesis - if you can't find it, this is the image (copy it into a new photoshop window and go to edit >> define brush.)
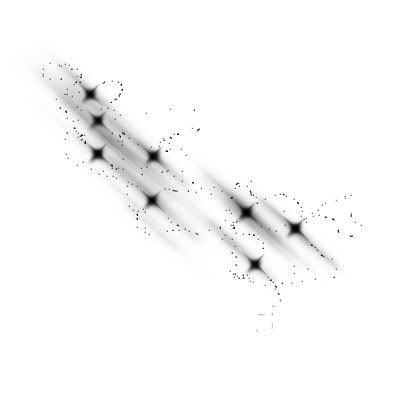
Anyway, taking that brush in white, put it into a new layer in your icon (in a corner so it doesn't obscure her face), set to soft light, 100%. Duplicate the layer twice. It should look like this...

10. Now for the text. In the font Lainie Day SH (30pt, white), I put 'cho' above the texture lines, kinda left center.
Then I put 'C H A N G' in Times New Roman (18pt, white) underneath, aligned to the right edge.

11. Since the 'C H A N G' is kind of obscured by her ravenclaw badge, I made a new layer, then moved it under the text layers. Then I took the rough round bristle brush (presets) in black and painted over the badge. If you can't find the brush or can't achieve the same effect, take this
and set it to multipy.
And this is the finished product:
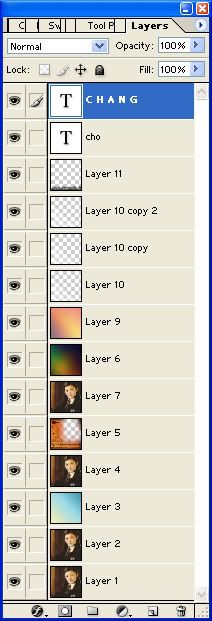
And this is what your layers palette should look like:
I hope you enjoyed the tutorial!
to this
in PS7.
Image heavy.
1. Starting with this base
I made from a picture of Cho Chang in costume at MuggleNet.com, duplicate the layer, and set the new layer to soft light, 75%.
2. Make a new layer (shift ctrl n) and taking paste this gradient
into the layer. (Or you can make it yourself - it's from the Pastels gradient set) Set it to Color - 20%.
Your icon should now look like this:
3. Duplicate the base again. Drag it to the top of the layers. Set it to Darken, 40%. Your icon should look like this:
4. Taking this texture
by colorfilter in a new layer, flip it horizontally and set the mode to hard light, 25%.
5. Since there's a line going through her face, I took the eraser (set at opacity: 70%, soft edged brush) and erased around her face.
6. Duplicate the base again, and drag it to the top of all the layers. Set it at Soft Light, 100%
7. Taking this gradient
by me, paste it as a new layer, set to soft light, 100%.
8. Taking another gradient
by me, paste it as a new layer, set to soft llight 100% again.
9. Taking a glitter brush from Hybrid Genesis - if you can't find it, this is the image (copy it into a new photoshop window and go to edit >> define brush.)
Anyway, taking that brush in white, put it into a new layer in your icon (in a corner so it doesn't obscure her face), set to soft light, 100%. Duplicate the layer twice. It should look like this...
10. Now for the text. In the font Lainie Day SH (30pt, white), I put 'cho' above the texture lines, kinda left center.
Then I put 'C H A N G' in Times New Roman (18pt, white) underneath, aligned to the right edge.
11. Since the 'C H A N G' is kind of obscured by her ravenclaw badge, I made a new layer, then moved it under the text layers. Then I took the rough round bristle brush (presets) in black and painted over the badge. If you can't find the brush or can't achieve the same effect, take this
and set it to multipy.
And this is the finished product:
And this is what your layers palette should look like:
I hope you enjoyed the tutorial!