Raining effect tutorial - Photoshop & Image ready
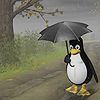
People have asked me how I made this icon:-
But I totally deleted the photoshop file ;) So, for the purposes of making a tutorial I made this random icon:-
I use PSCS and used image ready to animate it, so I have no idea if it would work in PSP, sorry!
This is actually really easy ;) Firstly, in Photoshop, make your 100x100 base.
1)
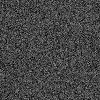
Next, create a new layer and flood fill it with a grey type colour. In my penguin icon I have used #464646 but any grey colour will do. The shade of grey will effect how the rain looks.
2)

Go to Filter > Noise > Add noise.
3)
Next go to Filter > Blur > Motion Blur. I set the motion blur at Angle -43, distance 10 pixels, but set it at whatever angle you want the rain to be. Set this layer to screen.
4)
Duplicate the layer we just made. Free transform (ctrl - t) and rotate the image by 180 degrees. Set this layer to screen as well.
5)

Duplicate layer 1 (your base) and drag it to the top of the layer palette. Set it to soft light. Your layer palette now looks like this:-
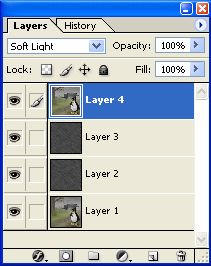
Switch to Image Ready. In the animation window, duplicate the current frame so you end up with this:-
6)

Set the delay to 0.1 seconds for each frame. Now, select frame 1 in the animation window. In the layer palette all they layers will be visible. Hide layer 3 (click on the eye) so the layer palette looks like this:-
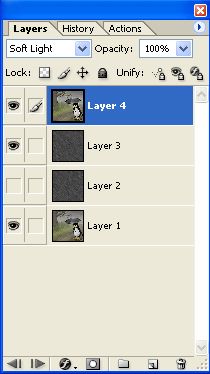
7)
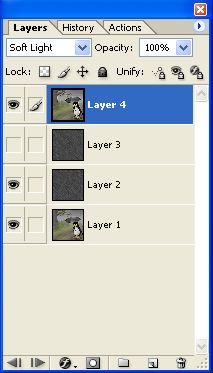
Now select frame 2 in the animation window. Make frame 3 visible again and hide frame 2. Palette looks like this:-
8)
Hit play and there you have it! Raining on an icon :D To save for the web, just go to Save Optimised As. I went back to photoshop and added text to mine but you don't have to. In the original Locke icon I added a couple of little twiddly bits for effect as well. Customise as you will!
I hope this was helpful!
~ Lexy xx