Threshold Bleeding Tutorial
This is my second tutorial! yay :p anyway, if anything is unclear or you have any questions or another tutorial to request, just go ahead and ask :D
go from this to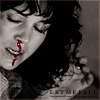
EDIT: forgot to say: made this using PS CS2 :D
I started out with this image:
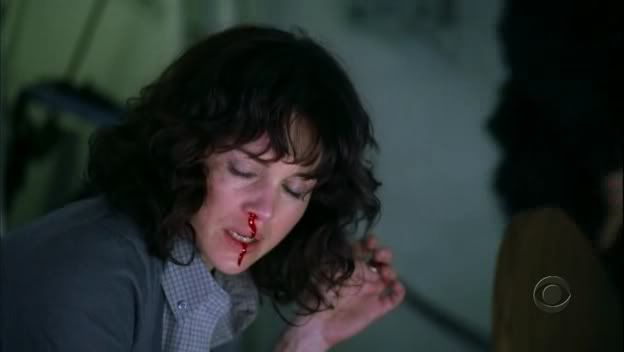
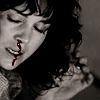
and cropped it down and shrunk it to 100x100 to get this base:
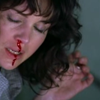
now, on with the tut :D
Step 1:
I sharpened the base once, went in on zoom with the blur tool (at 15%) to smooth her skin and any other obvious pixelation, then went over eyes, hair, eyebrows, lips, and the blood with the sharpen tool (at 10%).
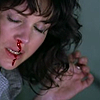
Then I duplicated this layer (important!! keep your improved/still saturated base for a later step!!) and desaturated the image to get my new base.
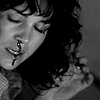
Step 2:
Duplicate the base layer and set to screen 100%.
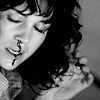
Step 3:
Add a brown flood-fill layer (i used #4f311f) and set to darken 30%.

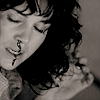
Step 4:
Duplicate the base again, put on top of everything, and set to soft light 100%
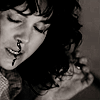
Step 5:
This step may look a bit special, but i swear it's easy :P
Take the ORIGINAL improved base (the one that's still colored that I told ya to save?? this is why :p)
Erase everything BUT the blood (or whatever splash of color you choose to keep in your image) using an a small round eraser brush.

Now set the layer to overlay 100%. I set it to overlay because it looked the most blood-like in my opinion, but depending on what you are highlighting in your image, other blend modes may work better :D
Step 6:
Just finishing off the icon, I added some text "let me fall" in times new roman at 8pt bold and then some random tiny text underneath it... both were a SUPER dark grey, almost black, and set to hard light 100%

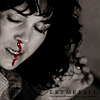
Then I added a 1px border (#afa5a1) at hard light 100%... I added it just below the brown fill layer to give it some color and depth, but you can add it pretty much wherever you want.

And now you're done:

In case you lost track, this is what the layers should look like :D

Hope you enjoy the tut, and I'd LOVE to see what you guys come up with :D
go from this to

EDIT: forgot to say: made this using PS CS2 :D
I started out with this image:

and cropped it down and shrunk it to 100x100 to get this base:

now, on with the tut :D
Step 1:
I sharpened the base once, went in on zoom with the blur tool (at 15%) to smooth her skin and any other obvious pixelation, then went over eyes, hair, eyebrows, lips, and the blood with the sharpen tool (at 10%).

Then I duplicated this layer (important!! keep your improved/still saturated base for a later step!!) and desaturated the image to get my new base.

Step 2:
Duplicate the base layer and set to screen 100%.

Step 3:
Add a brown flood-fill layer (i used #4f311f) and set to darken 30%.


Step 4:
Duplicate the base again, put on top of everything, and set to soft light 100%

Step 5:
This step may look a bit special, but i swear it's easy :P
Take the ORIGINAL improved base (the one that's still colored that I told ya to save?? this is why :p)
Erase everything BUT the blood (or whatever splash of color you choose to keep in your image) using an a small round eraser brush.

Now set the layer to overlay 100%. I set it to overlay because it looked the most blood-like in my opinion, but depending on what you are highlighting in your image, other blend modes may work better :D

Step 6:
Just finishing off the icon, I added some text "let me fall" in times new roman at 8pt bold and then some random tiny text underneath it... both were a SUPER dark grey, almost black, and set to hard light 100%


Then I added a 1px border (#afa5a1) at hard light 100%... I added it just below the brown fill layer to give it some color and depth, but you can add it pretty much wherever you want.

And now you're done:

In case you lost track, this is what the layers should look like :D

Hope you enjoy the tut, and I'd LOVE to see what you guys come up with :D