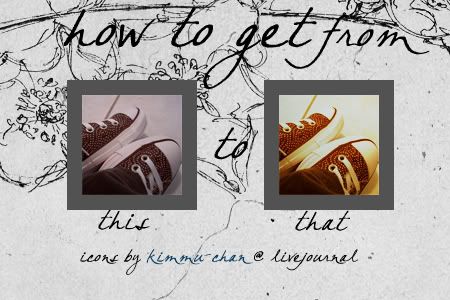
Chucks tutorial

Steps: 5
Program: Photoshop CS2
Easy
1. Crop your base. This tutorial works better with sort of dark or gray-tinted images. Of course, you could always experiment. I used this:

2. It sounds odd right now, but it makes sense later on, but I added a Color Fill layer and used #d5d5d4 and set it to Multiply with the Opacity: 100% So, it should turn out darker like this:

3. This next step will darken the image even further, but it gives it a nice vintage tinge to it. I added a Curves layer with the following settings:
RGB:
- Point One = Input: 106 Output: 58
- Point Two = Input: 199 Output: 194
RED:
- Point One = Input: 49 Output: 87
- Point Two = Input: 181 Output: 175
BLUE:
- Point One = Input: 90 Output: 43
- Point Two = Input: 188 Output: 194
After that, it should turn out something like this:

4. Finally, we come out of the dark ages ha-ha, I crack myself up... and now it's time to make the image brighter. YAY! (< Anywho, this next step involves a very simple Color Fill using #cdfdff and setting it to Soft Light with the Opacity: 100% It makes the image much brighter still maintaining a vintage feel, like this:

Now you could stop here, or proceed to the otherwise last step.
5. Last step! All you have to do is Ctrl+Shift+N to create a New Layer. Using the Gradient Tool, (make sure your foreground color is white) setting it to Linear Gradient, start from the top right corner to the bottom left corner. Change the layer to Overlay with the Opacity: 63%.

And you're DONE! Oh happy days...
Other examples:


Remember, experimenting is always good! Comments and feedback are also awesome :DDD
Click HERE to download the PSD.