017
Learn how to go from 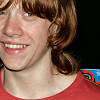
to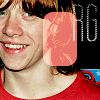
by using Photoshop 6.0, however I'm sure that it's translatable to other programs.
Start off with this image
.
Sharpen, play with settings, etc.
Duplicate, and set to screen. You should have something like this now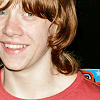
.
Create a new layer and fill with
(#A4E0F4). Set it to Color Burn at 100%.
You should now have something similar to this
New layer. Fill with this
(#05040C). Set to Exculsion at 100%.
You should now have something similar to this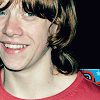
.
Create new layer. Fill with this
(#F4C4BA). Set to Color Burn at 100%.
You should now have something like
.
Okay, now on this part, there have been a lot of questions bouncing around on how to get this affect. I'm going to be nice, and share. :P
Directly underneath, the Type Tool (The T), there is a little square tool (
). Click on it.
Now, up at the top, there are going to be loads of options for you to choose from. It should look like this
.
I select the one that says Rounded Rectangle Tool.
I go to my icon, and select a portion of it, and fill it with #E9746B.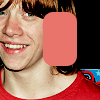
I didn't really like how it looked, so I set it to screen. Which leaves you with this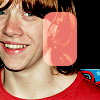
.
I select the Type Tool, then I select Labtop Candy at size 48. I type in RG.
You should end up with something similar to this
.
Your layers should look like this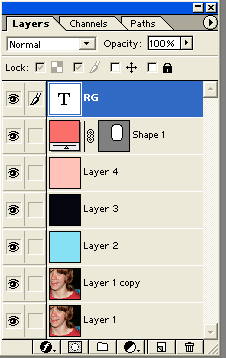
.
Please do not copy this tutorial word for word, make it your own! I would love to see the results that you got from this tutorial!
Memories, Resources, FAQ, Join, Suggestions, Requests, etc.