SGA Tut- with Curves!! *shockgasp*
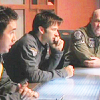
Go from this cap to 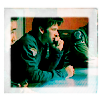
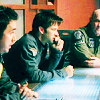
1. Take this cap from Signe. Resize and crop.

2. Dupilcate twice, set both copies to screen 100%.
3. Duplicate again, set to soft light 100%.
4. Layers>>New Adjustment Layer>>Hue/Saturation/Lightess. Only change the Saturation to 22.
5. Layers>>New Raster Layer. Fill with a light blue, set to burn 100%.
6. Layers>>New Raster Layer. Fill with a light orangey tan color set to Soft Light 50%.
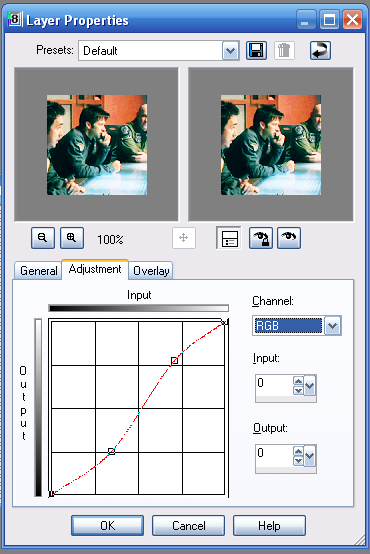
7. Layers>>New Adjustment Layer>>Curves (which can be your best friend if used correctly!!). See this. Basically, what I do with curves is just mess around with the settings slightly.
8. Layers>>New Raster Layer. Fill with bright neon green set to burn 18%.
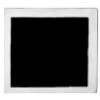
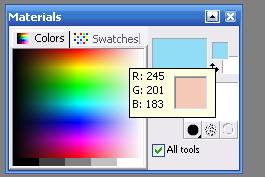
9. Layers>>New Raster Layer. Fill with a very dull reddish-pinky color, like the color shown in the box here. Set to Multiply 100%.
10. Duplicate step 5's layer and bring above step 9's layer; set to 100% burn.
11. Add this brush and set to screen 100%. If you know who made it, please say!!
Add text, etc. I'd loooovve to see what you do with it.
1. Take this cap from Signe. Resize and crop.
2. Dupilcate twice, set both copies to screen 100%.
3. Duplicate again, set to soft light 100%.
4. Layers>>New Adjustment Layer>>Hue/Saturation/Lightess. Only change the Saturation to 22.
5. Layers>>New Raster Layer. Fill with a light blue, set to burn 100%.
6. Layers>>New Raster Layer. Fill with a light orangey tan color set to Soft Light 50%.
7. Layers>>New Adjustment Layer>>Curves (which can be your best friend if used correctly!!). See this. Basically, what I do with curves is just mess around with the settings slightly.
8. Layers>>New Raster Layer. Fill with bright neon green set to burn 18%.
9. Layers>>New Raster Layer. Fill with a very dull reddish-pinky color, like the color shown in the box here. Set to Multiply 100%.
10. Duplicate step 5's layer and bring above step 9's layer; set to 100% burn.
11. Add this brush and set to screen 100%. If you know who made it, please say!!
Add text, etc. I'd loooovve to see what you do with it.