Tutorial: Tami Taylor (FNL)
Here's a tutorial for killparanoia!
Really simple, but really effective with FNL caps.
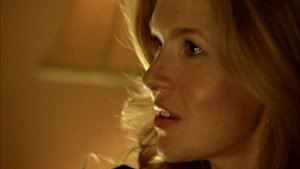
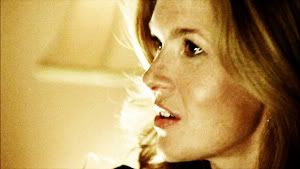
First, take your cap. Here's mine, from my own FNL screencaps gallery :) I resized it to 300 pixels wide, because it works better.
Here's my base:

We want to lighten the base, and remove some of that yellow/brightness the FNL caps have. So, duplicate your base 4 times, and set them ALL to screen. Then, I desaturate the last 3 layers (CTRL+ SHIFT + U). That's my result for now:
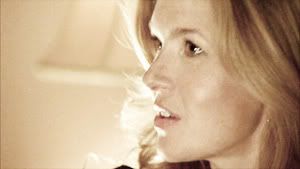
It's missing some punch, right? Well, the Curves tool will help add some more subtle contrast. Layer --> New Adjustement Layer --> Curves. In the RGB channel, add a point to In: 24 Out:18, and another one to In: 39 Out: 43. See? It's already so much better. Your curves palette should look like this.
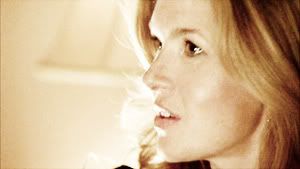
So we removed too much yellow. I like my coloring darker, so that's what we're gonna do. Duplicate your BASE, set it on top, and set it to Soft Light. Now the colors really pop out.
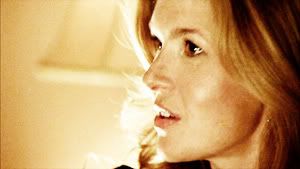
I don't like that red coloring too much. So we're gonna remove some of it, using Color Balance. Layer --> New Adjustement Layer --> Color Balance. Make sure it's set to "Midtones" and that the box at the bottom is checked. Set it to -35, +8, +1. Result:
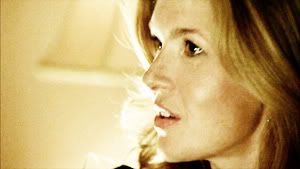
I want to add a LITTLE bit more contrast and make the coloring a bit more darker, this time, using my favorite tool, the Levels tool. Layer --> New Adjustement Layer --> Levels. Set it to 0 - 0,76 - 255. There there:
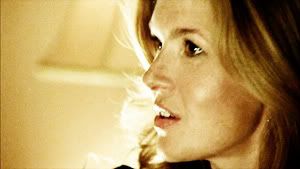
I want her lips and some of her face features to be more noticeable. This step is not necessary (well, like a lot of the steps in that tut!) but I'm gonna do it anyway. Make a new Selective Color layer. Layer --> New Adjustement Layer --> Selective Color. In the REDS, increase the BLACK to +40. And that should do it! :D

A pretty and simple coloring. Who knew some desaturated screen and some soft light layers could do the trick?
Some other examples where I used that coloring:



That's it! Hope you enjoyed this tutorial!