Requested tutorial.
Please note that this tutorial is meant to inspire, NOT to be copied step by step when making your own icons to share. Thank you. :)
Also know that I use Paint Shop Pro 7, and that if you have a paint program other than this, there will be slight variations to these steps that you will have to take.
First, the pic that I cropped:
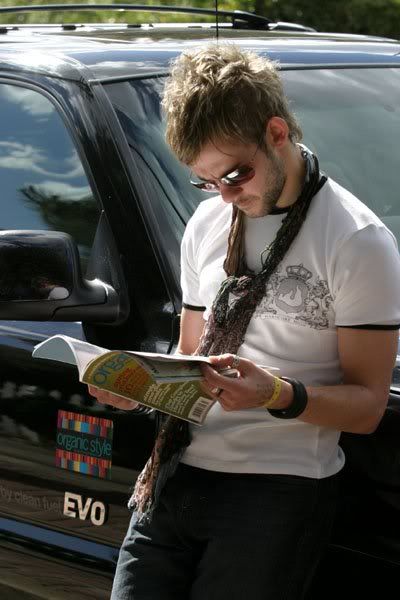
XD
Go to Layers > Duplicate, then Layers > Properties, Blend Mode to Screen; at 95% Opacity. Go to Effects > Sharpen > Sharpen, then do it again. Hit Layers > Merge > Merge All (Flatten), so you can work with the whole pic. Then I made a 5 px line on the right side with the Line tool, and the color #F5E9C7:

I rearranged it by cutting out a rectangular selection from the right, moving the leftover cap to the right, and then pasting back the selection into the left:

Now, go to Layers > New Raster Layer, Blend Mode to Multiply @ 100% Opacity, and make the color #E0CCB4. Use the Flood Fill tool @ 40%. Then do the exact same thing except with the Blend Mode in Overlay, and you get this:

Before merging, I used this texture from booster_rocket (just flipped it over):
So now it's a bit more darkened at the bottom:

Make a new layer in Hard Light mode, with this gradient:

Fill it in with Flood Fill @ 25%. Merge the layers. Click Colors > Adjust > Color Balance.
Shadows: -35 -3 40
Midtones: 61 66 60
Highlights: 70 74 56 to get:

Then I took a selection and went to Effects > 3D Effects > Drop Shadow and put Offset V and H to 1, Color to black, Opactity to 35 and Blur to 3.7:
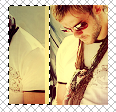
Now comes teh_indy tape brush. I made a new layer, then went to Image > Rotate, 90 degrees to the right, and stamped it in with a pale yellow color:
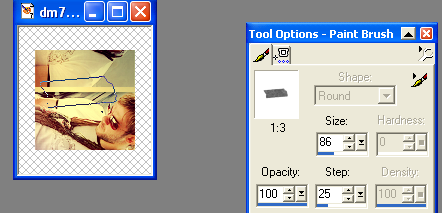
Sharpen the tape twice, then select it and make a drop shadow. Merge and rotate the icon back to the left again:
It looks like I did some more work with the black/yellow gradient coloring on the bottom as well, probably some more Hard Light stuff. And then of course, my lil text stamp in the corner. So there you have it. :)