Tutorial: Vanessa Hudgens

to

Made in PSCS2, involves selective coloring
My first tutorial here. Wow. So exciting. Okay, so let's make Vanessa pretty, not that she isn't already, but let's make her flawless. :D
Step One
Don't crop your base. I like to do everything in the original picture and then crop, but that's totally up to you. Just make sure you have your image in the position you want it in.
Here's my Base
Step Two
Duplicate your base and set it to to Screen

Step Three
Add in your first selective coloring layer. Layer - New Adjustment Layer - Selective Coloring.
Reds
Cyan -100
Yellow +100
Yellow
Cyan +100
Yellow -100
Green
Cyan -56
Magenta +20
Yellow +77
Black +57
Cyan
Cyan +82
Magenta +100
Yellow -60
Black -50
Blue
Cyan -98
Magenta +46
Yellow +100
Black +100
Magenta
Cyan -87
Yellow +95
Black +29
Neutral
Cyan +94
Magenta +22
Yellow +38
Black +9
Black
Black +85
Step Four
Duplicate your screen layer and bring it up above the selective coloring. Set this layer to Soft Light

Step Five
Copy & Merge everything. Don't flatten! Absolutely do not flatten. It screws everything up. Go to edit - copy merged. edit - paste.
Step Six
Add in another selective coloring layer.
Reds
Cyan -100
Yellow +100
Yellow
Cyan -14
Yellow -34
Neutral
Cyan +30
Yellow -39
Duplicate the Selective Coloring Again. Set this one to Hue

>
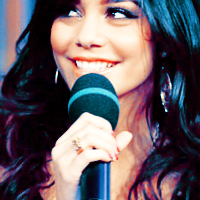
You could leave it like that if you wanted and just resize it down to 100x100. Or...you could go on...
Step Seven
Copy and Merge again. (See Step 5) Duplicate this layer. Now, go to your variations palatte. Image - Adjustments - Variations. Add in your choice colors. I went with one purple and one red and ended up with this:
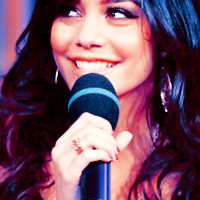
And viola! We're done:

Other examples: