Tutorial (34)
Request by dyaoka!
Make
from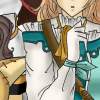
using PSP8. May not be translatable. Include Curves and is image heavy!
Icon fanart is by chibi_vee, do not use without her permission.
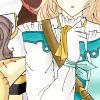
Sharpen base if need be. Duplicate base and bring to the top. Set to screen 100%.

=
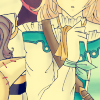
Set #000848 to exclusion 100%

=
Duplicate base and bring to the top. Set to softlight 100%.

=
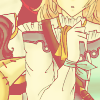
Set #C4565B to lighten 100%

=
Set #56BBC4 to overlay 50%

=
Duplicate base and bring to the top. Set to softlight 100%.

=
Set #46D33B to burn 22%

=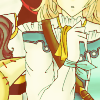
Set #9BA8EB to softlight 60%

=
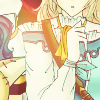
Paste this texture (by colorfilter) and set it to screen 100%. Move around to your liking.
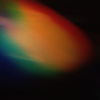
=
Paste this texture (by fuyuno) and set it to screen 100%. Move around to your liking.
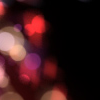
=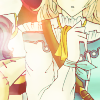
Duplicate base and bring to the top. Set to burn 50%. Go to Colors > Adjust > Hue/Saturation/Lightness. Set saturation to -100.

=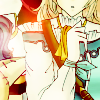
Go to Layers > New Adjustment Layer > Hue/Saturation/Lightness. Set saturation to 33.
=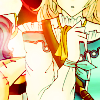
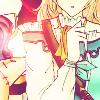
Go to Layers > New Adjustment Layer > Curves. Set RPG input to 55 and output to 55, Red input to 85 and output to 132, and Blue input to 68 and output to 119. Set this layer to normal 80%.
=
Paste this texture (by ?) and set it to screen 100%.
=
Play around with the opacity if your icon is too dark or too light. Please don't copy exactly. Thanks for reading :)
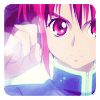
Icons made using this tutorial
Like what you see? Why don't you friend us!
Make

from

using PSP8. May not be translatable. Include Curves and is image heavy!
Icon fanart is by chibi_vee, do not use without her permission.
Sharpen base if need be. Duplicate base and bring to the top. Set to screen 100%.

=

Set #000848 to exclusion 100%

=

Duplicate base and bring to the top. Set to softlight 100%.

=

Set #C4565B to lighten 100%

=

Set #56BBC4 to overlay 50%

=

Duplicate base and bring to the top. Set to softlight 100%.

=

Set #46D33B to burn 22%

=

Set #9BA8EB to softlight 60%

=

Paste this texture (by colorfilter) and set it to screen 100%. Move around to your liking.

=

Paste this texture (by fuyuno) and set it to screen 100%. Move around to your liking.

=

Duplicate base and bring to the top. Set to burn 50%. Go to Colors > Adjust > Hue/Saturation/Lightness. Set saturation to -100.

=

Go to Layers > New Adjustment Layer > Hue/Saturation/Lightness. Set saturation to 33.

=

Go to Layers > New Adjustment Layer > Curves. Set RPG input to 55 and output to 55, Red input to 85 and output to 132, and Blue input to 68 and output to 119. Set this layer to normal 80%.

=

Paste this texture (by ?) and set it to screen 100%.

=

Play around with the opacity if your icon is too dark or too light. Please don't copy exactly. Thanks for reading :)
Icons made using this tutorial


Like what you see? Why don't you friend us!