Tutorial (33)
Request by maiki!
Make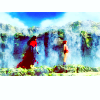
from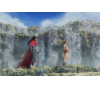
using PSP8. Translatable. Slightly image heavy!
Original coloring: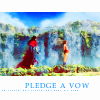
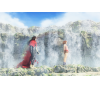
Sharpen base if need be. Duplicate base and bring to the top. Set to screen 100%.

=
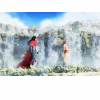
Duplicate base and bring to the top. Set to softlight 100%.

=
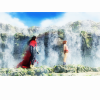
Duplicate base and bring to the top. Set to softlight 100%. Go to Effects > Blur > Gaussian Blur, and set radius to 2.00.
=
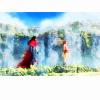
Go to Layers > New Adjustment Layer > Hue/Saturation/Lightness. Set saturation to 52.
=
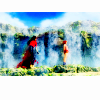
Duplicate base and bring to the top. Set to burn 40%.

=
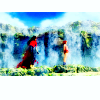
Go to Layers > New Adjustment Layer > Color Balance. Set midtones cyan to -14, midtones burn to 14, shadows blue to 8, and shadows cyan to -10.
=
Paste this texture (by me) and set it to lighten 68%. Move around to your liking.

=
Play around with the opacity if your icon is too dark or too light. Please don't copy exactly. Thanks for reading :)
Icons made using this tutorial
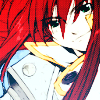
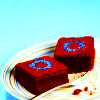
Like what you see? Why don't you friend us!
Make

from

using PSP8. Translatable. Slightly image heavy!
Original coloring:

Sharpen base if need be. Duplicate base and bring to the top. Set to screen 100%.

=

Duplicate base and bring to the top. Set to softlight 100%.

=

Duplicate base and bring to the top. Set to softlight 100%. Go to Effects > Blur > Gaussian Blur, and set radius to 2.00.

=

Go to Layers > New Adjustment Layer > Hue/Saturation/Lightness. Set saturation to 52.

=

Duplicate base and bring to the top. Set to burn 40%.

=

Go to Layers > New Adjustment Layer > Color Balance. Set midtones cyan to -14, midtones burn to 14, shadows blue to 8, and shadows cyan to -10.

=

Paste this texture (by me) and set it to lighten 68%. Move around to your liking.

=

Play around with the opacity if your icon is too dark or too light. Please don't copy exactly. Thanks for reading :)
Icons made using this tutorial


Like what you see? Why don't you friend us!