Tutorial (32)
Request by physicer!
Make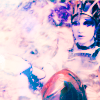
from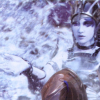
using PSP8. Translatable. Image heavy!
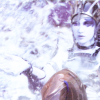
Sharpen base if need be. Duplicate base and bring to the top. Set to screen 100%.

=
From here, we follow this tutorial, with a few variations.
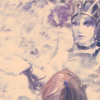
Set #003663 to exclusion 70%.

=
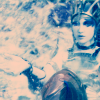
Set #6DCFF6 to burn 100%.

=
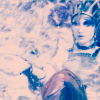
Set #F49AC1 to softlight 100%.

=
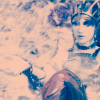
Set #FDC689 to multiply 30%.

=
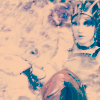
Set #E7A076 to softlight 100%.

=
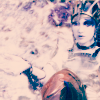
Duplicate base and bring to the top. Set to softlight 100%.

=
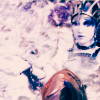
Duplicate base and bring to the top. Set to softlight 85%.

=
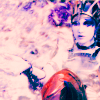
Go to Layers > New Adjustment Layer > Hue/Saturation/Lightness. Set saturation to 50.
=
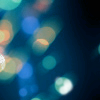
Paste this texture (by colorfilter, edited by me) and set it to screen 100%. Move around to your liking.
=
Play around with the opacity if your icon is too dark or too light. Please don't copy exactly. Thanks for reading :)
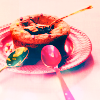
Icons made using this tutorial

Like what you see? Why don't you friend us!
Make

from

using PSP8. Translatable. Image heavy!
Sharpen base if need be. Duplicate base and bring to the top. Set to screen 100%.

=

From here, we follow this tutorial, with a few variations.
Set #003663 to exclusion 70%.

=

Set #6DCFF6 to burn 100%.

=

Set #F49AC1 to softlight 100%.

=

Set #FDC689 to multiply 30%.

=

Set #E7A076 to softlight 100%.

=

Duplicate base and bring to the top. Set to softlight 100%.

=

Duplicate base and bring to the top. Set to softlight 85%.

=

Go to Layers > New Adjustment Layer > Hue/Saturation/Lightness. Set saturation to 50.

=

Paste this texture (by colorfilter, edited by me) and set it to screen 100%. Move around to your liking.

=

Play around with the opacity if your icon is too dark or too light. Please don't copy exactly. Thanks for reading :)
Icons made using this tutorial


Like what you see? Why don't you friend us!