Tutorial (30)
Request by ryin_ryuiji!
Make
from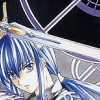
using PSP8. Translatable. Image heavy!
This tutorial mostly follows this tutorial, with a few variations.
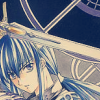
Sharpen base if need be. Set #031B44 to exclusion 100%.

=
Set #E6E5D7 to multiply 100%.

=
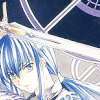
Duplicate base and bring to the top. Set to screen 100%.

=
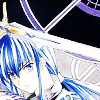
Duplicate base and bring to the top. Set to overlay 100%.

=
Set #031B44 to exclusion 70%.

=
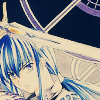
Set #E6E5D7 to multiply 70%.

=
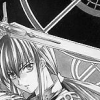
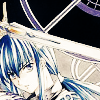
Duplicate base and bring to the top. Set to overlay 100%. Go to Colors > Adjust > Hue/Saturation/Lightness. Set saturation to -100.
=
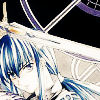
Duplicate base and bring to the top. Set to softlight 100%. Go to Colors > Adjust > Hue/Saturation/Lightness. Set saturation to -100. Go to Effects > Blur > Gaussian Blur and set radius to 4.00.

=
Set #031B44 to screen 50%.

=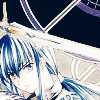
Paste this texture (by me) and set it to lighten 100%.

=
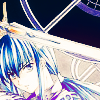
Go to Layers > New Adjustment Layer > Hue/Saturation/Lightness. Set saturation to 40.
=
Go to Layers > New Adjustment Layer > Color Balance. Set midtones green to 40, midtones yellow to -40, shadows red to 15, and shadows blue to 19.
=
Play around with the opacity if your icon is too dark or too light. Please don't copy exactly. Thanks for reading :)
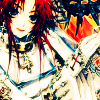
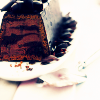
Icons made using this tutorial
Like what you see? Why don't you friend us!
Make

from

using PSP8. Translatable. Image heavy!
This tutorial mostly follows this tutorial, with a few variations.
Sharpen base if need be. Set #031B44 to exclusion 100%.

=

Set #E6E5D7 to multiply 100%.

=

Duplicate base and bring to the top. Set to screen 100%.

=

Duplicate base and bring to the top. Set to overlay 100%.

=

Set #031B44 to exclusion 70%.

=

Set #E6E5D7 to multiply 70%.

=

Duplicate base and bring to the top. Set to overlay 100%. Go to Colors > Adjust > Hue/Saturation/Lightness. Set saturation to -100.

=

Duplicate base and bring to the top. Set to softlight 100%. Go to Colors > Adjust > Hue/Saturation/Lightness. Set saturation to -100. Go to Effects > Blur > Gaussian Blur and set radius to 4.00.

=

Set #031B44 to screen 50%.

=

Paste this texture (by me) and set it to lighten 100%.

=

Go to Layers > New Adjustment Layer > Hue/Saturation/Lightness. Set saturation to 40.

=

Go to Layers > New Adjustment Layer > Color Balance. Set midtones green to 40, midtones yellow to -40, shadows red to 15, and shadows blue to 19.

=

Play around with the opacity if your icon is too dark or too light. Please don't copy exactly. Thanks for reading :)
Icons made using this tutorial


Like what you see? Why don't you friend us!