Tutorial (18)
Request by ryin_ryuiji!
Make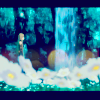
from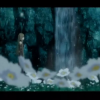
using PSP8. Translatable. Image heavy!
Original coloring:
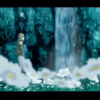
Sharpen base if need be. Duplicate base and bring to the top. Set to screen 100%.

=
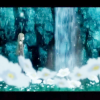
Duplicate base and bring to the top. Set to screen 100%.

=
From here, this tutorial follows the Aged Plum technique.
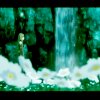
Set #5AB042 to burn 60%.

=
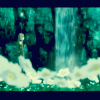
Set #010229 to exclusion 100%.

=
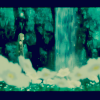
Set #8E8B5D to darken 40%.

=
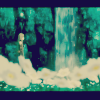
Set #FF9899 to softlight 100%.

=
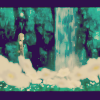
Set #FF9899 to softlight 50%.

=
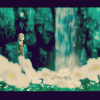
Duplicate base and bring to the top. Set to softlight 50%.

=
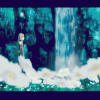
Go to Layers > New Adjustment Layer > Color Balance. Set midtones blue to 40, highlights cyan to -23, and highlights blue to 26.

=
Go to Layers > New Adjustment Layer > Hue/Saturation/Lightness. Set saturation to 52.
=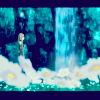
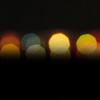
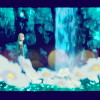
Paste this texture (by colorfilter) and set it to lighten 68%. Move around to your liking.
=
Duplicate base and bring to the top. Set to burn 5%.

=
Play around with the opacity if your icon is too dark or too light. Please don't copy exactly. Thanks for reading :)
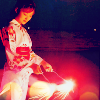
Icons made using this tutorial
Like what you see? Why don't you friend us!
Make

from

using PSP8. Translatable. Image heavy!
Original coloring:

Sharpen base if need be. Duplicate base and bring to the top. Set to screen 100%.

=

Duplicate base and bring to the top. Set to screen 100%.

=

From here, this tutorial follows the Aged Plum technique.
Set #5AB042 to burn 60%.

=

Set #010229 to exclusion 100%.

=

Set #8E8B5D to darken 40%.

=

Set #FF9899 to softlight 100%.

=

Set #FF9899 to softlight 50%.

=

Duplicate base and bring to the top. Set to softlight 50%.

=

Go to Layers > New Adjustment Layer > Color Balance. Set midtones blue to 40, highlights cyan to -23, and highlights blue to 26.

=

Go to Layers > New Adjustment Layer > Hue/Saturation/Lightness. Set saturation to 52.

=

Paste this texture (by colorfilter) and set it to lighten 68%. Move around to your liking.

=

Duplicate base and bring to the top. Set to burn 5%.

=

Play around with the opacity if your icon is too dark or too light. Please don't copy exactly. Thanks for reading :)
Icons made using this tutorial


Like what you see? Why don't you friend us!