Tutorial (43)
Request by pyrobaka06!
Make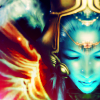
from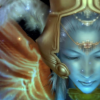
using PSP8. Translatable. Slightly image heavy!
This tutorial mostly follows this tutorial, with variations.
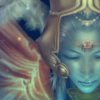
Sharpen base if need be. Set #031B44 to exclusion 100%.

=
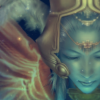
Set #E6E5D7 to multiply 100%.

=
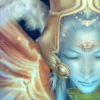
Duplicate base and bring to the top. Set to screen 100%.

=
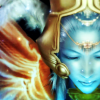
Duplicate base and bring to the top. Set to overlay 100%.

=
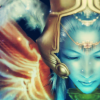
Set #031B44 to exclusion 70%.

=
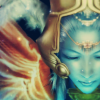
Set #E6E5D7 to multiply 70%.

=
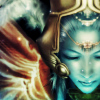
Duplicate base and bring to the top. Set to overlay 100%. Go to Colors > Adjust > Hue/Saturation/Lightness. Set saturation to -100.
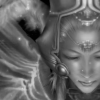
=
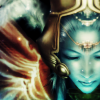
Duplicate base and bring to the top. Set to softlight 100%. Go to Colors > Adjust > Hue/Saturation/Lightness. Set saturation to -100. Go to Effects > Blur > Gaussian Blur and set radius to 4.00.

=
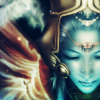
Set #031B44 to screen 50%.

=
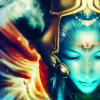
Go to Layers > New Adjustment Layer > Hue/Saturation/Lightness. Set saturation to 50.
=
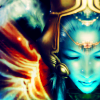
Go to Layers > New Adjustment Layer > Color Balance. Set midtones green to 7, shadows red to 19, highlights red to 12, and highlights blue to 10.
=
Paste this texture (by me) and set it to screen 100%.
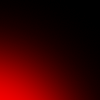
=
Play around with the opacity if your icon is too dark or too light. Please don't copy exactly. Thanks for reading :)
Icons made using this tutorial


Like what you see? Why don't you friend us!
Make

from

using PSP8. Translatable. Slightly image heavy!
This tutorial mostly follows this tutorial, with variations.
Sharpen base if need be. Set #031B44 to exclusion 100%.

=

Set #E6E5D7 to multiply 100%.

=

Duplicate base and bring to the top. Set to screen 100%.

=

Duplicate base and bring to the top. Set to overlay 100%.

=

Set #031B44 to exclusion 70%.

=

Set #E6E5D7 to multiply 70%.

=

Duplicate base and bring to the top. Set to overlay 100%. Go to Colors > Adjust > Hue/Saturation/Lightness. Set saturation to -100.

=

Duplicate base and bring to the top. Set to softlight 100%. Go to Colors > Adjust > Hue/Saturation/Lightness. Set saturation to -100. Go to Effects > Blur > Gaussian Blur and set radius to 4.00.

=

Set #031B44 to screen 50%.

=

Go to Layers > New Adjustment Layer > Hue/Saturation/Lightness. Set saturation to 50.

=

Go to Layers > New Adjustment Layer > Color Balance. Set midtones green to 7, shadows red to 19, highlights red to 12, and highlights blue to 10.

=

Paste this texture (by me) and set it to screen 100%.

=

Play around with the opacity if your icon is too dark or too light. Please don't copy exactly. Thanks for reading :)
Icons made using this tutorial


Like what you see? Why don't you friend us!