Tutorial: How To Make A Wallpaper/Image Manipulation
Making a Wallpaper / Image Manipulation
Program: GIMP
Translatable: Yes
Steps: 6 (with lots of instructions)
Difficulty: Medium to hard depending on your skill set
Requres: A basic knowledge of GIMP, patience, music, and time
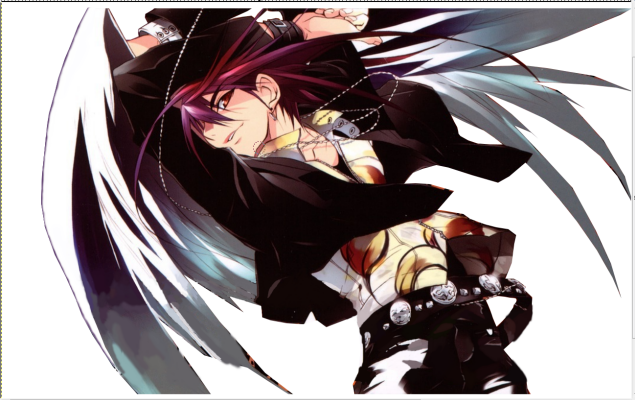
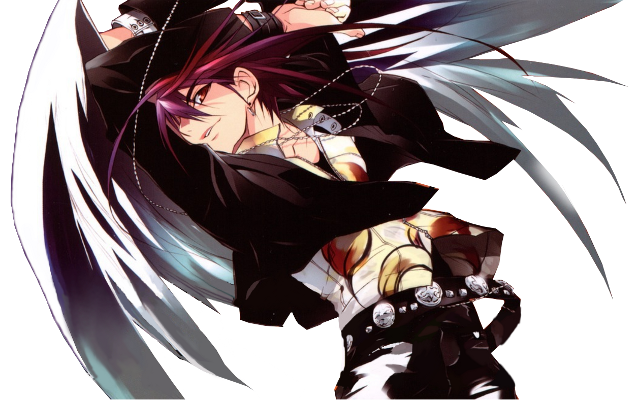
from
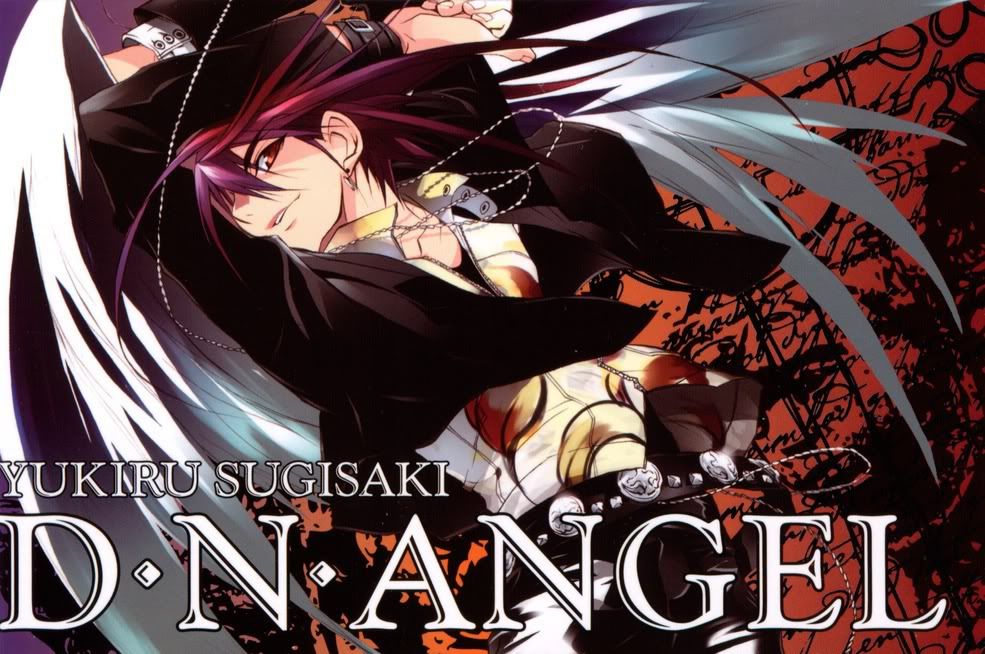
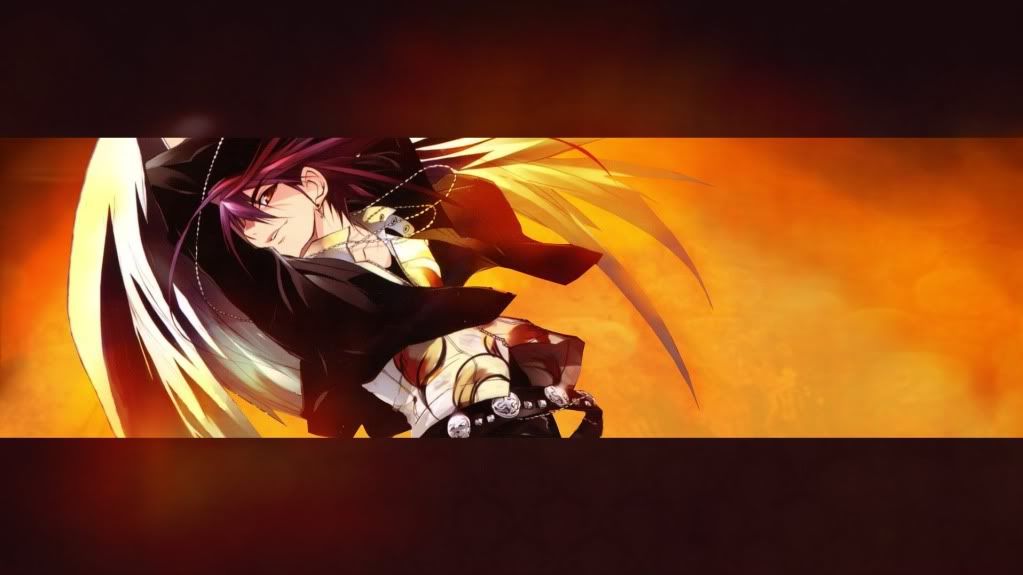
>> to >>
Step 01
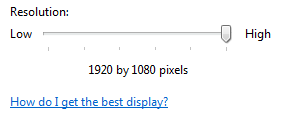
Check your screen resolution by going into Control Panel and finding something along the lines of “adjust screen resolution” below the resolution there should be a pixel size. This is the size of your screen, and that's the size that you want your wallpaper to be.
Pick your image and paste it onto the new image. Resize if needed, but be careful that the image doesn't get blurry, pixelized, or otherwise warped. The best way to do this is to scroll in to 100% periodically through your work.
Step 02
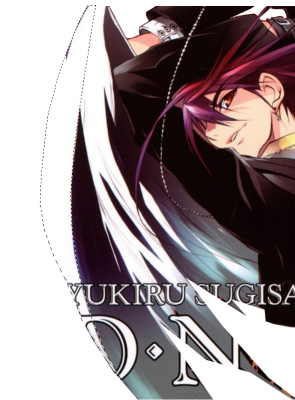
Crop about where you want the image to be. For this wallpaper I want to add a new background, so I used the lasso tool to outline the basic shape of the image. I'm ignoring the text, and any small details that are too hard to clean out. Use the ctrl+x and then ctrl+v and create new layer. Remove the old layer that contains the old background.

Remember to get the little holes inside as well!
Don't get upset if your cleaning job isn't very good. It's not an easy thing to do, plus it's really boring. It takes practice, so if you want to make great graphics, you're going to have to clean a lot of images. A great tip is to also save your cleaned images as a .png file. This way you can reuse your pre-cleaned images later on.
Step 03
Some of the parts in the image are sharply cut off where the image was cropped. This works fine for the promotional poster, but not so much for a wallpaper, so I'll need to go in and add some lines. This process is easier with a tablet, but for the sake of all you mouse users, I'll use only a mouse for this wallpaper!
Create a new layer above the image you're working with.
Outline the area you want to add. It helps to also add areas where the lines already exist, to help the lines flow natually.
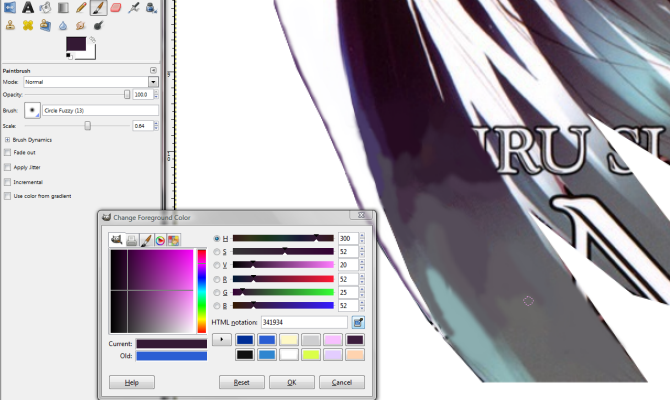
Pull the colors that are already in the image and start to slowly “patch up” the areas that are cut off. This is a slow process that you need to do carefully so it looks natural in the end. The undo button will be your friend (ctrl+z) as well as your save button. Be sure to save as .xcf or .psd (depending on what you're using) and save often so as not to loose your work.
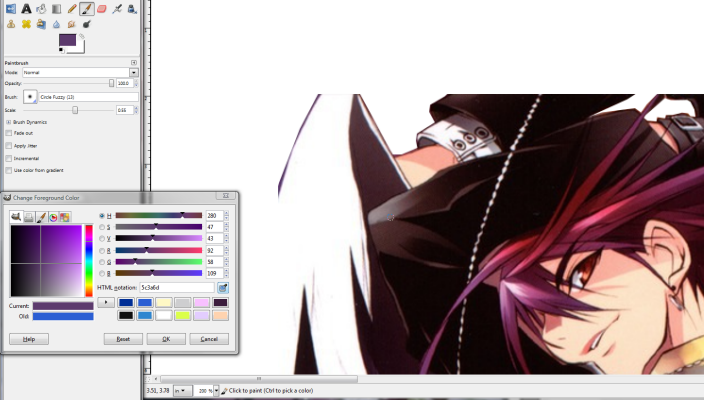
For smoother transition areas, such as the wings, you'll have to dab color over the areas and blur to smooth it over. I suggest using a new layer, and then when you're satisfied with the dabbing, merge the layer down to the original image and then blur. Your eyedropper tool will be your best friend. Also remember to work very close up, this will help lines to be smooth, and the colors to be more accurate.
This process will take the longest. And you'll probably want to crank up some bouncy music.
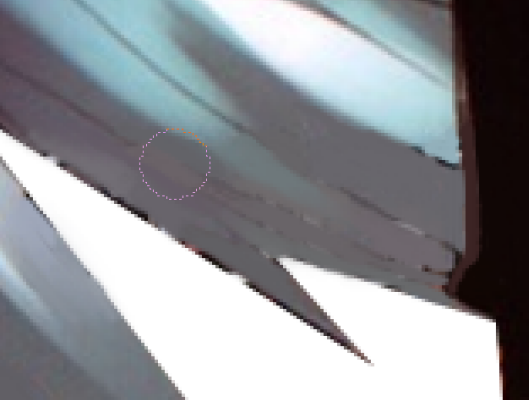
To blur the little blotchy spots I like to use the Smudge tool at about 18.0 Opacity and just rub carefully over the patches. It helps the colors bleed together and create a smooth transition. Change the size of the brush so you don't blur the wrong lines though. Otherwise it will create a muddy, blurry mess.
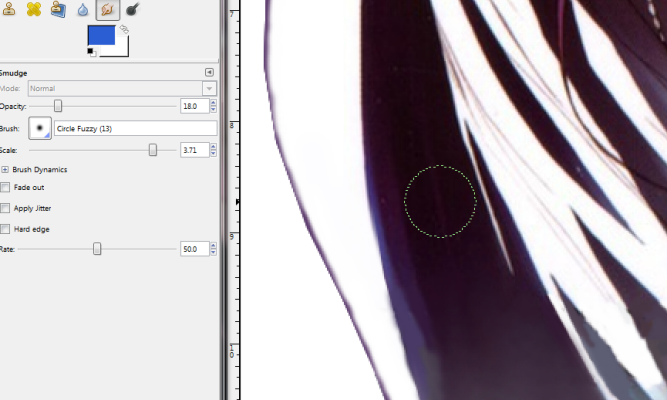
See how I left little pixely lines on this section of the wing? There need to be lines here to show the feathers, so I left areas to remind myself to add them. Now I'll go in with a small brush really close up and add them in. The closer the better for smooth lines. Just add them, and then blur slightly to blend with the old lines with the smudge tool like before. This will help fade the lines as well.
Step 04
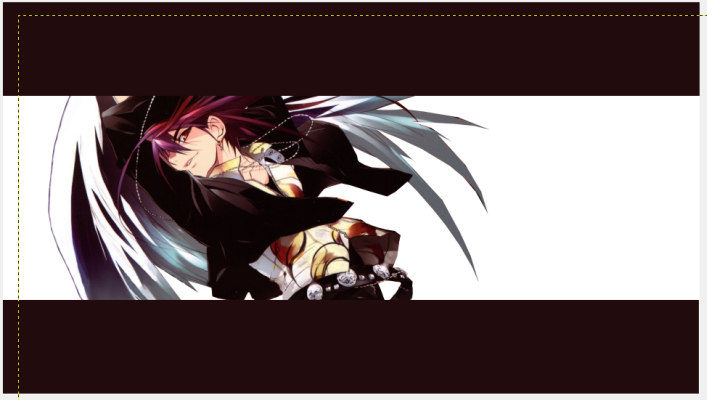
Now for some fun. I'm going to add some bars on the top and bottom because I like the slimming effect. I make a new layer and use the Rectangle Select Tool to pick the spot for the bar. Fill with the bucket tool, and recrop however needed.
Step 05
Add textures and lighting effects until you're pleased with the result. Remember to check it every once and a while at fullsize to make sure it looks okay on a larger size. If you need a better visual, save as a .jpg and put it on your own desktop. (.png does not work for wallpapers)
Step 06
Save the final wallpaper as a .jpg and enjoy! Remember to save the .xcf file in case you want to edit anything later on.
LOL, Photobucket resized my wallpaper... I guess If you want this any bigger you'll have to give me your screen resolution.
(click for fullsized)
RULES
[x] Please do not reuse this wallpaper for banners, icons or any other graphic related thing. Ask me if you'd like it altered.
[x] Comments are great <3
[x] Feel free to alter this wallpaper to fit your own desktop, but do not re-share the altered version as your own
[x] Please save to your own server
[x] Enjoy!
Suggest an image for a wallpaper?
If you have any questions, please feel free to ask!