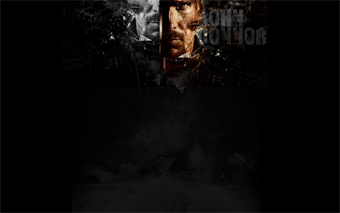
Tutorial #02 - Terminator: Salvation.
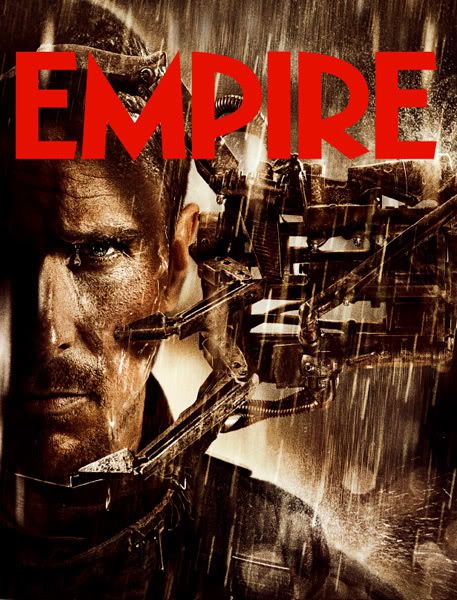
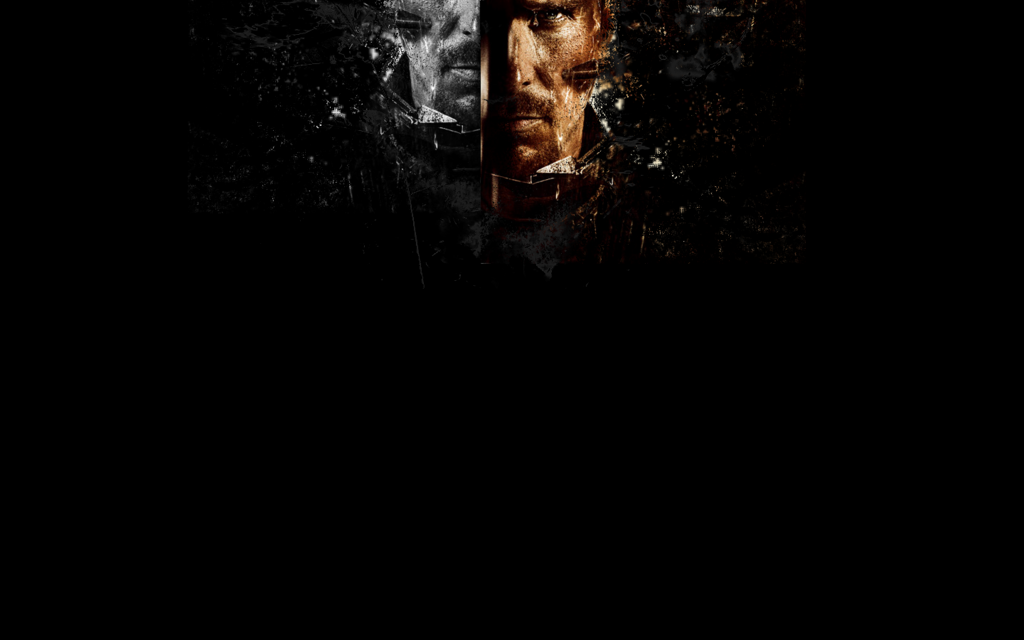
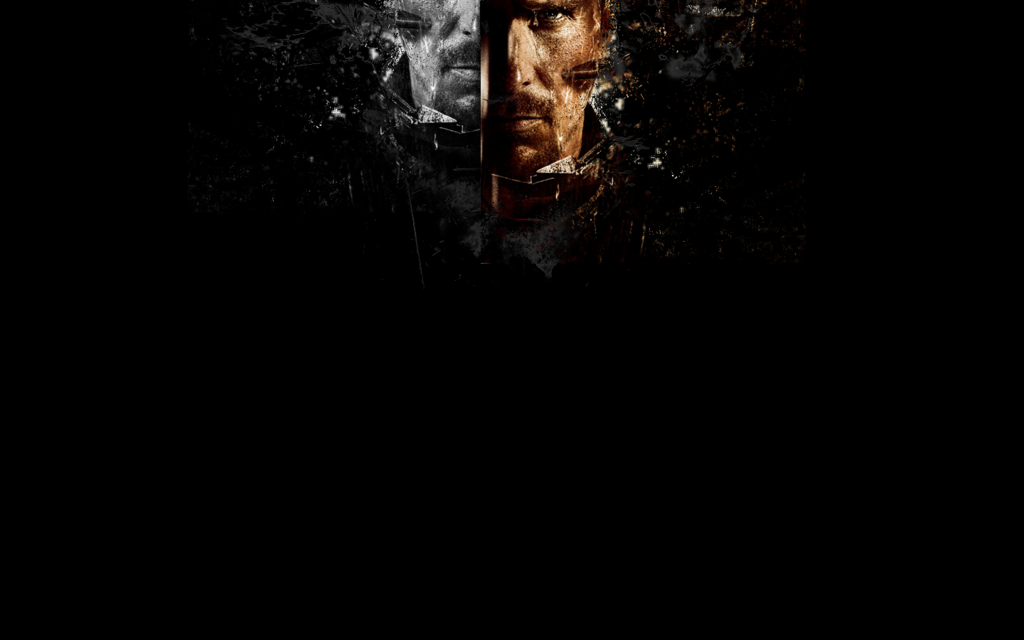
We'll be making this from this.
preview.
[x] Comments are ♥!
[x] If you use it, I'd love to see your results.
[x] Made in PS 7 (translatable)
[x] Difficulty Level: Easy.
[x] Keep in mind that this is just a guide and every picture requires different settings!
pumpkinfriend requested this tutorial, so here we go.
1st Step.
Open your canvas and fill it with black (#00000).
It depends on the picture your working with which color is going to work best. Usually it's the background color of the picture you want to work with. But you really have to try.
2nd Step.
Open the picture you want to use. Perfect for this kind of wallpaper are frontal shots. This is mine. (Isn't it amazing?)
Usually here comes a whole bunch of steps for coloring, etc. But this picture already has a great coloring, so we don't need that.
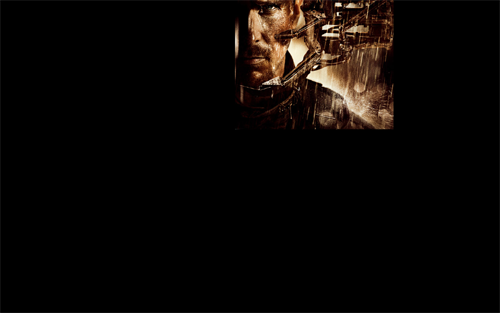
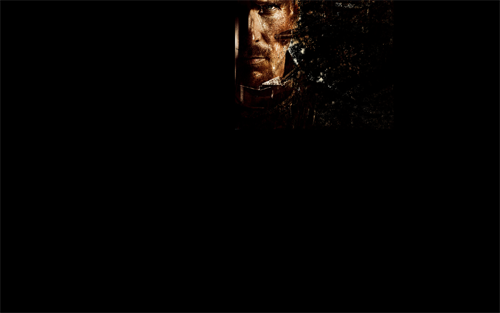
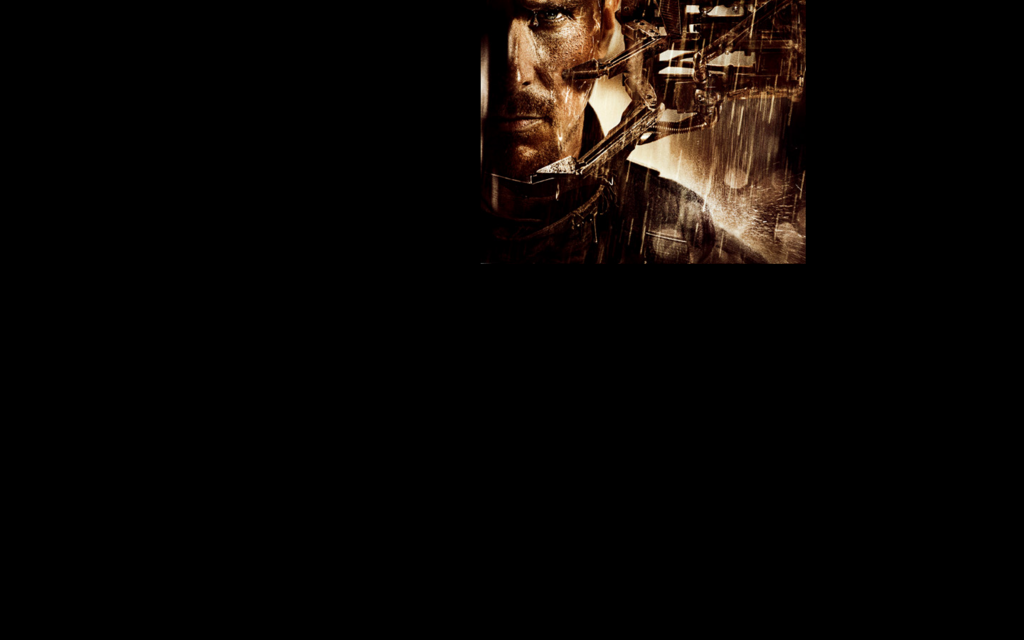
Post the picture onto your canvas. You have to try where it looks best. For this kind of frontal shot the upper middle works best in my opinion (and you don't have to deal with the text above Christian's forehead).
Mine looks like this now:
3rd Step.
Now comes the interesting part.
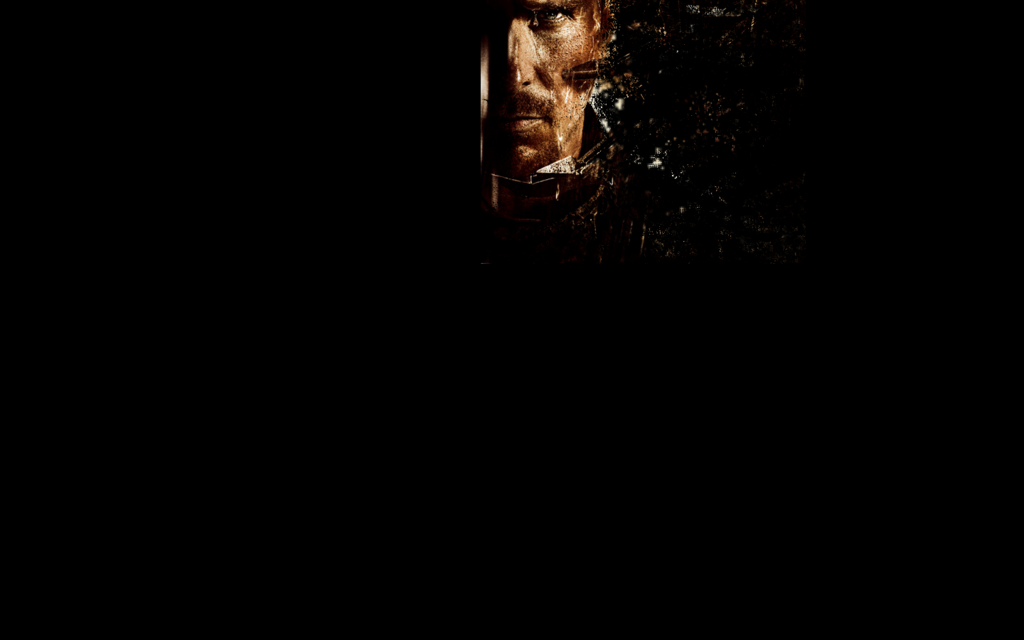
Add a layer mask to your picture.
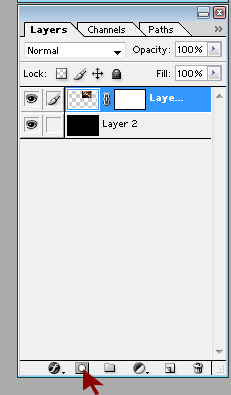
Then choose a distorted brush, and remove all parts of the picture you don't want to have in there. The further you get to the face the less you should remove in order to get that distortion-look.
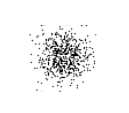
(It is a default-brush, so if you work with PS you should have it. But any other grungy/distorted brush might work as well.)
Play around with the sizes and mabe other brushes until your satisfied. No worries, when something doesn't work, just change the brush-color to white and you can make everything visible again.
Your wallpaper should look like this now:
4th Step.
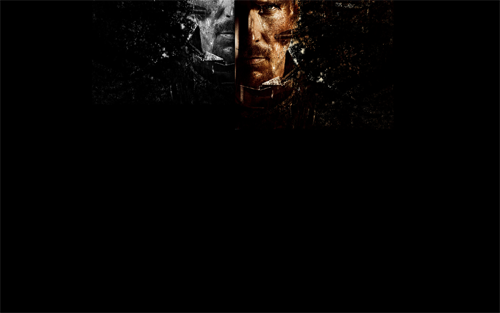
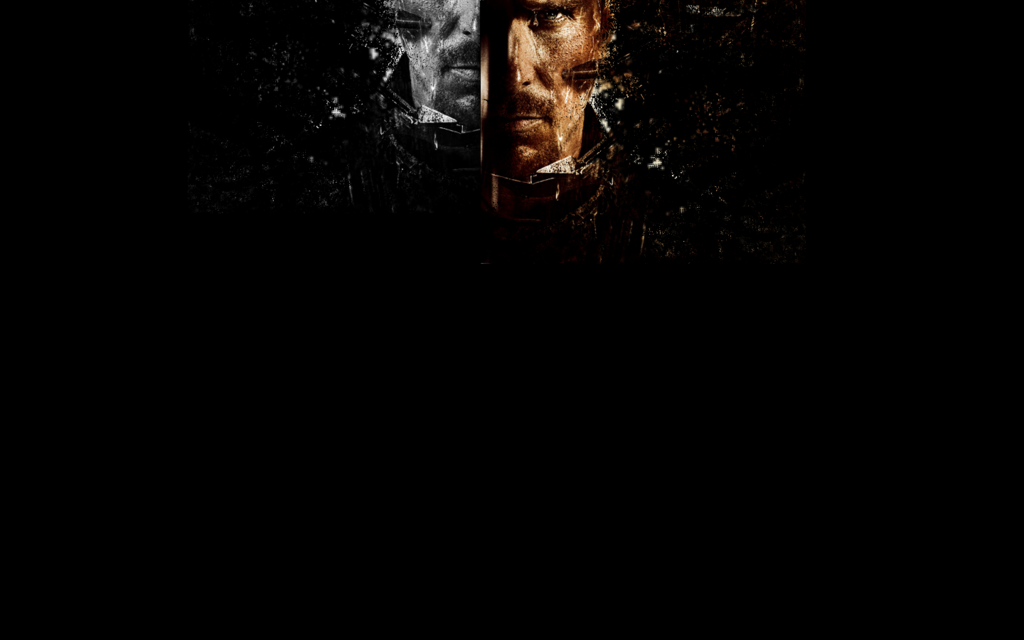
Duplicate Layer 2 and desaturate it. You can play with the Levels and the Contrast, but this isn't necessary with my picture. Flip your desaturated layer horizontal and move it until you think the position looks good.
Mine looks like this now:
5th Step.
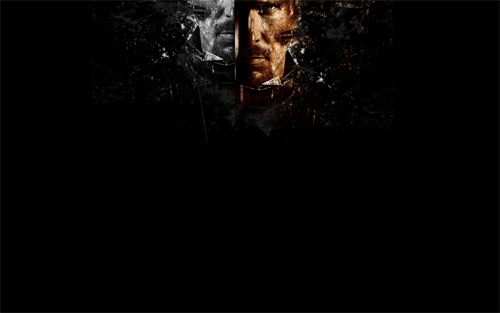
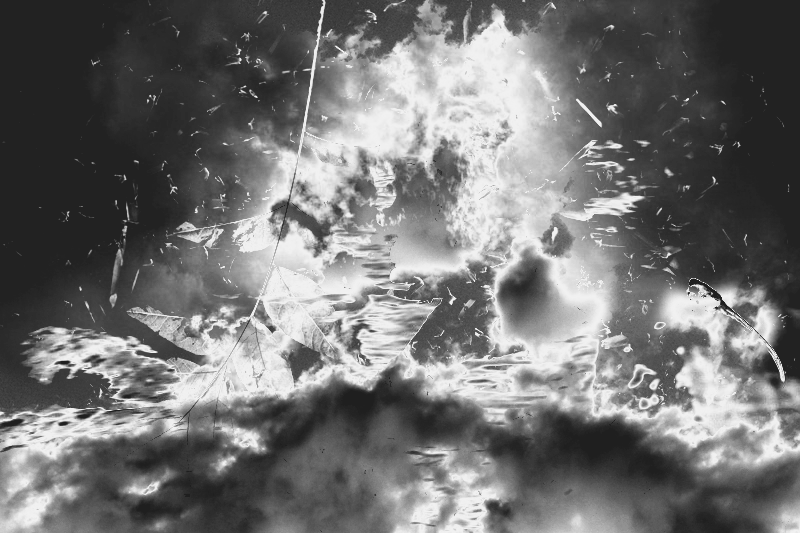
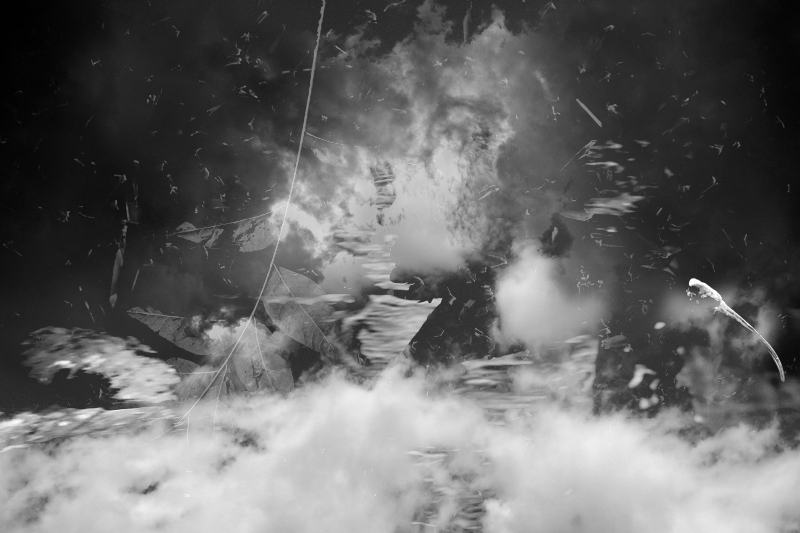
Actually you could stop here. But I felt something was missing. So I took this texture mady by gfxgurl and pasted it underneath Layer 2. Set it to Screen and lower the opacity to 22%.
I have this now:
6th Step.
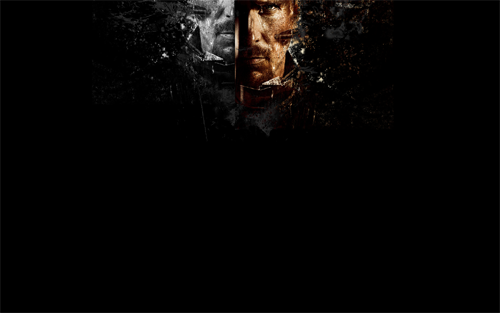
Now I took this texture also made by gfxgurl and pasted it aabove the other layers. Set it to "Soft Light", opacity 21%. It depends on the picture if that effect will work or not, but it can add a nice lightening.
This is what I got:
7th Step.
Duplicate that last texture layer and flip it vertically moved it to the lower end of my canvas and set the opacity to 9%. I also erased the hard edges, to make it look smooth.
Now I just added some text (the font is "Thirsty for Souls") and that's it! We're already done!

I hope this is helpful and I'd love to see your results.
preview.

[x] Comments are ♥!
[x] If you use it, I'd love to see your results.
[x] Made in PS 7 (translatable)
[x] Difficulty Level: Easy.
[x] Keep in mind that this is just a guide and every picture requires different settings!
pumpkinfriend requested this tutorial, so here we go.
1st Step.
Open your canvas and fill it with black (#00000).
It depends on the picture your working with which color is going to work best. Usually it's the background color of the picture you want to work with. But you really have to try.
2nd Step.
Open the picture you want to use. Perfect for this kind of wallpaper are frontal shots. This is mine. (Isn't it amazing?)
Usually here comes a whole bunch of steps for coloring, etc. But this picture already has a great coloring, so we don't need that.
Post the picture onto your canvas. You have to try where it looks best. For this kind of frontal shot the upper middle works best in my opinion (and you don't have to deal with the text above Christian's forehead).
Mine looks like this now:
3rd Step.
Now comes the interesting part.
Add a layer mask to your picture.

Then choose a distorted brush, and remove all parts of the picture you don't want to have in there. The further you get to the face the less you should remove in order to get that distortion-look.

(It is a default-brush, so if you work with PS you should have it. But any other grungy/distorted brush might work as well.)
Play around with the sizes and mabe other brushes until your satisfied. No worries, when something doesn't work, just change the brush-color to white and you can make everything visible again.
Your wallpaper should look like this now:
4th Step.
Duplicate Layer 2 and desaturate it. You can play with the Levels and the Contrast, but this isn't necessary with my picture. Flip your desaturated layer horizontal and move it until you think the position looks good.
Mine looks like this now:
5th Step.
Actually you could stop here. But I felt something was missing. So I took this texture mady by gfxgurl and pasted it underneath Layer 2. Set it to Screen and lower the opacity to 22%.
I have this now:
6th Step.
Now I took this texture also made by gfxgurl and pasted it aabove the other layers. Set it to "Soft Light", opacity 21%. It depends on the picture if that effect will work or not, but it can add a nice lightening.
This is what I got:
7th Step.
Duplicate that last texture layer and flip it vertically moved it to the lower end of my canvas and set the opacity to 9%. I also erased the hard edges, to make it look smooth.
Now I just added some text (the font is "Thirsty for Souls") and that's it! We're already done!

I hope this is helpful and I'd love to see your results.