Lost tutorial
Trying to recreate this
I couldn't find the same picture, so the coloring is a bit different, just hope you'll like it :D
FROM
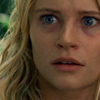
TO
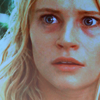
Using: Photoshop CS
Includes: Fill layers, chanel mixer
In 8 steps
Open your image, crop it. If needed sharpen, blur etc.

Duplicate your base and set it to screen 100%,
than duplicate the base again, and drag that layer on top of the other two and set it to Color Dodge opacity 50%
Duplicate the base layer again, drag it to the top and set it to Screen 56% opacity.
You should get this:
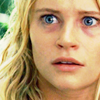
Make a new layer and fill it with #341603 and set it to exclusion 100%
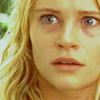
Make another fill layer, fill it with something orange (#C47211) and set it to soft light opacity 50%
Don't get scared, you should get something very orange:
And now the last one, fill it with black (#000000) and set it to soft light opacity 91%
Just to make it a bit more darker.
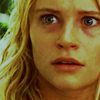
Now it's time for chanel mixer (Layer - New adjustment layer - Chanel mixer)
Enter these settings:
Red:
Red: +100
Green: 0
Blue: 0
Green:
Red: 0
Green: +100
Blue: 0
Blue:
Red: +8
Green: 0
Blue: +120
And set it to 100% opacity
It looks a bit better, but it's still to yellow
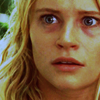
Another chanel mixer layer, enter these settings:
Red:
Red: +131
Green: -68
Blue: 0
Green:
Red: 0
Green: +100
Blue: 0
Blue:
Red: -40
Green: +103
Blue: +100
OK, and set it to 56% opacity
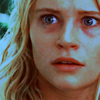
It looks very dark, so lets just make it softer.
8. And the last step, add a white gradient fill layer (Layer - New fill layer - Gradient) And set it to Normal, opacity 30%

AND THAT'S IT!
EASY, RIGHT? :D
I'd like to see your results.
And no psd, don't even bother to ask for one!
This is easy enough and it will be better if you experiment on your own a bit :P
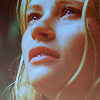
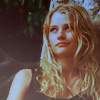
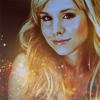
Icons with the similar coloring:

MY LAYER PALETTE