Tutorial #8 - The Network.
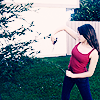
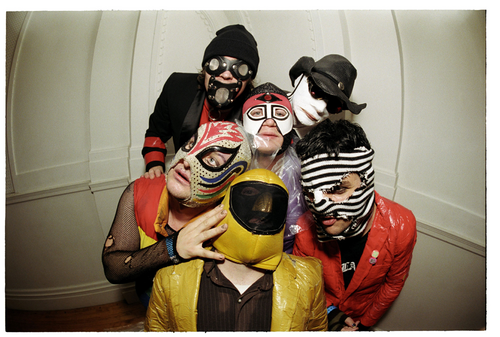
We'll be going from this to this;; 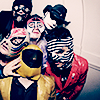
Made in PS7, but can probably be used in other programs.
-Make your 100 x100 base. Sharpen once.
-Duplicate your base, desaturate, and set it to Multiply 50%.
-Duplicate that layer and switch the setting to Screen.
-Duplicate your base and drag it to the top. Set to Soft Light.
-Paste this. Set to Exclusion 62%.
-Paste this. Set to Colour Burn 50%.
-Duplicate the Soft Light layer and drag it to the top.
-Paste this. Set to Soft Light 40%.
-Paste this. Set to Colour Burn.
-Paste this. Set to Soft Light.
-Make a new layer. Stamp your image onto it. Now, I have a Mac, so things are different for me. I press Shift+Option+Command+E. Yours is probably different. If you don't know how to do this on yours, go to Photoshop help.
-Desaturate that layer and set it to Soft Light.
Other emamples;;

And that's it! Hope it was easy enough.
If you have any questions, comments, etc, don't hesitate to ask.
I'd love to see what you get! =] ♥
Made in PS7, but can probably be used in other programs.
-Make your 100 x100 base. Sharpen once.
-Duplicate your base, desaturate, and set it to Multiply 50%.
-Duplicate that layer and switch the setting to Screen.
-Duplicate your base and drag it to the top. Set to Soft Light.
-Paste this. Set to Exclusion 62%.
-Paste this. Set to Colour Burn 50%.
-Duplicate the Soft Light layer and drag it to the top.
-Paste this. Set to Soft Light 40%.
-Paste this. Set to Colour Burn.
-Paste this. Set to Soft Light.
-Make a new layer. Stamp your image onto it. Now, I have a Mac, so things are different for me. I press Shift+Option+Command+E. Yours is probably different. If you don't know how to do this on yours, go to Photoshop help.
-Desaturate that layer and set it to Soft Light.
Other emamples;;
And that's it! Hope it was easy enough.
If you have any questions, comments, etc, don't hesitate to ask.
I'd love to see what you get! =] ♥