TUTORIAL #1
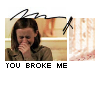
i'll start out with a very- very easy tutorial for going from this to this-
step 1.
first i start off with this screencap from the 'gilmore girls' episode 4x22 raincoats and recipes.
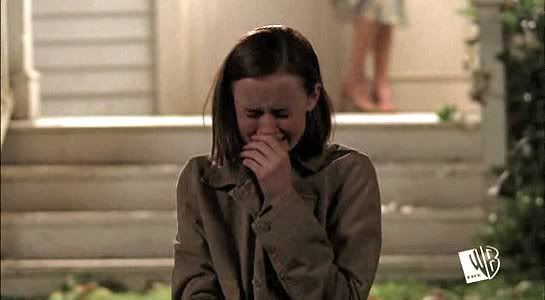
we resize it 50% and then we resize it again 50%, to get this

don't worry about it being too dark or anything, we'll get to that later.
step 2.
now i take a totally blank background. i chose white, but you can take what ever colour you wish.
then i choose a part of the image, i want to put on my icon. i took a piece of rorys head. and i positioned it on my icon like this
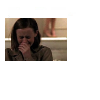
then i take this texture by colorfilter

and i take a small piece of it and put it next to the picture of rory.
right now it should look like this
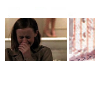
now we are done with step two.
step 3.
i take this gradient by colorfilter

and i paste it on my icon as a new layer. (or make a new layer and fill it with this, however it works on your program.)
then i set it to overlay 100%.
what i get should look like this.
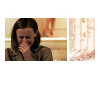
and now we are done with the colourings and stuff, so let's add some finishing touches with brushes.
step 4.
then i make a new layer and set it to multiply 100%
i take this brush by colorfilter

and resize it 50% to get this

i put it on my icon on the multiply layer
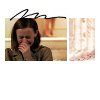
then i take this brush by colorfilter

and resize it 50% to this

and i put it where i want it, like this
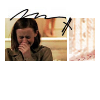
step 5.
and i am pretty much finished, if you want, you can add some text brushes or just plain text, or you can leave it at that, if it fits you better.
i added some text. i used the font 'kartika' 9pt and capital letters.
and then i merge all the layers
and that's it, you get this, the final product

just remember, have fun with it and try to use your own creativity!
*no hotlinking.
*credit, if you use.
*you are welcome to comment. (and show me, what you came up with!)

step 1.
first i start off with this screencap from the 'gilmore girls' episode 4x22 raincoats and recipes.

we resize it 50% and then we resize it again 50%, to get this

don't worry about it being too dark or anything, we'll get to that later.
step 2.
now i take a totally blank background. i chose white, but you can take what ever colour you wish.
then i choose a part of the image, i want to put on my icon. i took a piece of rorys head. and i positioned it on my icon like this

then i take this texture by colorfilter

and i take a small piece of it and put it next to the picture of rory.
right now it should look like this

now we are done with step two.
step 3.
i take this gradient by colorfilter

and i paste it on my icon as a new layer. (or make a new layer and fill it with this, however it works on your program.)
then i set it to overlay 100%.
what i get should look like this.

and now we are done with the colourings and stuff, so let's add some finishing touches with brushes.
step 4.
then i make a new layer and set it to multiply 100%
i take this brush by colorfilter

and resize it 50% to get this

i put it on my icon on the multiply layer

then i take this brush by colorfilter

and resize it 50% to this

and i put it where i want it, like this

step 5.
and i am pretty much finished, if you want, you can add some text brushes or just plain text, or you can leave it at that, if it fits you better.
i added some text. i used the font 'kartika' 9pt and capital letters.
and then i merge all the layers
and that's it, you get this, the final product

just remember, have fun with it and try to use your own creativity!
*no hotlinking.
*credit, if you use.
*you are welcome to comment. (and show me, what you came up with!)