Tutorial # 01: Colouring | Teyla, SGA
saeva asked for the colouring of the Teyla icon. Here we go:
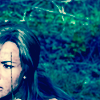
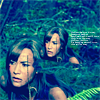
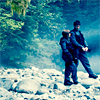
From this to
Using Photoshop CS. No Levels, no curves.
My image source: http://sg-atlantis.emedian.net
01 // Crop your picture to your liking, and sharpen it, using Unsharp Mask (Filter > Sharpen > Unsharp Mask).
My settings - Radius: 30% ; Radius: 1.0 pixels ; Threshold: 0 levels.
02 // Depending on your image, duplicate the base and set to screen.
03 // Create a new layer and fill it with a bright light blue, # 63D5F8. Set it to blend mode color burn at 100% opacity.
04 // Create a new layer and fill it with a bright pink, # F6B1FE. Set to soft light at 100%.
05 // Create yet another new layer and will it with a dark blue color, # 001159. Set it to exclusion at 100 % opacity.
06 // Because the image looks somewhat uncontrasted, duplicate your base, drag it on top and set it to soft light at 100%.
Voila, you're done :)
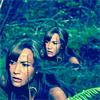
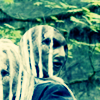
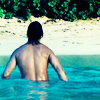
Other icons made with this technique:
Please do remember that you will have to play with the opacities depending on the quality of your picture.
Also, please do not duplicate this tutorial exactly, picture choice and all. Be creative :)
I hope you find this tutorial useful :) If you have any questions, please ask them. I'd also like to see what you do with this - show me your results ^_^