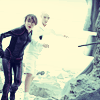
(no subject)
Learn how to go from this to this

Note: I used Adobe ImageReady, but I’m sure it’s convertible :)
001: Crop and sharpen the base. Then duplicate the base three times.
002: Set the first two duplicated bases to screen. The first screened base at 50% and the second at 100% With the third duplicated layer set it to softlight 100%
(This depends on your base. You may need to adjust it accordingly.)
003: Before the second screened layer add a light blue 23A0DE to colorburn 100%
004: After the softlight layer add a dark blue 000429 to exclusion 100%
I desaturated the original base after this process, but this effect is up to you.
Your layers should now look something like this.
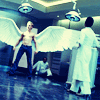
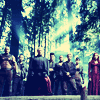
Other icons I made using this effect:


