Superhero Jayla Icon Tutorial
A Superhero Jayla Icon Tutorial Using PSCS2
[1]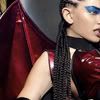
Start with your base.
[2]
Sharpen as much as needed, if needed at all. I sharpened once.
[3]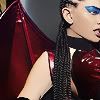
Filter > Blur > Smart Blur. I used the default settings, but you can play around with them if you want.
[4] Add this
And set it to Exclusion, at Fifty (50) percent opacity.
[5]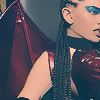
It should look something like this
[6]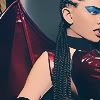
Duplicate your base layer, and bring it to the top. Set it to Soft Light.
[7]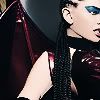
Make a new layer. Stamp visible (ctrl + alt + shift + E). Grayscale the layer, then set it to Hard Light.
[8]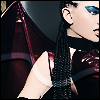
Now add whatever else you want {text, brushes, border, etc.), And You're Done! X)
[1]

Start with your base.
[2]

Sharpen as much as needed, if needed at all. I sharpened once.
[3]

Filter > Blur > Smart Blur. I used the default settings, but you can play around with them if you want.
[4] Add this

And set it to Exclusion, at Fifty (50) percent opacity.
[5]

It should look something like this
[6]

Duplicate your base layer, and bring it to the top. Set it to Soft Light.
[7]

Make a new layer. Stamp visible (ctrl + alt + shift + E). Grayscale the layer, then set it to Hard Light.
[8]

Now add whatever else you want {text, brushes, border, etc.), And You're Done! X)