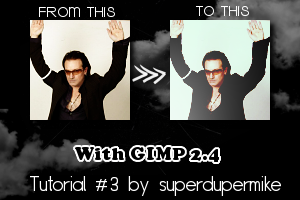
U2 Icon Tutorial #3

First we are going to use this image.

Sharpen your base.

Duplicate your base and set it to Overlay at %100

Create a new layer and fill it with: #bbf9b8.set it to Multiply,and set the opacity at %80

Create a new layer and fill it with: #c3a9f8,set it to Overlay at %56,1

Create another layer and fill it with: #c3a9f8,set it to Addition at %48,2

Create a new layer and fill it with: #f8d4ab,set it to Burn and set the opacity at %100

Finally add this

texture (If this is yours pls tell me so I can credit you),set it to screen at %100,and you´re done .
Other results with this tutorial:


