Tutorial | Icon #027 & Texture | Icon #003
How to make 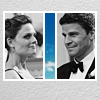
S T E P : O N E - T H E : B A S E
Take one of my textures from here and dublicate it once.
Set the copy to Screen.

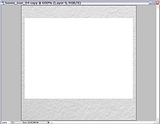
Now I zoomed in to 600% cause that way I can work more precisely :)
Make a new layer (Ctrl+Shift+N).
Use the Rectangular Marquee Tool (M) and make a selection.
Fill the seclection with #FFFFFF (white).
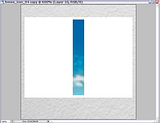
Now take your sky stock image.
Crop whatever part you want of it.
Drag it over the white selection.
Then Free Transform (Ctrl+T) it until it fits into the selection.
I left a 2 px border above and under the sky image.
Duplicate the sky image and set the copy to Screen | 50%.
S T E P :T W O - T H E : I C O N


Take this image from the Bones Finale.
Crop out Bones and Booth. Change then the height of both to 100 px - it's easier to work with.
A/N: I know that the images on the left are smaller - just pretend they are 100 px high =D


On both images:
Duplicate the base and set the copy to Screen | 25%.
Then go to Layer >> New Adjustment Layer >> Gradient Map and select the Black/White gradient.
Merge (Ctrl+Shift+E) all layers.
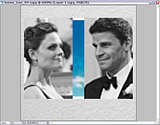
Drag both images over your base.
Then Free Transform (Ctrl+T) them until they fit into the selection.
And again I left a 2 px border around the images.
If you want, sharpen the images once.
T H E : E N D
If you have questions, just yell :D
[Download @ dA]
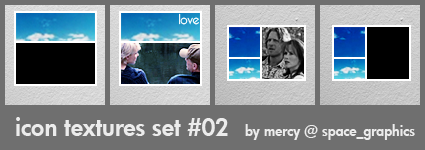
How to use: Drag your image over the texture. Then zoom in about 600% and resize your image until it fits into the black part.
Please, credit me if you use them. Enjoy :D
S T E P : O N E - T H E : B A S E
Take one of my textures from here and dublicate it once.
Set the copy to Screen.
Now I zoomed in to 600% cause that way I can work more precisely :)
Make a new layer (Ctrl+Shift+N).
Use the Rectangular Marquee Tool (M) and make a selection.
Fill the seclection with #FFFFFF (white).
Now take your sky stock image.
Crop whatever part you want of it.
Drag it over the white selection.
Then Free Transform (Ctrl+T) it until it fits into the selection.
I left a 2 px border above and under the sky image.
Duplicate the sky image and set the copy to Screen | 50%.
S T E P :T W O - T H E : I C O N
Take this image from the Bones Finale.
Crop out Bones and Booth. Change then the height of both to 100 px - it's easier to work with.
A/N: I know that the images on the left are smaller - just pretend they are 100 px high =D
On both images:
Duplicate the base and set the copy to Screen | 25%.
Then go to Layer >> New Adjustment Layer >> Gradient Map and select the Black/White gradient.
Merge (Ctrl+Shift+E) all layers.
Drag both images over your base.
Then Free Transform (Ctrl+T) them until they fit into the selection.
And again I left a 2 px border around the images.
If you want, sharpen the images once.
T H E : E N D
If you have questions, just yell :D
[Download @ dA]
How to use: Drag your image over the texture. Then zoom in about 600% and resize your image until it fits into the black part.
Please, credit me if you use them. Enjoy :D