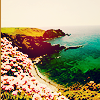
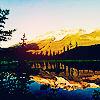
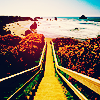
Tutorial # 11
Icon tutorial requested by shadow_of_white from this icon batch
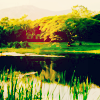
How to go from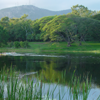
to this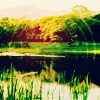
- Made in ps7
- Translatable - i think. Uses curves and gradient map.
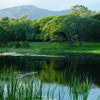
1) Crop your image (I used this pic
by darkicedphoenix. Duplicate it (ctrl + j), sharpen it (filter > sharpen > sharpen) and set it to softlight.
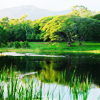
2) Go to Layer> new adjustment layer> Curves and put in these settings:
RGB
point one = 112,154
Point two = 55, 57
Red
Point one = 98, 135
Green
Point one = 115, 133
Blue
Point one = 60, 62
point two = 125, 134.
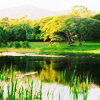
3) Go to layer > New fill layer> solid colour and fill with # C7957B. Set this to overlay on 100%
4) Go to layer > New fill layer> solid colour and fill with # A3D2D0. Set this to colorburn on 100%
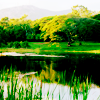
5) Go to Layer > New Adjustment Layer > Gradient Map. I used This gradient which i believe belongs to oxoniensis world gradients or fashion gradients. And i set it to softlight 100%
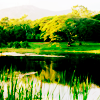
6) Go to layer > New fill layer> solid colour and fill with # 02091E. Set this to difference on 100%
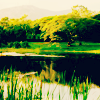
7) Add this brush and set it to screen 77%, move it around to where you see fit.
>>
8) Add this (i dont know who its by) drag it down so its after step one (before the curves layer) and set it to linear dodge 11%. And you're done!
>>
Dude!
Please comment and credit if you take any
Please don't hotlink
If you don't understand something, please ask and i'll try my best to help
If you do use the tut I'd love to see your result ;)
And lastly..Enjoy!
Other examples


How to go from

to this
- Made in ps7
- Translatable - i think. Uses curves and gradient map.
1) Crop your image (I used this pic
by darkicedphoenix. Duplicate it (ctrl + j), sharpen it (filter > sharpen > sharpen) and set it to softlight.

2) Go to Layer> new adjustment layer> Curves and put in these settings:
RGB
point one = 112,154
Point two = 55, 57
Red
Point one = 98, 135
Green
Point one = 115, 133
Blue
Point one = 60, 62
point two = 125, 134.

3) Go to layer > New fill layer> solid colour and fill with # C7957B. Set this to overlay on 100%

4) Go to layer > New fill layer> solid colour and fill with # A3D2D0. Set this to colorburn on 100%

5) Go to Layer > New Adjustment Layer > Gradient Map. I used This gradient which i believe belongs to oxoniensis world gradients or fashion gradients. And i set it to softlight 100%

6) Go to layer > New fill layer> solid colour and fill with # 02091E. Set this to difference on 100%

7) Add this brush and set it to screen 77%, move it around to where you see fit.

>>

8) Add this (i dont know who its by) drag it down so its after step one (before the curves layer) and set it to linear dodge 11%. And you're done!

>>
Dude!
Please comment and credit if you take any
Please don't hotlink
If you don't understand something, please ask and i'll try my best to help
If you do use the tut I'd love to see your result ;)
And lastly..Enjoy!
Other examples
