Tutorial # 4
A header/banner (Allison Mack) tut. All images are thumbnails, click on them to see bigger pics.

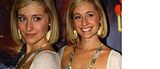
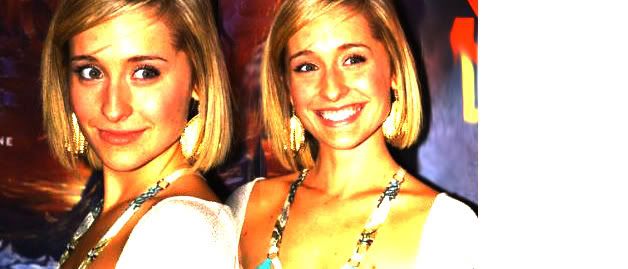
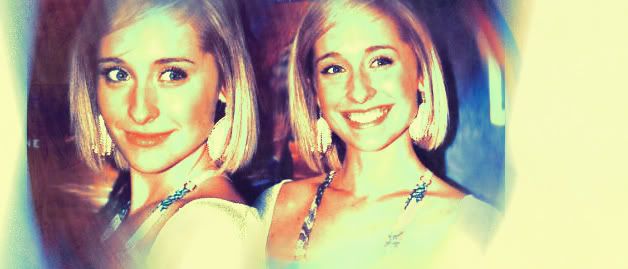
This was made from two pictures of Allison Mack from Devoted Fans
- Made in ps7
- uses selective coloring
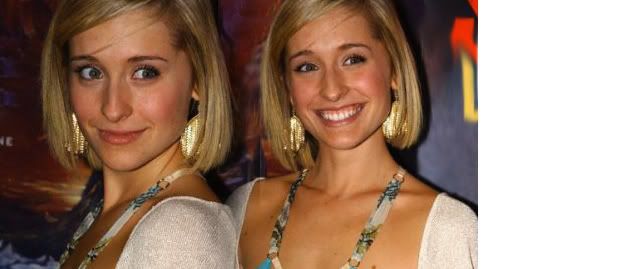
1.Open a new file (ctrl+N) 628x269 and copy and paste the 2 pics of Allison and blend them together. I used the lasso tool (feather 20px). Merge the two together (ctrl+E). Theres this little logo between the pic’s so I took the clone stamp tool (alt + mouse click) as in click on the logo a few times to get rid of it. I also smudged the background of the pic.
2.Duplicate your base and set it to color dodge 100%
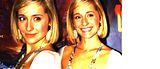
3.Zoom into the pic and airbrush her face. So get a size 17 soft-brush. Hold down alt (to get the same skin tone colour) and brush around her face. Then take the blur tool and blur her face (strength 67%). I then took the dodge tool (Range = midtones and Exposure = 80%) and used it on her eyes.

4.Go to Layer > New fill layer > solid color and fill with #15124B and set it to exclusion 87%. Merge the Allison layers together (not the color fill layer) and move it slightly to the right.

5.Select the Elliptical marquee tool (M) feather by 20px around her face. Right-click the image and click on ‘select inverse’.
Go to Filter> Blur> Radial Blur and put in these settings:
Amount - 23%
Blur method - Spin
Quality - Best

6.Duplicate your base and set it to soft-light 50%

7.Go to Layer> New adjustment layer>Selective color, and put these settings:
Reds
c = -100
m = -28
y = +100
b = +8
yellows
c = -100
m = -12
y = -100
b = 0
Neutrals
c = +23
m = -14
y = -64
B = 0
Make sure that this layer is UNDER the color fill layer

8.Go to Layer > New adjustment layer > Brightness/contrast. And put in these settings
Brightness = 0
Contrast = +10
Make sure that this is OVER the color fill layer.

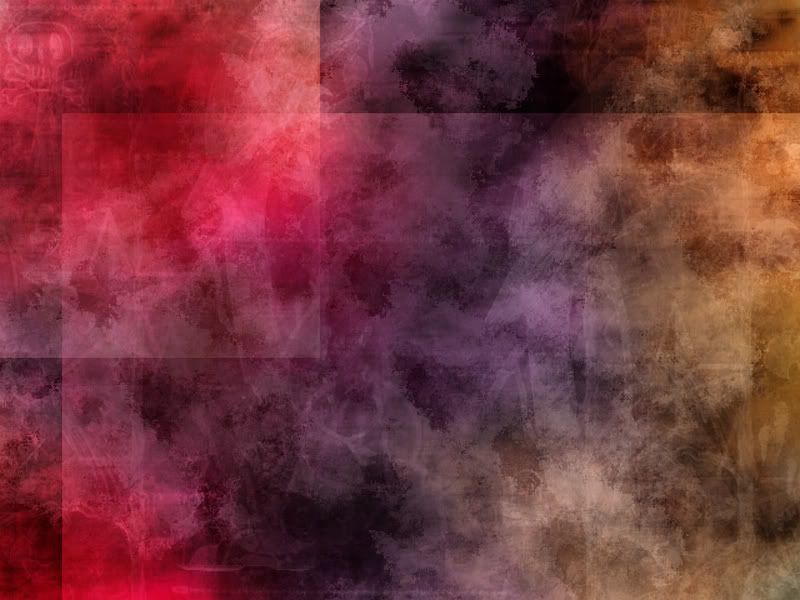
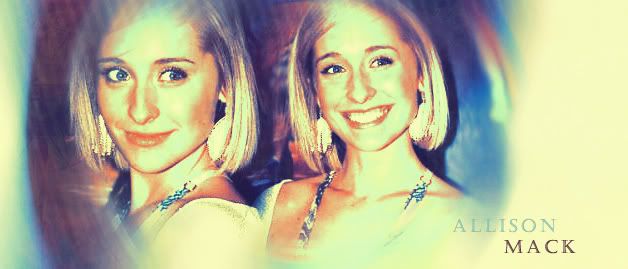
9. Add Thistexture by Vampkiss and set it to lighten 46%

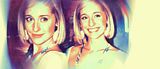
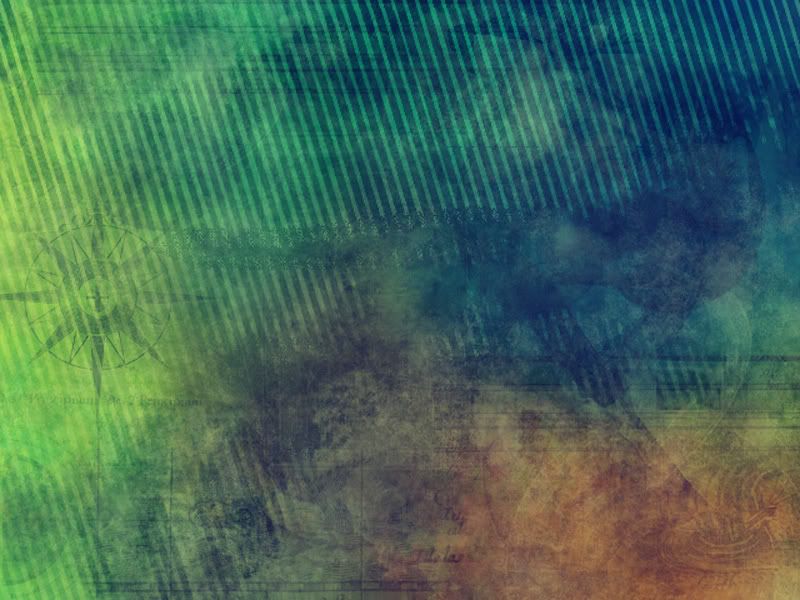
10.Add another texture by Vampkiss and set it to softlight 55%

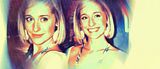
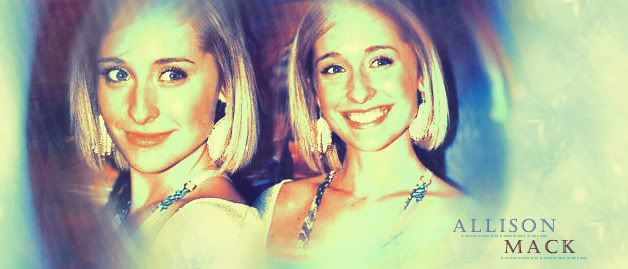
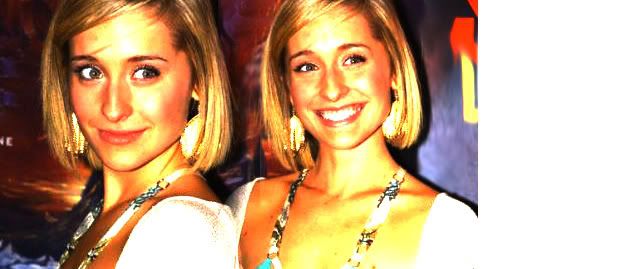
11. I typed her name using Font Casteller and Size 18. I clicked on both Allison layers and sharpened them. I then smudged the background again and merged the Allison layers.
12. Do step 5 again
13. click on the Allison layer and change the opacity to 93%

14.Create a new layer (shft+ctrl+n) I added some tech brushes by oxoniensis around the image and reduced the opacity to 59%. Create another layer I also used some small text under her name. And you're done.
I hope this was clear enough. If you do need help please ask.
This was made from two pictures of Allison Mack from Devoted Fans
- Made in ps7
- uses selective coloring
1.Open a new file (ctrl+N) 628x269 and copy and paste the 2 pics of Allison and blend them together. I used the lasso tool (feather 20px). Merge the two together (ctrl+E). Theres this little logo between the pic’s so I took the clone stamp tool (alt + mouse click) as in click on the logo a few times to get rid of it. I also smudged the background of the pic.
2.Duplicate your base and set it to color dodge 100%
3.Zoom into the pic and airbrush her face. So get a size 17 soft-brush. Hold down alt (to get the same skin tone colour) and brush around her face. Then take the blur tool and blur her face (strength 67%). I then took the dodge tool (Range = midtones and Exposure = 80%) and used it on her eyes.
4.Go to Layer > New fill layer > solid color and fill with #15124B and set it to exclusion 87%. Merge the Allison layers together (not the color fill layer) and move it slightly to the right.

5.Select the Elliptical marquee tool (M) feather by 20px around her face. Right-click the image and click on ‘select inverse’.
Go to Filter> Blur> Radial Blur and put in these settings:
Amount - 23%
Blur method - Spin
Quality - Best

6.Duplicate your base and set it to soft-light 50%

7.Go to Layer> New adjustment layer>Selective color, and put these settings:
Reds
c = -100
m = -28
y = +100
b = +8
yellows
c = -100
m = -12
y = -100
b = 0
Neutrals
c = +23
m = -14
y = -64
B = 0
Make sure that this layer is UNDER the color fill layer

8.Go to Layer > New adjustment layer > Brightness/contrast. And put in these settings
Brightness = 0
Contrast = +10
Make sure that this is OVER the color fill layer.

9. Add Thistexture by Vampkiss and set it to lighten 46%

10.Add another texture by Vampkiss and set it to softlight 55%
11. I typed her name using Font Casteller and Size 18. I clicked on both Allison layers and sharpened them. I then smudged the background again and merged the Allison layers.

12. Do step 5 again

13. click on the Allison layer and change the opacity to 93%
14.Create a new layer (shft+ctrl+n) I added some tech brushes by oxoniensis around the image and reduced the opacity to 59%. Create another layer I also used some small text under her name. And you're done.
I hope this was clear enough. If you do need help please ask.