Tutorial # 2
So we're gonna go from this 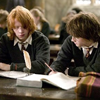
to this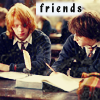
- Not translatable
- Very easy
- Made in ps7
1.Crop your pic, duplicate it (Ctrl+J) and set it on screen 100%
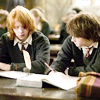
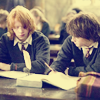
2.Go to layer > New fill layer> solid colour and fill with # 09126D. Set this to exclusion on 69%

>
3.Duplicate your base (ctrl + J), drag it to the top and set it on softlight 100%
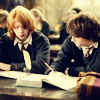
4.Go to Layer> New adjustment layer>Selective color, and put these settings
Reds
C = -100
M = 0
Y = +41
B = +15
Neutrals
C = +13
M + 11
Y + -2
B = 0
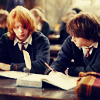
5. Add This texture (by loveicons and set it to lighten 75%. And you're done. You can either leave it as it is or add burshes and text.

Other icons made with this technique


to this

- Not translatable
- Very easy
- Made in ps7
1.Crop your pic, duplicate it (Ctrl+J) and set it on screen 100%

2.Go to layer > New fill layer> solid colour and fill with # 09126D. Set this to exclusion on 69%

>

3.Duplicate your base (ctrl + J), drag it to the top and set it on softlight 100%

4.Go to Layer> New adjustment layer>Selective color, and put these settings
Reds
C = -100
M = 0
Y = +41
B = +15
Neutrals
C = +13
M + 11
Y + -2
B = 0

5. Add This texture (by loveicons and set it to lighten 75%. And you're done. You can either leave it as it is or add burshes and text.

Other icons made with this technique
