I hate myself, I said I WOULD NOT DO THIS.
my first tutorial. BEWARE, I don't believe english will ever be my first language. esp. when it comes to explaining thing.
How to get this;
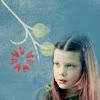
to
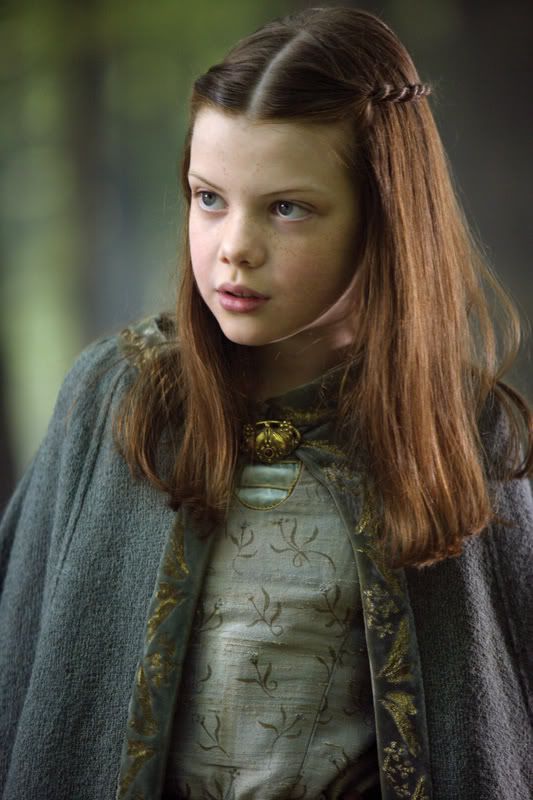
we're going to use this BIG PICTURE. It's...whatever from whatever movie.
I am using photoshop 7. So good luck.
1. Go to layer > New Fill Layer > Solid Color...
Click Ok
Put #FFFFFF
Click Ok again
2. Copy this picture of the girl above and paste it.
3. Make sure your crop button/brush is set to Width: 2in and Height: 2in.
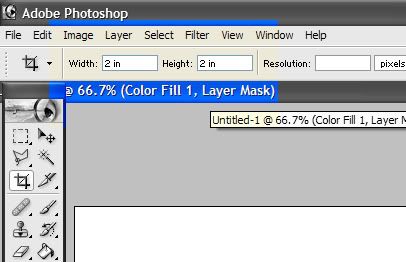
4. Crop the picture. I made sure my crop button had a width/Height of an 2
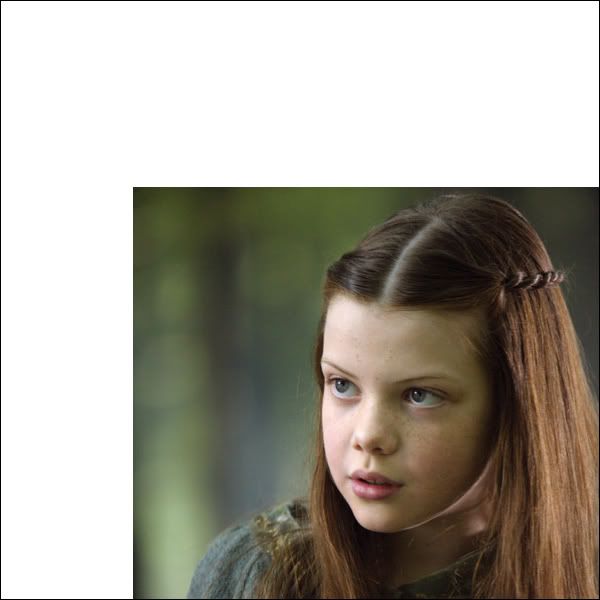
4. Go to Image > Image Size
Make the size of the image to 100x100
Click ok
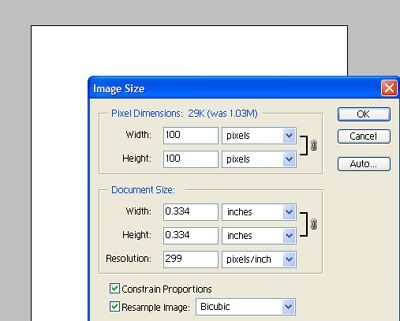
It would look like this
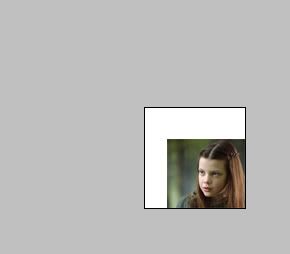
4. Zoom to 400%
Look like this
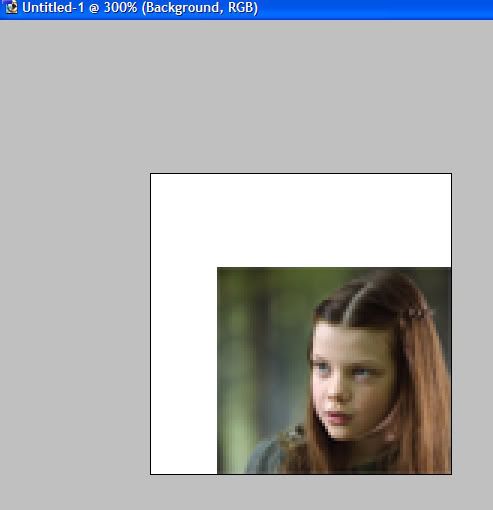
5. Click on the Polygonal Lasso tool
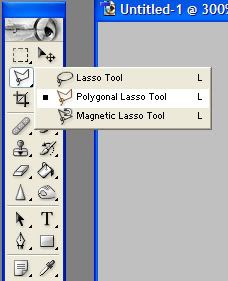
6. You will use the Polygonal Lasso tool around the girl. It doesn't perfect, I didn't do mine perfect. Than right-click and cut it, then delete the surround area around the girl.
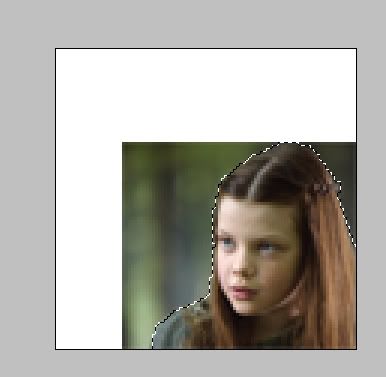
7. Unzoom it back to 100%
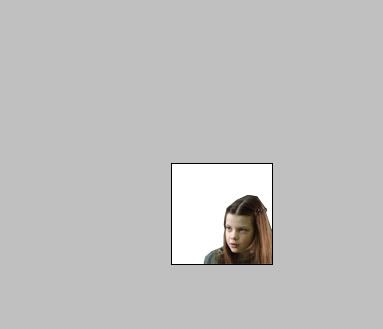
8.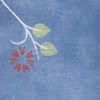
< use this texture and set MULTIPLY
Texture is made by dignityy
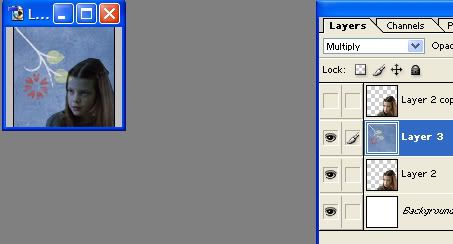
9. Duplicate the girl layer and put it above the texture and screen it.
It will look like this;
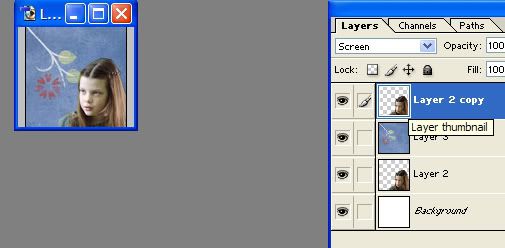
10. Go to LAYER > NEW > LAYER or click Shift+Ctrl+N. Leave it blank, do not make it bg white or anything.
11. I used brushes from
newkidfan
I used Watercolor. (13 brushes. Various sizes. abr and image pack.) You can find it HERE
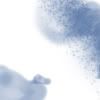
Make sure there is not an white bg, the brush color is #5A79A7. But what I did was take a color-sample from the texture. Whichever texture you are using. You can just do that. I put the brushes on the edges of the girl, this is why I said not to care if the lasso is not good, because we will have brush on the edges of the girl.
The icon will look like this
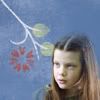
12. Flatten it. LAYER > FLATTEN IMAGE
13. Go to layer > New Fill Layer > Solid Color...
Put the color #E19595.
Set it to Soft Light and Opacity to 40%
14. Go to layer > New Fill Layer > Solid Color...
put this: #A5E4ED.
Set it to Color Burn and Opacity to 26%
15. Go to layer > New Fill Layer > Solid Color...
put the color, #111631.
Set it to Exclusion and Opacity to 43%
16. Go to layer > New Fill Layer > Solid Color...
and put the color, #E4FF00.
Set it to Overlay and Opacity to 2%
17. Layer > New Adjustment Layer > Selective Color
For Red : -66, +11, +40, +11
For Yellow : -36, +25, 0, -100
18.Layer > New Adjustment Layer > Color Balance
Midtones: -13, 0, -2
Shadow: 6, 2, 6
light: 6, 11, 15
19.Layer > New Adjustment Layer > Color Balance
Midtones: - 4,8, +9
20. Layer > New Adjustment Layer > Selective Color
Red : -100, +9, +8, +9
Yellow : +92, 0, -100, +31
21.Layer > New Adjustment Layer > Hue/Saturation
MASTER: 0, 6, 0 REDS: 0, 8, 0 CYAN:0. -7, 0
22.Layer > New Adjustment Layer > Brightness/Contrast
Brightness: - 37
23. Go to layer > New Fill Layer > Solid Color...
FDB968 and put it to soft light.
24. Go to layer > New Fill Layer > Solid Color...
CDF3F4 and put it on color burn
THIS IS WHAT IT IS WILL LOOK LIKE

THANKS TO:
dignityy for her texture.
newkidfan for her brushes
tribades for her basic tutorial on selective color and such. Steps 13-22 is all from her tutorial. I removed some of her steps from her tutorial and added some of my own. but I would not have got this without her help.
How to get this;

to
we're going to use this BIG PICTURE. It's...whatever from whatever movie.
I am using photoshop 7. So good luck.
1. Go to layer > New Fill Layer > Solid Color...
Click Ok
Put #FFFFFF
Click Ok again
2. Copy this picture of the girl above and paste it.
3. Make sure your crop button/brush is set to Width: 2in and Height: 2in.

4. Crop the picture. I made sure my crop button had a width/Height of an 2

4. Go to Image > Image Size
Make the size of the image to 100x100
Click ok

It would look like this

4. Zoom to 400%
Look like this

5. Click on the Polygonal Lasso tool

6. You will use the Polygonal Lasso tool around the girl. It doesn't perfect, I didn't do mine perfect. Than right-click and cut it, then delete the surround area around the girl.

7. Unzoom it back to 100%

8.

< use this texture and set MULTIPLY
Texture is made by dignityy

9. Duplicate the girl layer and put it above the texture and screen it.
It will look like this;

10. Go to LAYER > NEW > LAYER or click Shift+Ctrl+N. Leave it blank, do not make it bg white or anything.
11. I used brushes from
newkidfan
I used Watercolor. (13 brushes. Various sizes. abr and image pack.) You can find it HERE

Make sure there is not an white bg, the brush color is #5A79A7. But what I did was take a color-sample from the texture. Whichever texture you are using. You can just do that. I put the brushes on the edges of the girl, this is why I said not to care if the lasso is not good, because we will have brush on the edges of the girl.
The icon will look like this

12. Flatten it. LAYER > FLATTEN IMAGE
13. Go to layer > New Fill Layer > Solid Color...
Put the color #E19595.
Set it to Soft Light and Opacity to 40%
14. Go to layer > New Fill Layer > Solid Color...
put this: #A5E4ED.
Set it to Color Burn and Opacity to 26%
15. Go to layer > New Fill Layer > Solid Color...
put the color, #111631.
Set it to Exclusion and Opacity to 43%
16. Go to layer > New Fill Layer > Solid Color...
and put the color, #E4FF00.
Set it to Overlay and Opacity to 2%
17. Layer > New Adjustment Layer > Selective Color
For Red : -66, +11, +40, +11
For Yellow : -36, +25, 0, -100
18.Layer > New Adjustment Layer > Color Balance
Midtones: -13, 0, -2
Shadow: 6, 2, 6
light: 6, 11, 15
19.Layer > New Adjustment Layer > Color Balance
Midtones: - 4,8, +9
20. Layer > New Adjustment Layer > Selective Color
Red : -100, +9, +8, +9
Yellow : +92, 0, -100, +31
21.Layer > New Adjustment Layer > Hue/Saturation
MASTER: 0, 6, 0 REDS: 0, 8, 0 CYAN:0. -7, 0
22.Layer > New Adjustment Layer > Brightness/Contrast
Brightness: - 37
23. Go to layer > New Fill Layer > Solid Color...
FDB968 and put it to soft light.
24. Go to layer > New Fill Layer > Solid Color...
CDF3F4 and put it on color burn
THIS IS WHAT IT IS WILL LOOK LIKE
THANKS TO:
dignityy for her texture.
newkidfan for her brushes
tribades for her basic tutorial on selective color and such. Steps 13-22 is all from her tutorial. I removed some of her steps from her tutorial and added some of my own. but I would not have got this without her help.