Bread: Half art, half science, all bafflement
The bad sign is that I'm already plotting my follow-up loaf, when I still have to figure out how I'm going to eat the monster I just made (butter and honey, probably, if the first slice is any indication). Some thoughts right from the start: This is definitely a white bread. I used 1/4 cup of whole wheat flour (instead of spelt, which GBBO taught me can be tricky with rises!), expecting a more interesting flavor, and this one is very... well, it's bread that's white. My flavor was much more interesting on the hilariously flat first loaves. That said, I think it would improve with more crustiness, and I think I impeded the crustiness by baking in the Dutch oven, rather than on a baking sheet, which gave me a lovely, crunchy caramelized bottom the last time. The Dutch oven also seems to have affected the interior rise; you can actually see a line where the bread seems to come up against itself and run out of room. The inside is not as chewy and expansive as my one-inch pancake loaves were. (On further inspection/eating, I think the middle may actually be undercooked enough to not eat. Lesson learned!)
Other possibilities: too much folding, when it came time to fold. I forgot the first time around that you should only fold the dough 4-5 times, rather than 10 or whatever I did in my enthusiasm. I think that's not as much of a factor as the Dutch oven itself was, though. For that much dough, especially dough that was really holding its shape, I should use a pan or (someday) a skillet.
All that said/considered, look at this glorious process! So many bubbles! So much rise!
Right, first task: Prove the yeast. Awake, little buddies, awake!
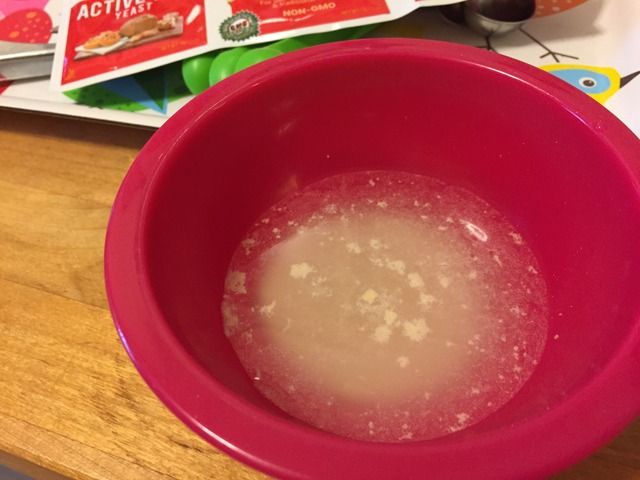
This was always one of my favorite parts when watching/helping my mom cook, watching the yeast start to wiggle and float up. So, okay, starter started (or "sponge," properly, I guess):
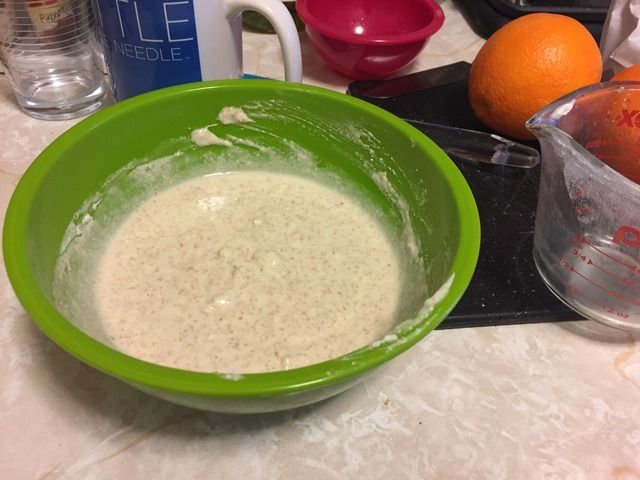
Come in the next morning, and it looks like THIS!
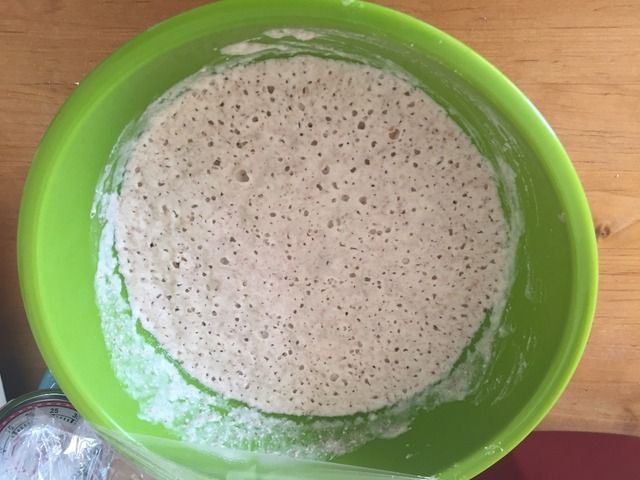
Mix it up some and see its glorious gluten-y architecture, like THIS!
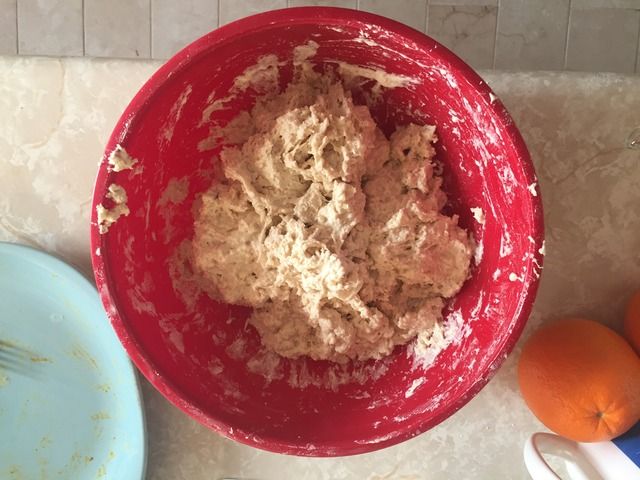
Then you add a ton of new flour. I used bread flour instead of all-purpose flour this time; bread flour has a higher protein content for the yeast to feed on, and I think it really helped in a lot of ways. Compare this effort with this:
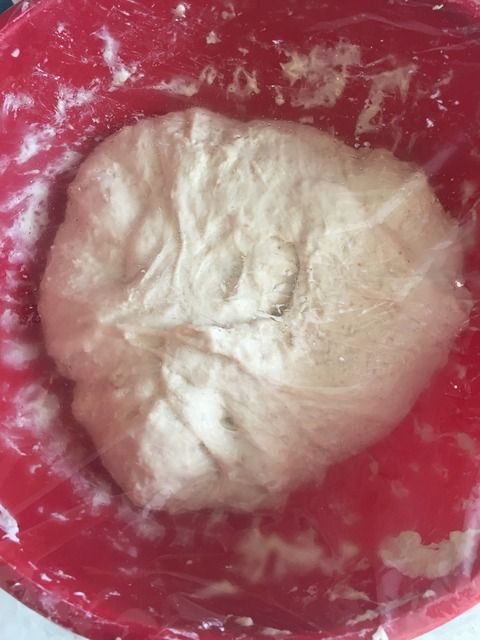
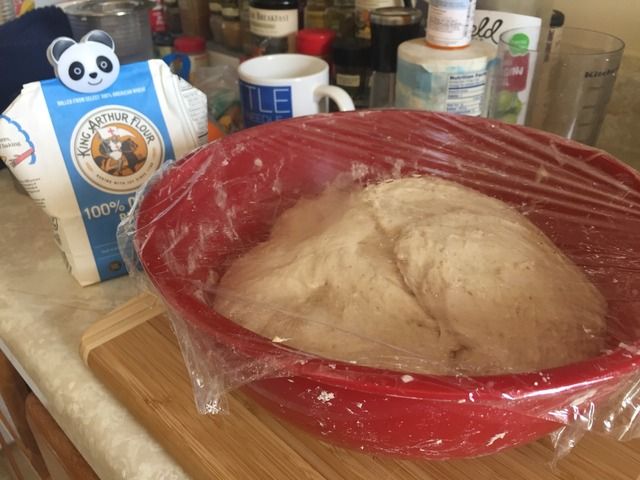
This is where you let it rest for two hours, but every half-hour you do four or five folds in a sort of envelope fashion, to trap air in and also stretch the dough. I found that plastic wrap helps with the rise way more than just using a towel for this part. I've also heard of people using shower caps, which I might try too -- I'm sure I have some, but they live under my sink, so... maybe I will buy some new shower caps for this.
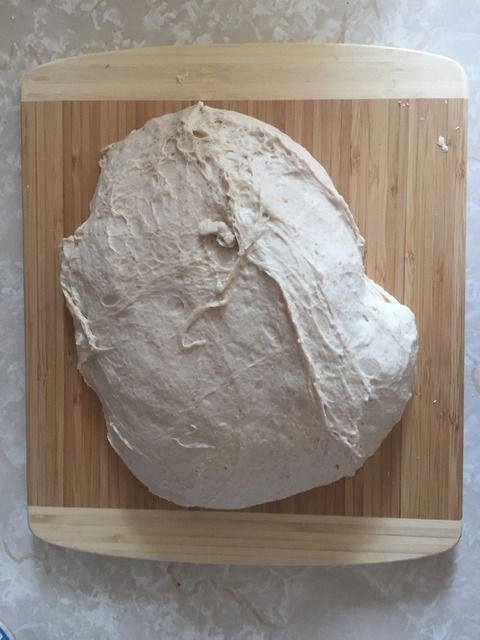
After that, it just pours out so beautifully. Gluten!
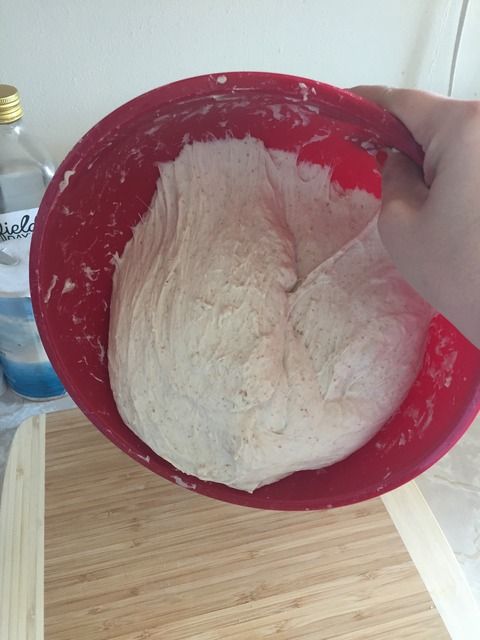
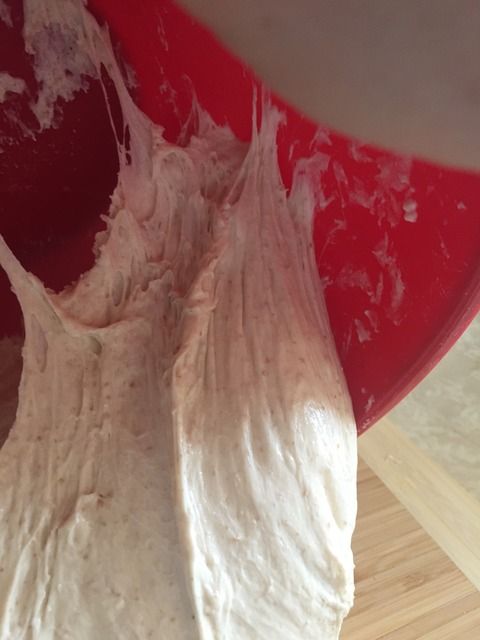
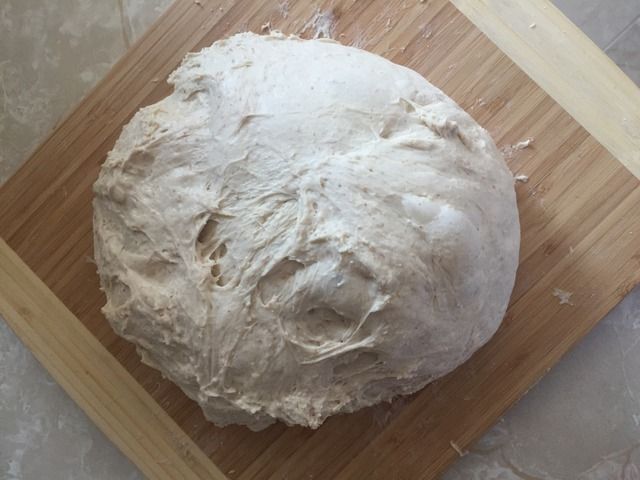
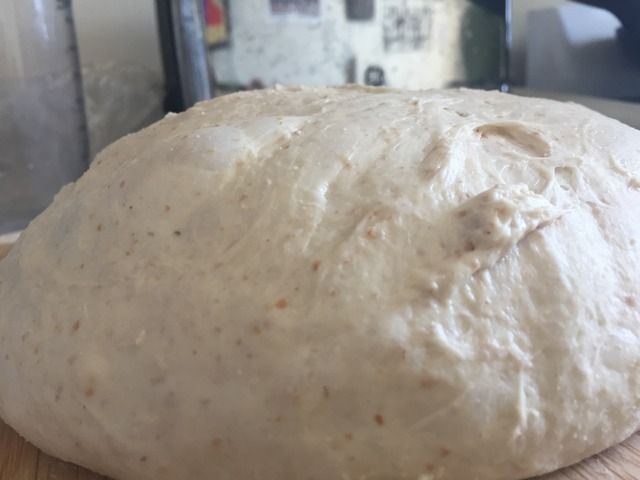
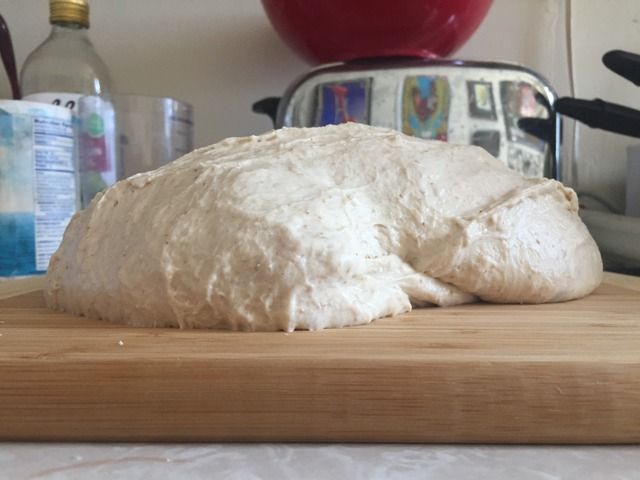
So you pour that onto a surface, with or without flour (sans flour recommended if the dough is non-sticky enough, but it's a pretty sticky dough). And then you just have to admire how tall and proud your lil' doughball has become.
Then you cover it up and let it rest even more (bread is easily tired out). Props to
hope for the magpies tea towel.
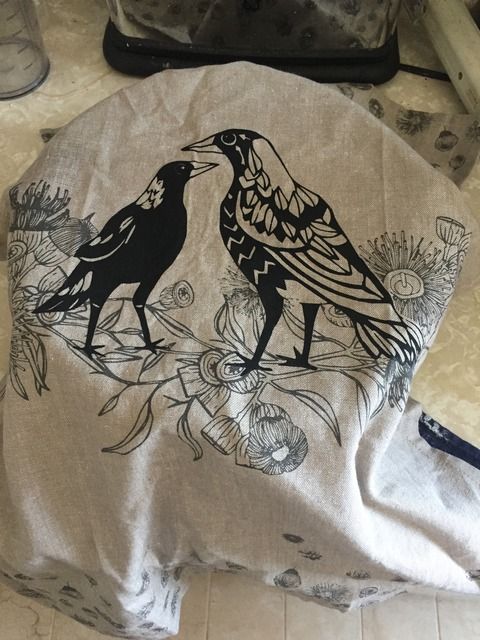
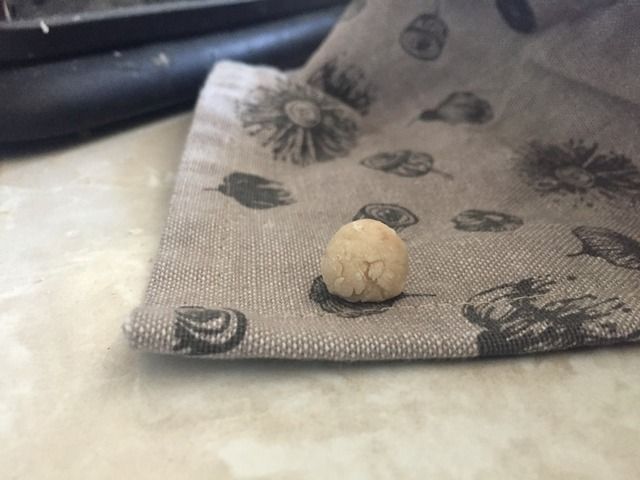
I wanted to see if this little ball I cleaned off the wood board would also rise and expand, and in fact, it did and it was darling.
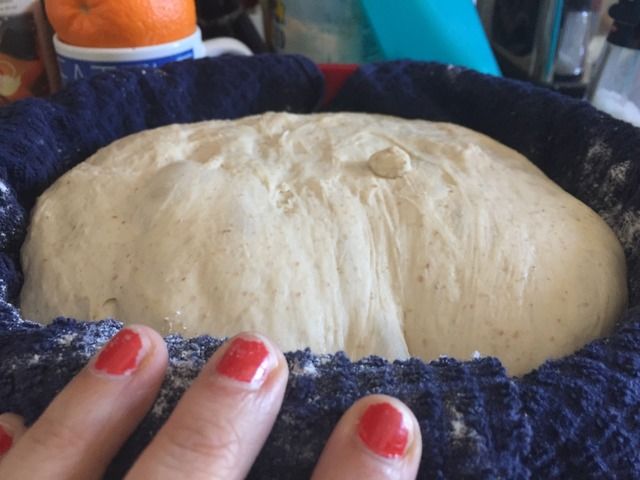
Then you do some more folding, and the recipe designates a top and a bottom (the "seam side" where you been doing all the folding), and then you put the dough ball into a bowl lined with a clean towel dusted with flour. And then it rises even more (!!!), complete with glorious, magnificent bubbles. Behold:
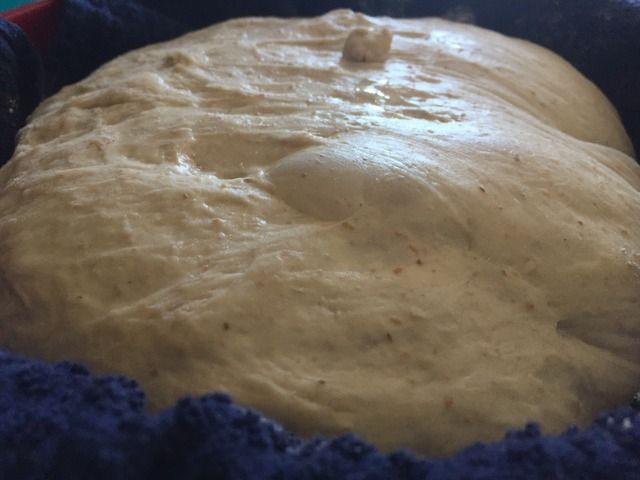
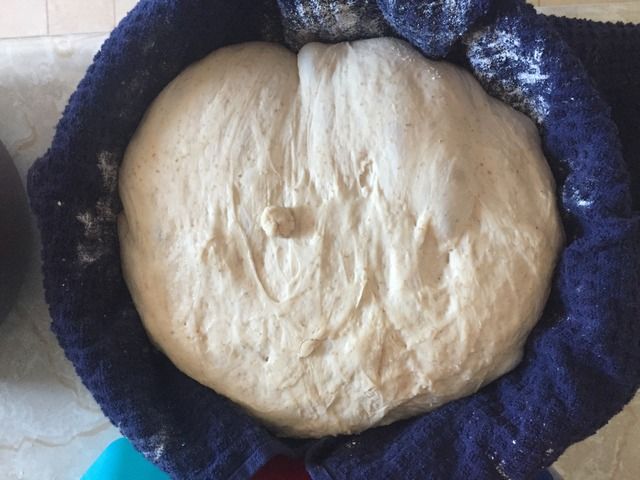
Then you tip it into/onto your baking surface while preheating the oven. The floured side that was next to the towel is now your top-crust-to-be. You make a couple of slashes in the top, so the bread can expand without exploding, and in this case, hope very much that it sorts itself out as it bakes. (There's entirely too much cornmeal on the bottom here, and I will very shortly regret not ensuring that the loaf can come cleanly out of the Dutch oven by other means.)
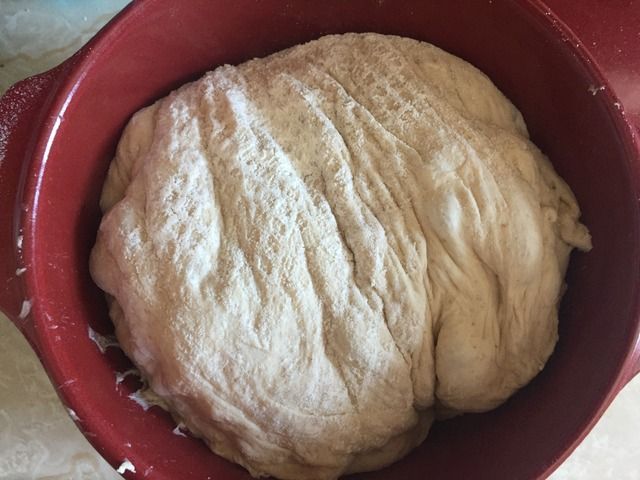
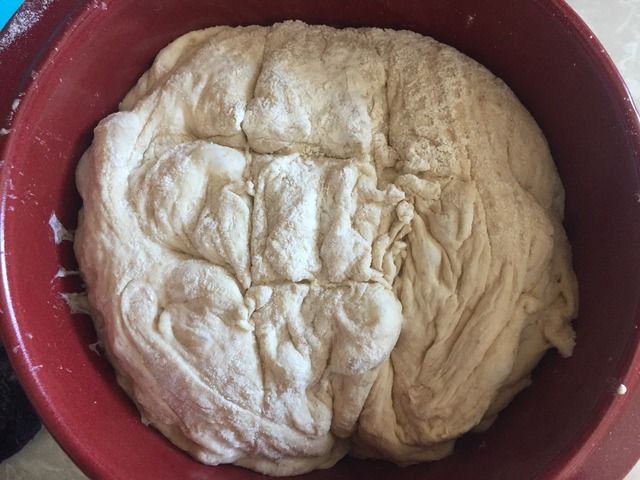
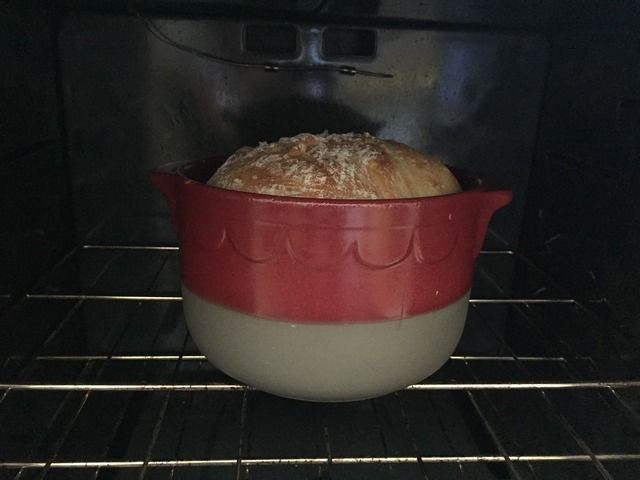
One of my favorite parts of this whole process is creating the steam that injects moisture into the oven -- you toss a couple of ice cubes into the bottom of the heated oven, and they sizzle as you very quickly deposit your loaf onto a rack and then set your timer for 15 minutes or so. You bake the bread covered first, and then remove the cover or the lid or whatever you're using to trap moisture and bake for 15 to 20 minutes. I think each step could have been longer -- my bread was slightly brown and crispy on the outside, but not a lot, and the inside certainly needed more time in the oven.
But. Okay. Compare my second-ever loaf to this little bit of glory:
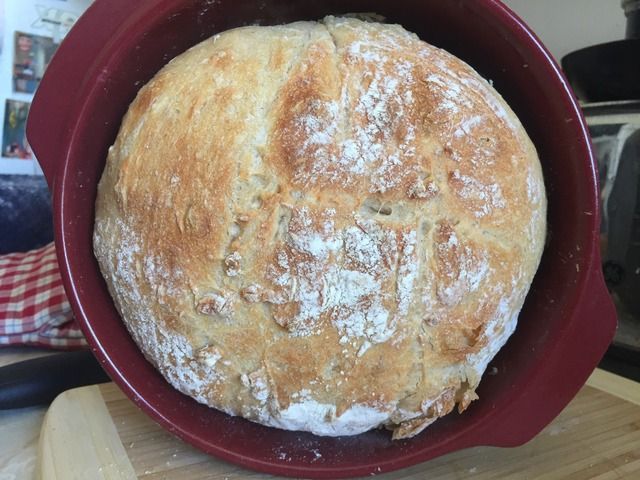
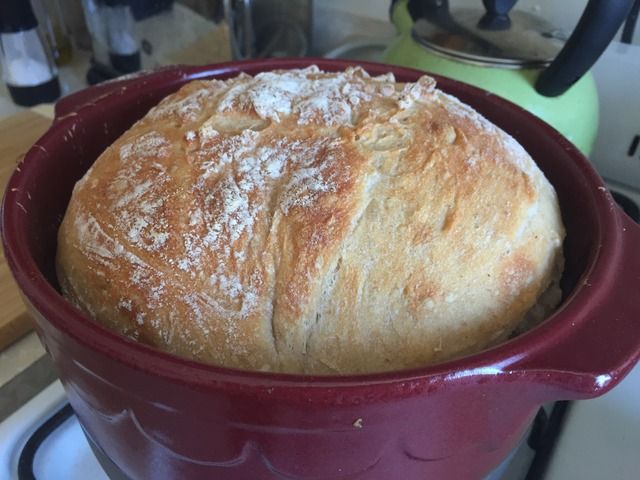
choirofangels.midi
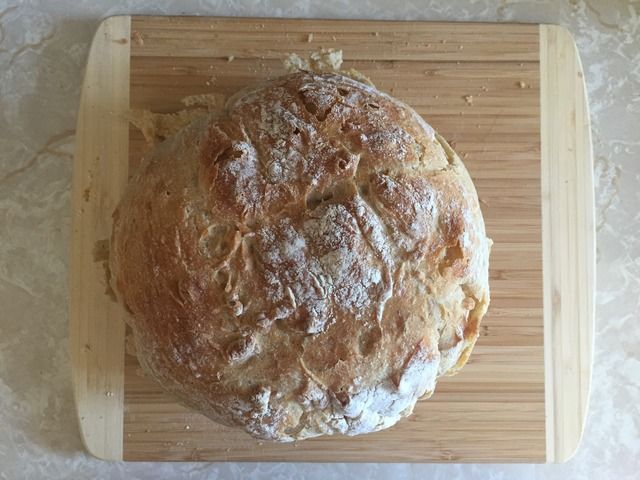
The awe and delight did not last long, however. Getting the loaf out of the Dutch oven proved an adventure. Probably my best actual course of action would have been to leave it in there until it cooled sufficiently (and possibly cooked a little more through the inside). I wanted to try and get it out to bake it directly on the oven rack for an even crunchier crust, though. That... did not work so much.
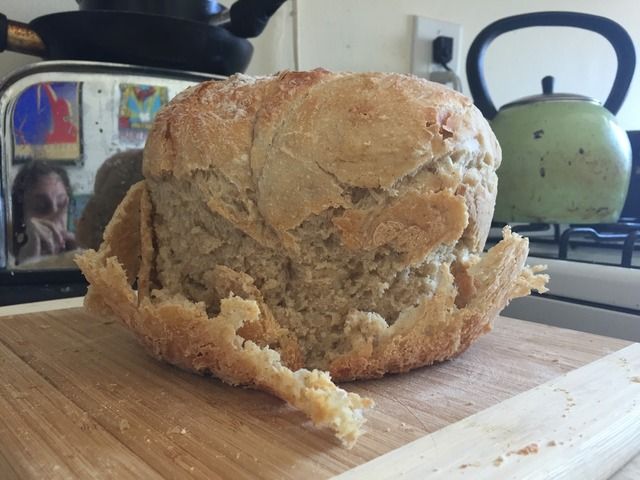
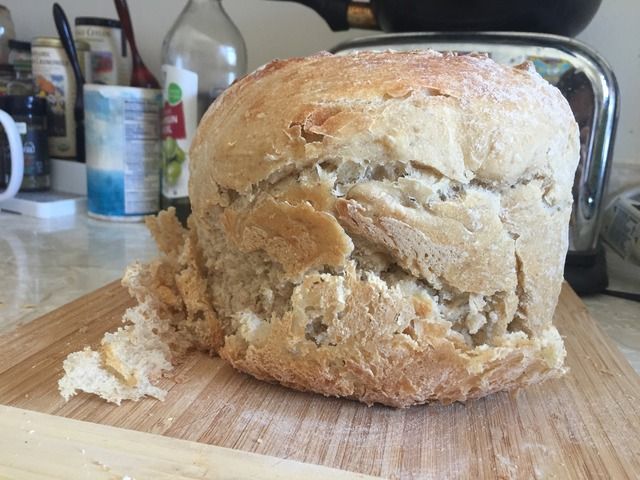
But it was a passably attractive loaf once you ate off the sides:
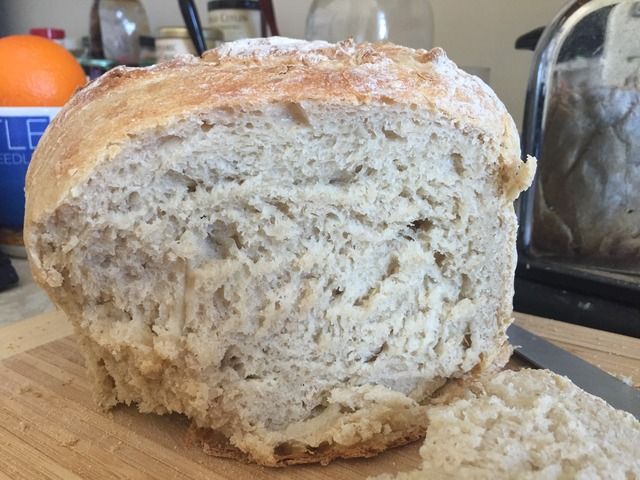
So, here's the inside. Paul and Mary would probably not be very proud of me; again, look for that line where the dough ran out of room to expand and, apparently, bake all the way through. The color and the texture (and, ultimately, the taste) were not as interesting and chewy as my first attempt, with the Breadtopia recipe. But it's definitely a worthwhile mostly-failure; I have a lot to build on for next time, which might be sooner than I think, if I have to toss the entire middle of this loaf. Still, onward! A very good Friday, all in all.
This was originally posted on Dreamwidth, where it has
comments. I would love to hear from you at DW! If you can see this post, you can comment here using OpenID. Thanks!
Other possibilities: too much folding, when it came time to fold. I forgot the first time around that you should only fold the dough 4-5 times, rather than 10 or whatever I did in my enthusiasm. I think that's not as much of a factor as the Dutch oven itself was, though. For that much dough, especially dough that was really holding its shape, I should use a pan or (someday) a skillet.
All that said/considered, look at this glorious process! So many bubbles! So much rise!
Right, first task: Prove the yeast. Awake, little buddies, awake!

This was always one of my favorite parts when watching/helping my mom cook, watching the yeast start to wiggle and float up. So, okay, starter started (or "sponge," properly, I guess):

Come in the next morning, and it looks like THIS!

Mix it up some and see its glorious gluten-y architecture, like THIS!

Then you add a ton of new flour. I used bread flour instead of all-purpose flour this time; bread flour has a higher protein content for the yeast to feed on, and I think it really helped in a lot of ways. Compare this effort with this:

This is where you let it rest for two hours, but every half-hour you do four or five folds in a sort of envelope fashion, to trap air in and also stretch the dough. I found that plastic wrap helps with the rise way more than just using a towel for this part. I've also heard of people using shower caps, which I might try too -- I'm sure I have some, but they live under my sink, so... maybe I will buy some new shower caps for this.

After that, it just pours out so beautifully. Gluten!


So you pour that onto a surface, with or without flour (sans flour recommended if the dough is non-sticky enough, but it's a pretty sticky dough). And then you just have to admire how tall and proud your lil' doughball has become.


Then you cover it up and let it rest even more (bread is easily tired out). Props to

hope for the magpies tea towel.

I wanted to see if this little ball I cleaned off the wood board would also rise and expand, and in fact, it did and it was darling.

Then you do some more folding, and the recipe designates a top and a bottom (the "seam side" where you been doing all the folding), and then you put the dough ball into a bowl lined with a clean towel dusted with flour. And then it rises even more (!!!), complete with glorious, magnificent bubbles. Behold:


Then you tip it into/onto your baking surface while preheating the oven. The floured side that was next to the towel is now your top-crust-to-be. You make a couple of slashes in the top, so the bread can expand without exploding, and in this case, hope very much that it sorts itself out as it bakes. (There's entirely too much cornmeal on the bottom here, and I will very shortly regret not ensuring that the loaf can come cleanly out of the Dutch oven by other means.)


One of my favorite parts of this whole process is creating the steam that injects moisture into the oven -- you toss a couple of ice cubes into the bottom of the heated oven, and they sizzle as you very quickly deposit your loaf onto a rack and then set your timer for 15 minutes or so. You bake the bread covered first, and then remove the cover or the lid or whatever you're using to trap moisture and bake for 15 to 20 minutes. I think each step could have been longer -- my bread was slightly brown and crispy on the outside, but not a lot, and the inside certainly needed more time in the oven.
But. Okay. Compare my second-ever loaf to this little bit of glory:


choirofangels.midi
The awe and delight did not last long, however. Getting the loaf out of the Dutch oven proved an adventure. Probably my best actual course of action would have been to leave it in there until it cooled sufficiently (and possibly cooked a little more through the inside). I wanted to try and get it out to bake it directly on the oven rack for an even crunchier crust, though. That... did not work so much.


But it was a passably attractive loaf once you ate off the sides:

So, here's the inside. Paul and Mary would probably not be very proud of me; again, look for that line where the dough ran out of room to expand and, apparently, bake all the way through. The color and the texture (and, ultimately, the taste) were not as interesting and chewy as my first attempt, with the Breadtopia recipe. But it's definitely a worthwhile mostly-failure; I have a lot to build on for next time, which might be sooner than I think, if I have to toss the entire middle of this loaf. Still, onward! A very good Friday, all in all.

This was originally posted on Dreamwidth, where it has
comments. I would love to hear from you at DW! If you can see this post, you can comment here using OpenID. Thanks!