(no subject)
Requested by : pktrekgirl and kumikouk
Done in PS 7. Uses adjustment layers, but should be translateable.
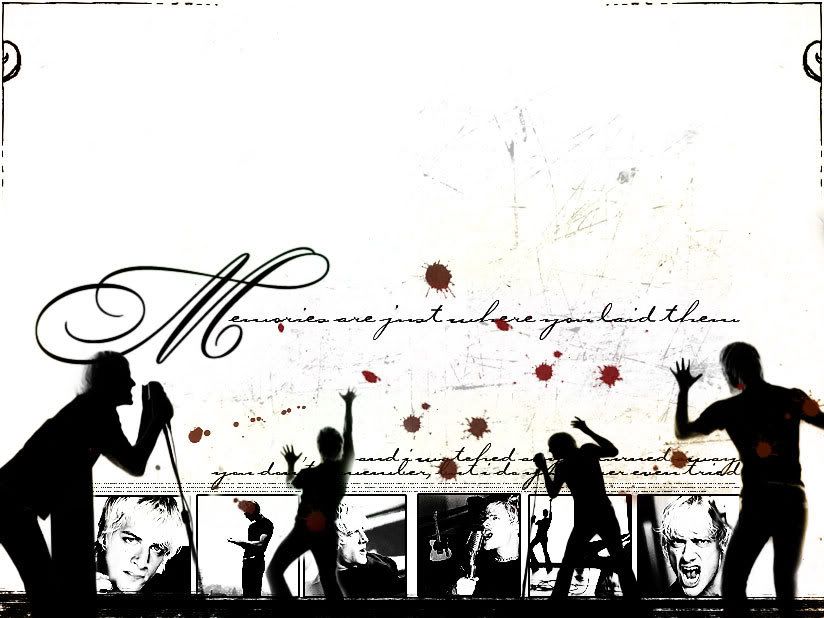
Make a graphic like this:
Click on thumbnails to see fullsize images
Okay, I started out with a 1024x768 blank, white canvas. Next I took 6 icons that I had made using caps from Fuel's "Hemorrhage(In My Hands)" video. After placing the towards the bottom of my canvas, I decided to place a 1px black stroke on each one of them and then merged the layers together so if I decided to move them, I wouldn't have to do each one individually.

Alright, I new that I wanted to make these black and white so I used a black and white gradient map adjustment layer to do so. You could also just desaturate the image, but I find that the gradient map looks much better, imo. If you use the gradient map, depending on your pictures that you are using, you may need to adjust the amount of black and white. Just do that by clicking on the black and white gradient when the window pops up and then move the slider back and forth to adjust it.

Now, the black and white looks nice, but I wanted it to pop, so I next added a brightness/contrast adjustment layer, My brightness is set on +41 and the contrast is +32, but again, that will need to be adjusted according to the pictures that you are using.

Next I took some more screencaps from the video and placed them on my canvas and removed the bacgrounds using layer masking.

A couple of the caps had a bit of color on them, so I again used a gradient map adjustment layer to make them completely black and white.
Underneath the image with the icons on it, I added this brush. I have no clue where it's from. I've searched through all of my sets with ABR Viewer to find it and I'm obviously just missing it, but I can't find it. So if anyone recognizes it, let me know so I can properly credit.


Next I added this scratchy brush in black and put the opacity at 24%


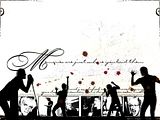
Next I wanted to add some text. So I took some of the lyrics from the song. On the main text, the large M is done with the Beautiful Caps ES font and the smaller line is done with Carpenter ICG. The other text is also done in Carpenter ICG. I also added a tiny text brush from fangirls_inc
Next I took this texture from inxsomniax and pasted it on top of the brush. I gave it a good motion blur and set the blend mode to Color and 57% opacity,

I added these brushes from Inobscuro.com. The corner one I did first then duplicated it and flipped it, and moved it over to the other corner. The splats might be a couple of different brushes...I really don't remember, but I know they're from the same set.


Lastly, on top of everything, I added another black and white adjustment layer, setting the blend mode this time to Multiply to darken things up a bit and add some depth.
And that's it :)
Done in PS 7. Uses adjustment layers, but should be translateable.
Make a graphic like this:
Click on thumbnails to see fullsize images
Okay, I started out with a 1024x768 blank, white canvas. Next I took 6 icons that I had made using caps from Fuel's "Hemorrhage(In My Hands)" video. After placing the towards the bottom of my canvas, I decided to place a 1px black stroke on each one of them and then merged the layers together so if I decided to move them, I wouldn't have to do each one individually.

Alright, I new that I wanted to make these black and white so I used a black and white gradient map adjustment layer to do so. You could also just desaturate the image, but I find that the gradient map looks much better, imo. If you use the gradient map, depending on your pictures that you are using, you may need to adjust the amount of black and white. Just do that by clicking on the black and white gradient when the window pops up and then move the slider back and forth to adjust it.

Now, the black and white looks nice, but I wanted it to pop, so I next added a brightness/contrast adjustment layer, My brightness is set on +41 and the contrast is +32, but again, that will need to be adjusted according to the pictures that you are using.

Next I took some more screencaps from the video and placed them on my canvas and removed the bacgrounds using layer masking.

A couple of the caps had a bit of color on them, so I again used a gradient map adjustment layer to make them completely black and white.
Underneath the image with the icons on it, I added this brush. I have no clue where it's from. I've searched through all of my sets with ABR Viewer to find it and I'm obviously just missing it, but I can't find it. So if anyone recognizes it, let me know so I can properly credit.


Next I added this scratchy brush in black and put the opacity at 24%


Next I wanted to add some text. So I took some of the lyrics from the song. On the main text, the large M is done with the Beautiful Caps ES font and the smaller line is done with Carpenter ICG. The other text is also done in Carpenter ICG. I also added a tiny text brush from fangirls_inc
Next I took this texture from inxsomniax and pasted it on top of the brush. I gave it a good motion blur and set the blend mode to Color and 57% opacity,

I added these brushes from Inobscuro.com. The corner one I did first then duplicated it and flipped it, and moved it over to the other corner. The splats might be a couple of different brushes...I really don't remember, but I know they're from the same set.


Lastly, on top of everything, I added another black and white adjustment layer, setting the blend mode this time to Multiply to darken things up a bit and add some depth.
And that's it :)