Doctor Who icon tutorial
This particular icon of mine has been getting some attention again lately and I wanted to just pause between my ATM fills and get it settled.
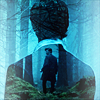
You'll need this cap and the site where I got the original caps for is down so I can't find the one where he's looking to the left but here's a couple that should work, one or two
We'll be working with a 200x200 canvas as that's what my psd is saved as.
So get the first cap and crop it like this
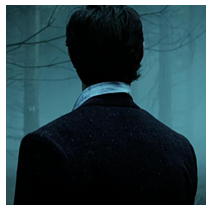
Sharpen to your liking
You'll need one of the second caps to do the next part, I'm just using the original for times sake. Add on a layer mask, set to Screen at 68%. Cut out everything so it's just covering his back.
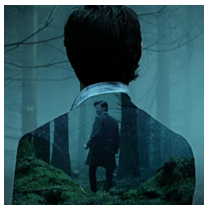
Here is another cap you'll need for the tree details. Again, it's not the original I used but it should work. (If you're finding any of these caps not working, you can look for some yourself. It's from s7 ep. 10. :])
Erase from his back only
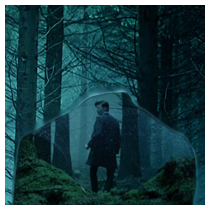
Set to Screen at 53%.
Copy the last layer and set to Soft Light at 53%.
Create a color fill layer with this blue #2b879e. Erase from the green parts at the bottom and set to Soft Light
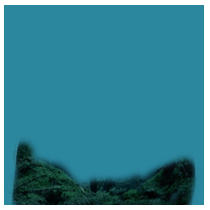
>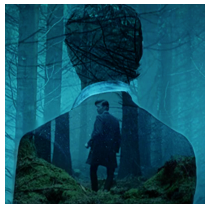
Create a curves layer and enter Output: 140 Input: 115 on RGB. Set the opacity to 55%.
Create a Brightness/Contrast layer and set brightness to 10 and contrast to 38.
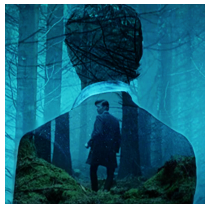
Make a Color Balance layer and in midtones change the settings to +24, -10, - 1. Change the opacity to 40%.
Create a Selective Color layer and in blacks change black to +5.
Create a Hue/Saturation layer and set saturation to +15.
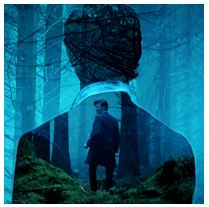
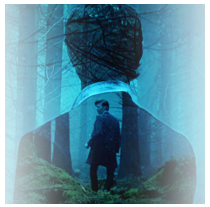
Create a new layer and around the left & right edges paint with a large soft brush with this color #deecf0. Set to Linear Dodge at 56%
>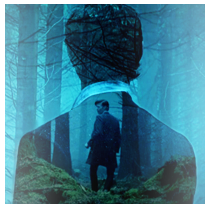
Create a black and white gradient map and set it to Hard Light at 38%.
Create a Brightness/Contrast layer and set the brightness to 29.
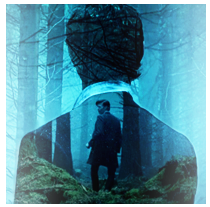
Resize, sharpen and flatten. Then you're done!

Since this was from a while ago, it's not as bright as I would have it now. I'd add in a vibrance layer and a color balance layer to bring out the greens. I'd probably add in some more textures in there too but that's up to you!
You'll need this cap and the site where I got the original caps for is down so I can't find the one where he's looking to the left but here's a couple that should work, one or two
We'll be working with a 200x200 canvas as that's what my psd is saved as.
So get the first cap and crop it like this
Sharpen to your liking
You'll need one of the second caps to do the next part, I'm just using the original for times sake. Add on a layer mask, set to Screen at 68%. Cut out everything so it's just covering his back.
Here is another cap you'll need for the tree details. Again, it's not the original I used but it should work. (If you're finding any of these caps not working, you can look for some yourself. It's from s7 ep. 10. :])
Erase from his back only
Set to Screen at 53%.
Copy the last layer and set to Soft Light at 53%.
Create a color fill layer with this blue #2b879e. Erase from the green parts at the bottom and set to Soft Light
>
Create a curves layer and enter Output: 140 Input: 115 on RGB. Set the opacity to 55%.
Create a Brightness/Contrast layer and set brightness to 10 and contrast to 38.
Make a Color Balance layer and in midtones change the settings to +24, -10, - 1. Change the opacity to 40%.
Create a Selective Color layer and in blacks change black to +5.
Create a Hue/Saturation layer and set saturation to +15.
Create a new layer and around the left & right edges paint with a large soft brush with this color #deecf0. Set to Linear Dodge at 56%
>
Create a black and white gradient map and set it to Hard Light at 38%.
Create a Brightness/Contrast layer and set the brightness to 29.
Resize, sharpen and flatten. Then you're done!
Since this was from a while ago, it's not as bright as I would have it now. I'd add in a vibrance layer and a color balance layer to bring out the greens. I'd probably add in some more textures in there too but that's up to you!