I Can't Get Enough Madd Style! -quick-n-easy-frankening tut
I'm a bad blogger, bad, bad blogger. I've just been so busy with "growing up" junk, that I forgot what my passions were. Well, I'm back *for good this time* to my old self, and what better way to come back than to roll around in one of my favorite Madd Style Cosmetics' color, Gypsy Punx!?
Gypsy Punx! was discontinued due to supply issues, so I've been more or less hoarding a couple pots, but I recently came upon a third pot and decided that I needed to wear it everywhere I possibly could, including my nails. This is definitely not a "professional" frankening tutorial; it's just a quick, casual polish. I've played here and there with some frankening, so I DO have a few pointers for those that want to do it just for fun.
Before you mix all your pretty pigments into a bottle of polish, I will say: DO A TEST RUN FIRST! For my play-polishes, I put a little bit of my piggies and/or extra glitters in to a clean, used bottle cap, and put the polish on over top. If you just want a one-batch polish, you can use them as a mini bowl to mix your manicure in. If you're planning to make a fullish bottle, let it sit, covered in some cling plastic, to make sure your glitter isnt going to bleed or melt.
If you are planning on frankening regularly, you should look into new, unused containers to test your concoctions in. I'm all about DIY-on the fly-punk rock stuff, so of course, I am going to suggest the cheaper way for personal use, but safety comes first so PLEASE do not randomly throw crap together and sell it.
For a full bottle franken: If you are using a polish that is already suspending glitter, you can mix in a clear coat to dilute it, or you can buy a suspension base with no glitter. If you are just going to use a top coat, or base coat with no suspending qualities, you'll want a little metal BB or bead to help mix your polish for when it starts to settle.
If you are doing this professionally, invest in a funnel and other sanitized/sterile equipment, but for my tutorial you are going to need:
A bottle of clearcoat (base or top, doesn't matter)
A BB or bead
OR
A suspension base/glitter polish
Your favorite pigment color(s)/glitter/etc
A Square of paper, folded in half.
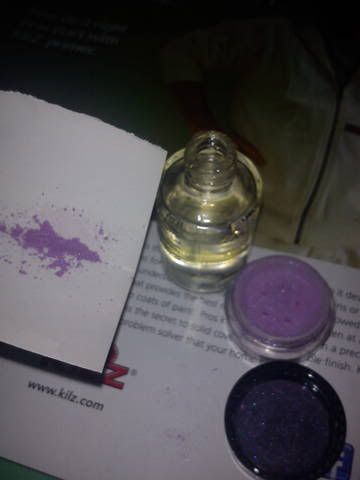
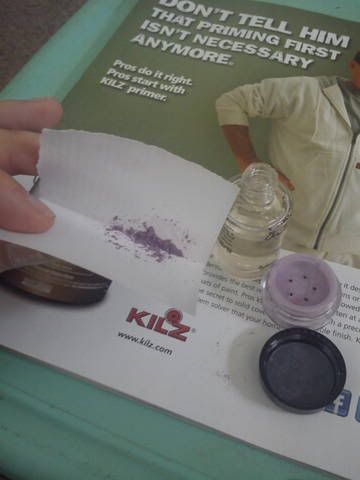
Put your BB/bead in the clear coat.
Shake your pigments/glitters into the fold of your paper scrap, and use the crease to pour it in to your polish. I tried using a little tiny 1/8 teaspoon to pour in to the polish and made a mess, if you have a little tiny flask funnel, that would work too, just DON'T use it for food after you put it in makeup and polish, yuck.
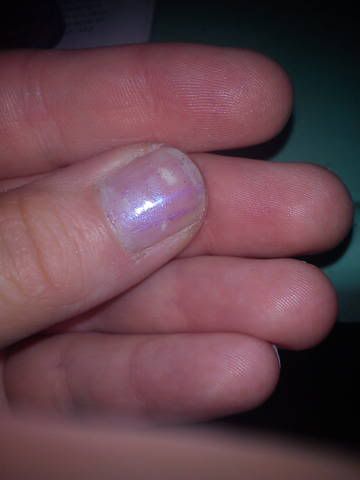
My first amount of pigment looked fully colored in the bottle, but barely went on as anything. Mix your polish for whatever intensity you want your color to be.
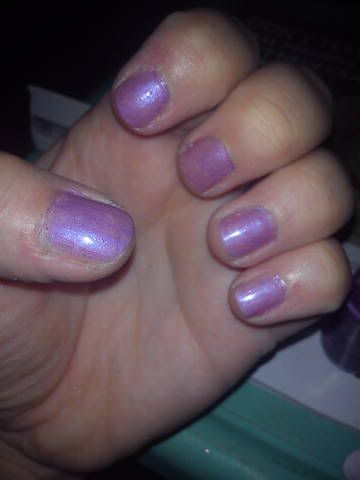
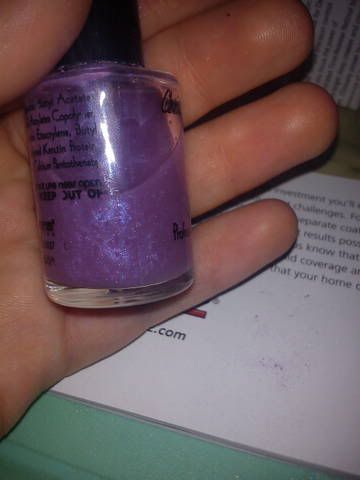
I added some more pigment so that with one coat, I have an obvious color (shown above), but it's still sheer, this way, I can use it to tint other polishes as a top coat, or when I apply a second coat, I get a full, saturated Gypsy Punx! color:
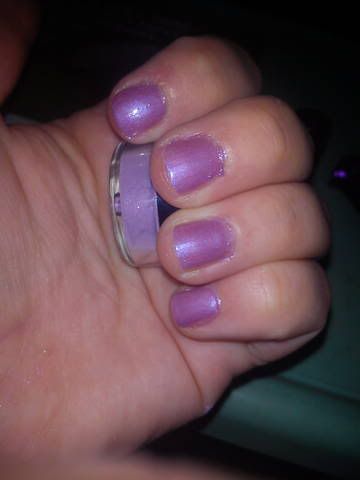
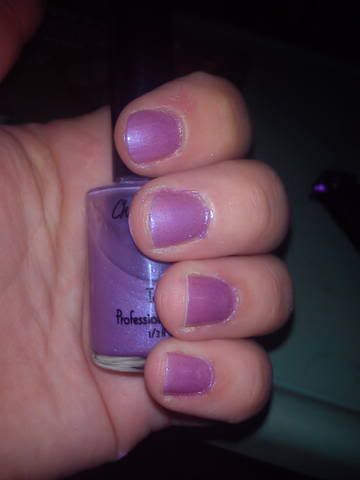
So there you have it. A quick and easy way to wear your favorite color ALL the time, to perfectly coordinate your eyes and nails, something to do if you're bored, etc etc.