PSP 8--Yuna and Lenne, Masks and Blending
Tutorial Of Stuffage.
Program Used-->Paint Shop Pro 8
Skills --> Blending, Masking, Faded Bordering
From--> Lenne and Yuna
To-->
Image Heavy.
Credit --> death_of_dreams
Hi people! ^_^
I was making this and had the urge to tutorial for it. So um, yesshir.
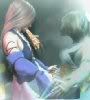
1. So, first image: Lenne:
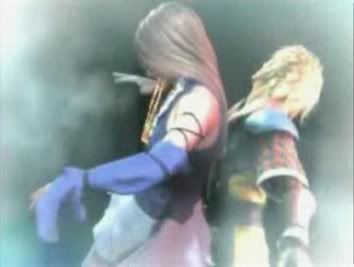
Well, crop out Lenne, but not Shuyin. Take the green space with you.
Mirror.
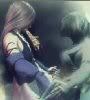
2. Second Image: Yuna:
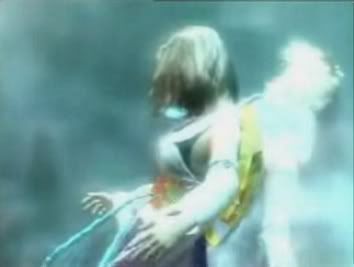
Crop out Yuna but not Tidus, again, taking the green space with you.
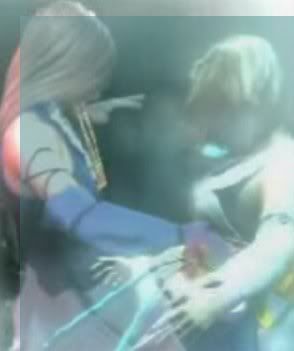
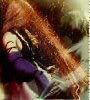
3. Putting them Together
So, layer Yuna over Lenne. She's shorter and all that, so you're in luck.
(Sorry, I didn't take pictures of these first few steps, but I wasn't planning on turning this into a tutorial at the time.)
Now, right click on Yuna and select New Mask Layer>From Image and Yuna will be blendyish into Lenne. But leave it like that? Nu-uh.
So you should have : (I went back and made more pictures for you. ^_^)
Now, set your eraser to white and white (foreground and background). Erase the ENTIRE Image of Yuna.
You'll see she's solid again.
Now, set your eraser to black and black.
Start erasing at the edges, then work your way into Yuna. I erased a bit of her dress and the hand that's towards the back because it was annoying me. Make it look as good as you can.
**Remember, you can always just use the white and white eraser to bring the picture back if you screw it up**
And now your icon is blended. Merge down with the Yuna Layer.
4. Resize to a height of 100, and whatever width you get. Mine was 90.
5. Duplicate the base. Go to Adjust>Blur>Gaussian Blur. Mine is set on a radius of 4. Okay it, and set that layer to soft light.
6. Duplicate the base and set to Multiply 100.
7. New Layer. Fill with #070034. Set on Exclusion 100. Add another layer --black, Colour Legacy at 50.
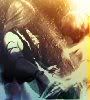
Checkpoint:
8.

by crumblingwalls on top. Burn 43. Is what I used. Erase over Yuna, with your eraser on Opacity 13.
9. Texture!
by _____ (I think it's franken_stein or something)
On Screen 75 after you fiddle to see where you want it to go.
Checkpoint:
10. Gradient

by crumblingwalls Hard Light, 70.
11. Gradient
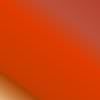
death_of_dreams (me). Set to dodge 41.
12. Gradient
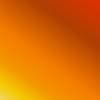
by death_of_dreams (me). Set to Soft Light 100. With an eraser of
opacity 13, erase Yuna.
13. Gradient

by (I don't know! If you do, could you tell me please?) on Colour Legacy 68.
Checkpoint:

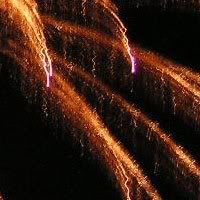
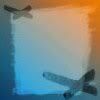
The Base Thing
I took this base (by __candyrain )
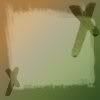
.
Flip clockwise 90 degrees.
Overly
this--set to Colour 100 and merge all.
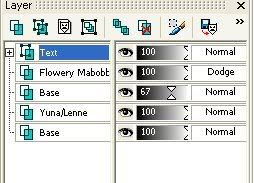
Now, take your finished Lenne/Yuna bit and layer overtop.
Duplicate the orange/blue base and place over Lenne and Yuna. Then erase the square in the
middle.
The duplicated layer is set to Normal 67, adds a faded border effect.
I added a little white brush (it's on Dodge, if you care) and then the text 'fallen angels' in
Brush Script.
Merge all, and save!
+please comment, people take a lot of time to write these out (It's taken me over an hour just to
type out this post and check all the links and whatnot)
+try not to make this exact icon (Reccommendations for making a diff: start with a different base, use
a few different gradients, different text and brushes.)
^_^