Cake of Epicness™
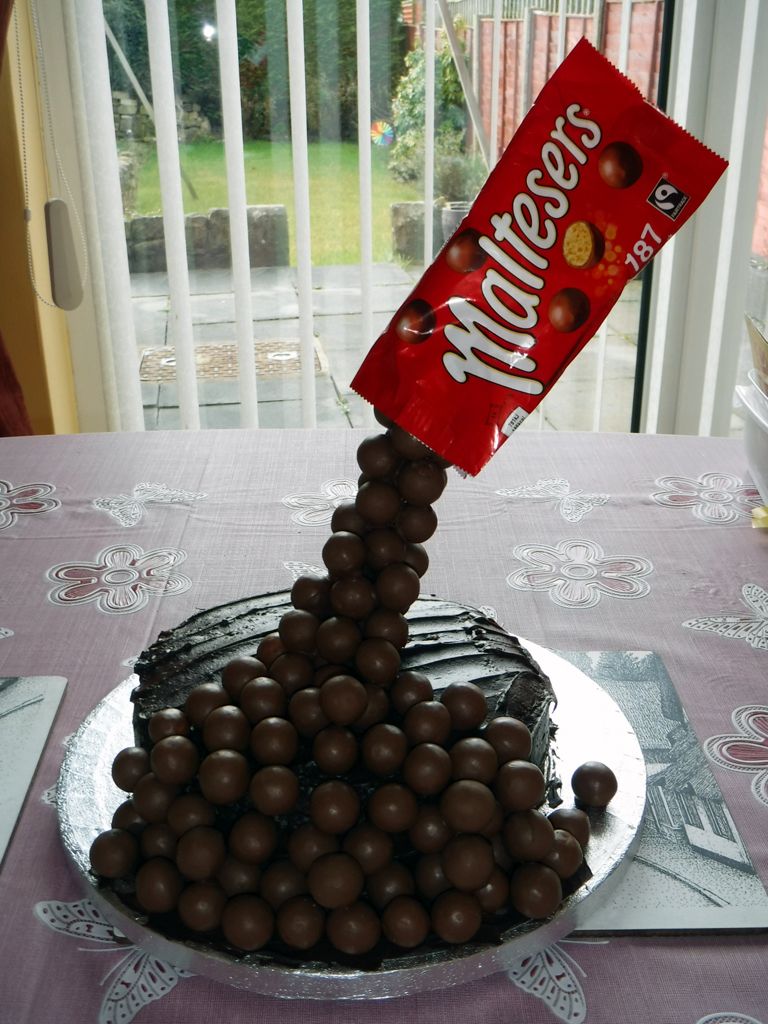
The past few days have been fairly busy because it was my sister's birthday yesterday and I was making her a Cake of Epicness™. I made the actual cake on Sunday afternoon, decorated it on Monday morning and put the finishing touches to it Tuesday morning before she arrived.
Click for a bigger picture.
Not bad, eh? It's fairly simple to make really. As long as you can master Wingardium Leviosa (remember it's Levi-OH-sa, not Levi-oh-SAH), you'll be right.
The cake itself was fairly straightforward. I'd seen photos of a great swirly cake which reminded me of the marbled cakes my mother used to make so I had a go at that.
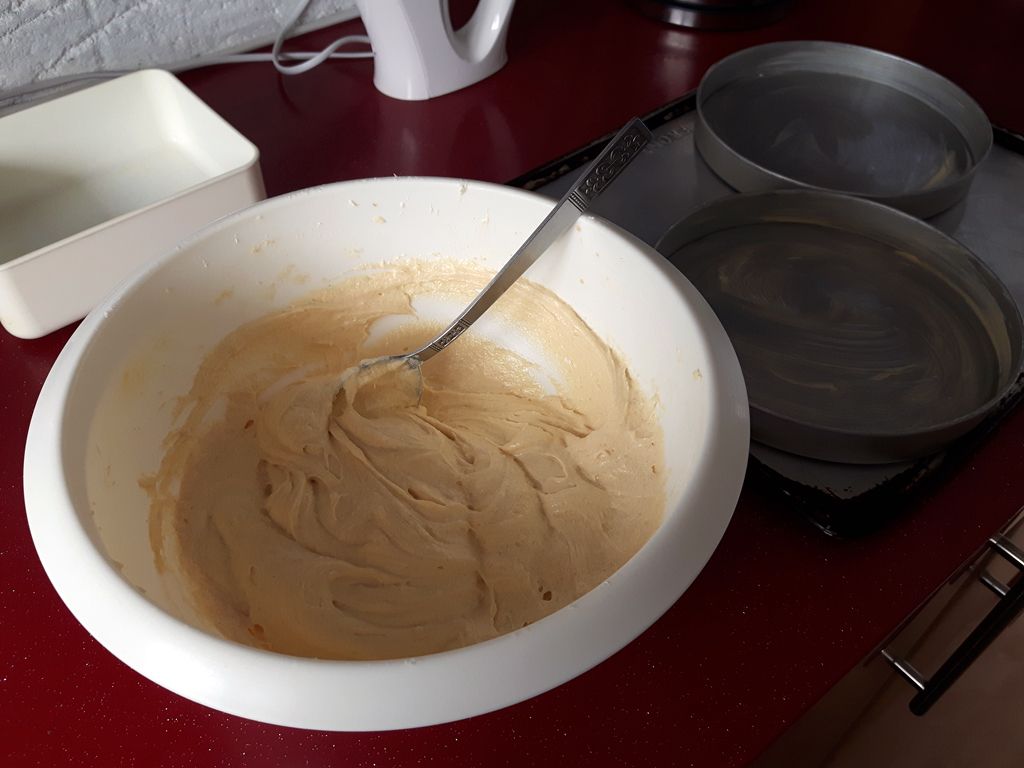
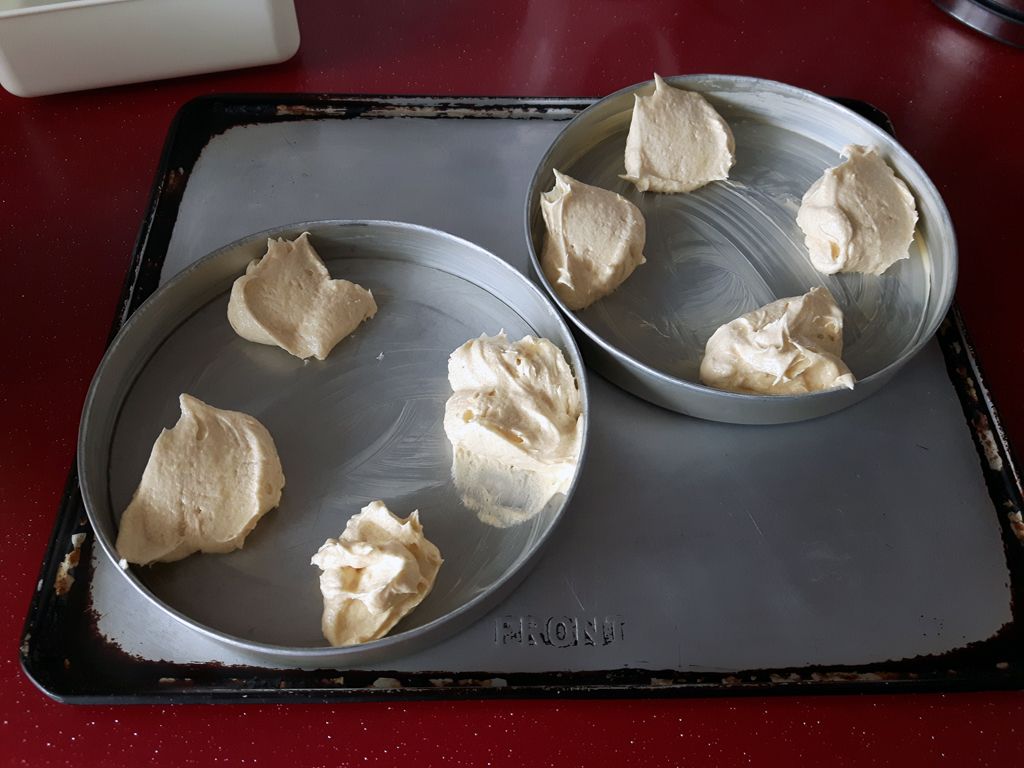
I made a basic sponge cake mix, put half of it into the cake tins and then coloured the remaining half pink. (The photo with the pink and plain blobs didn't come out but I'm sure you can imagine what it looked like.)
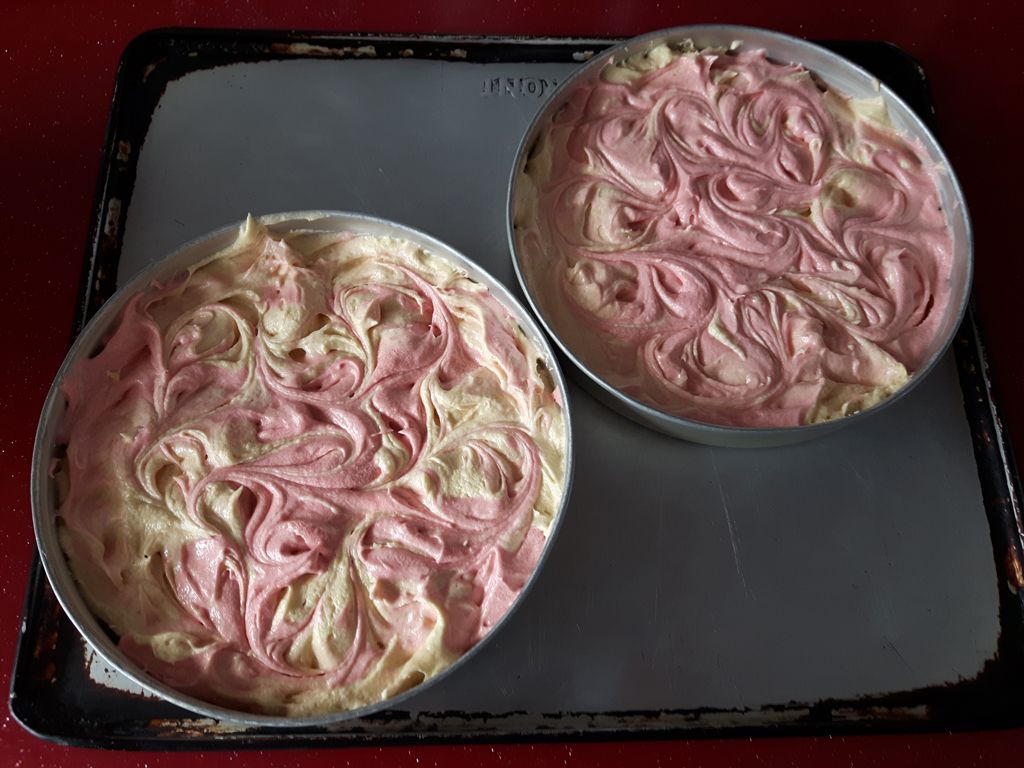
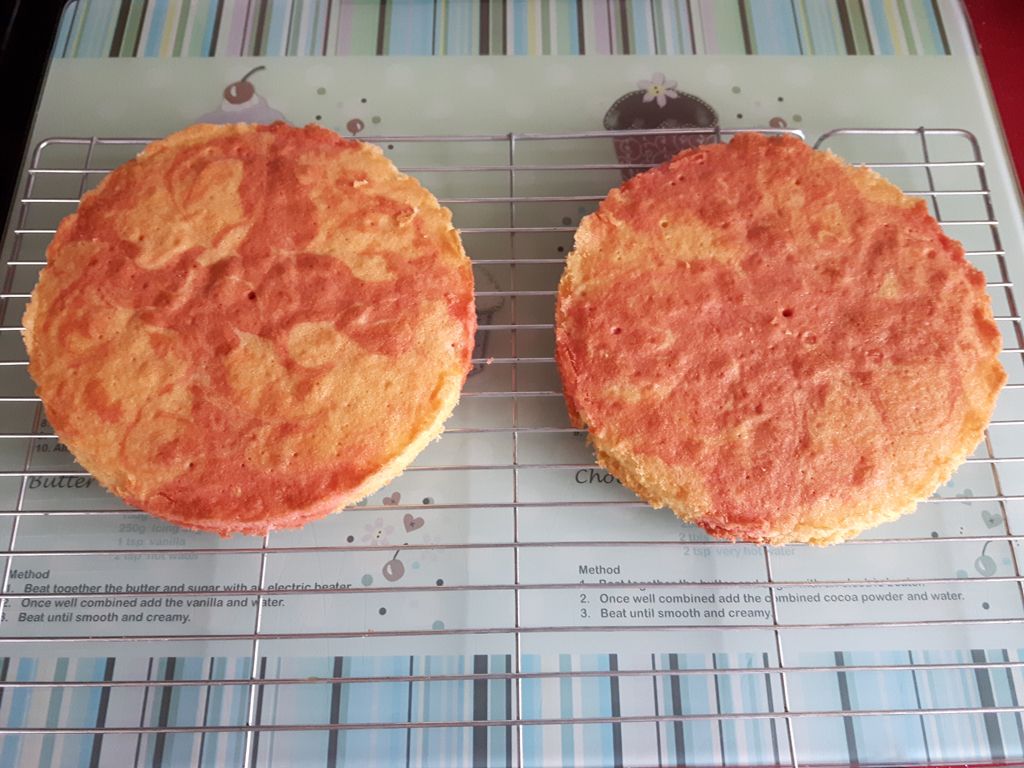
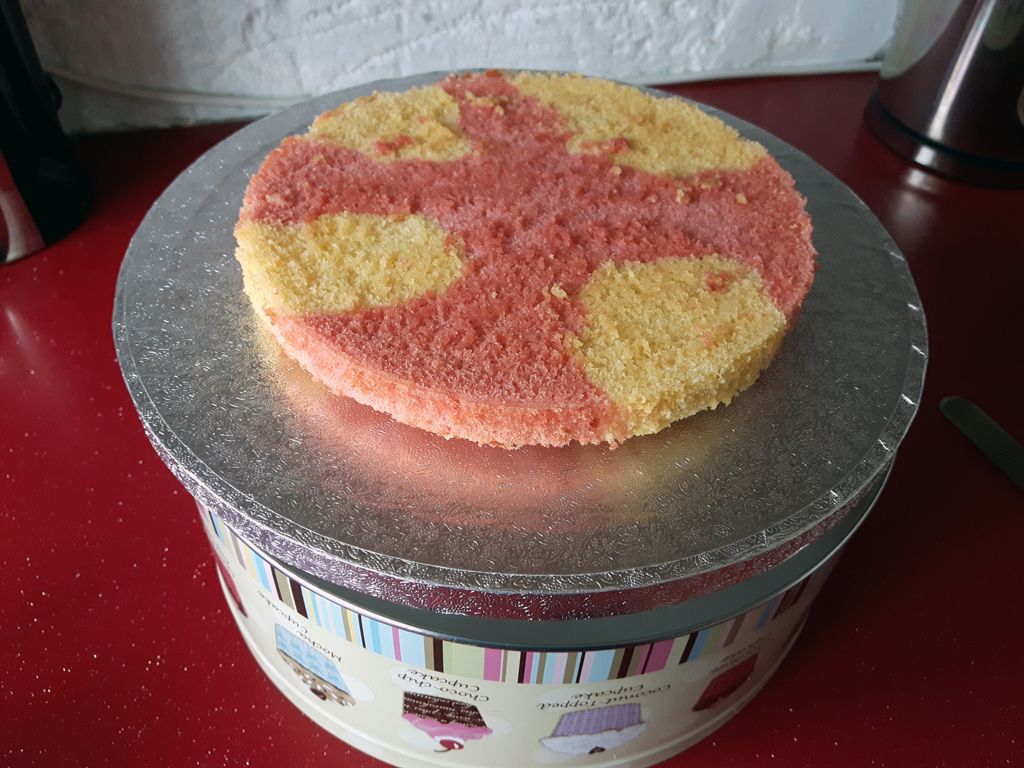
I spread the mix out a bit more with a butter knife and swirled a skewer through it to give the marbled effect. Unfortunately the one on the right didn't come out quite as well as the one on the left. It still looks good though.
Then it was time for the actual decorating!
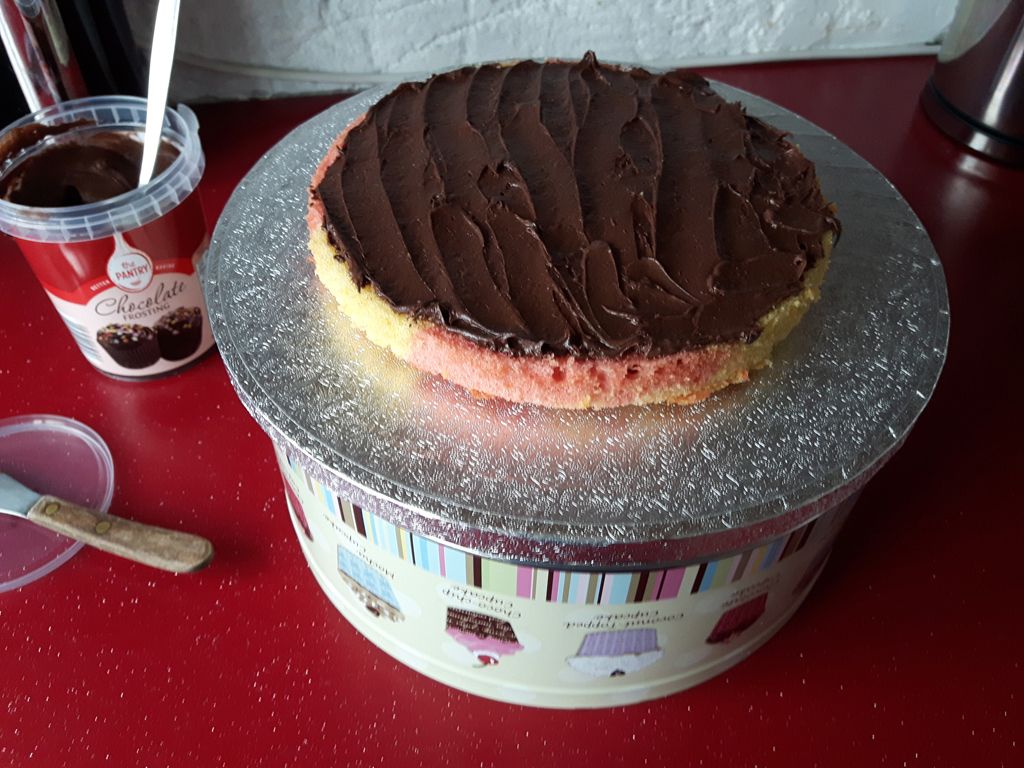
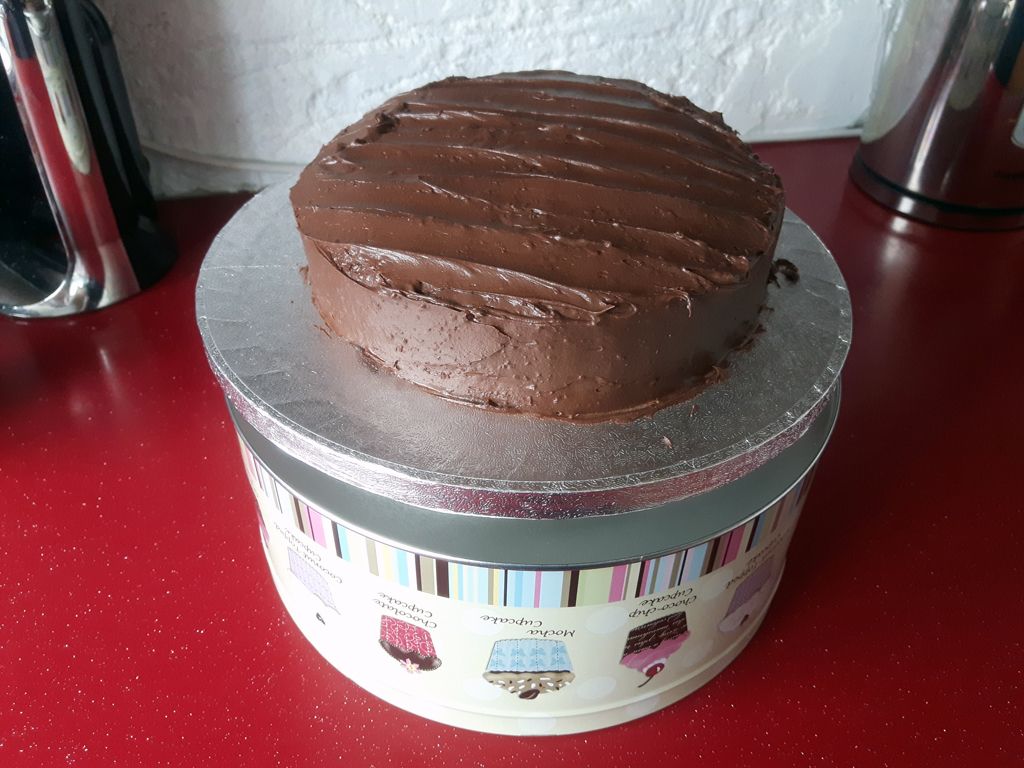
I filled and covered the cake with chocolate frosting. Look at that finish! How good is that?
As the cake wasn't being eaten until the next day, it needed to be put in a tin overnight to stop it going dry but I didn't have a tin tall enough to put it in fully made up. I had to make it in two parts, so that I could add the cascade of Maltesers the following day.
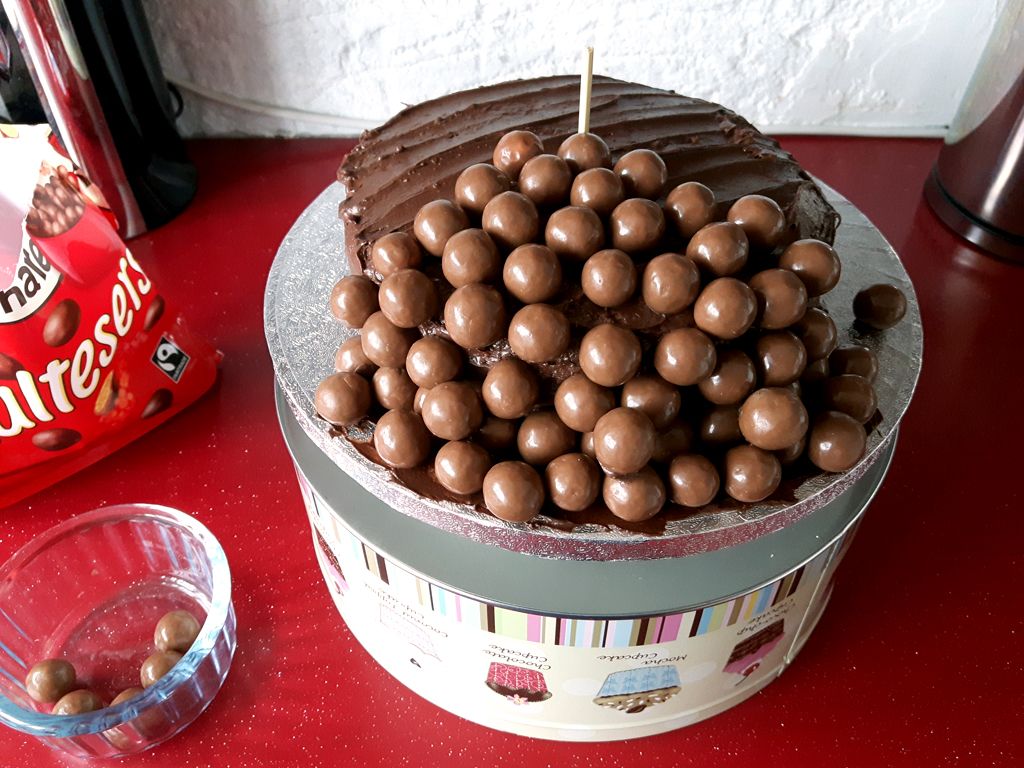
I marked the centre point with a wooden skewer and then covered part the top and side with Maltesers, arranging them so they went down onto the cake board.
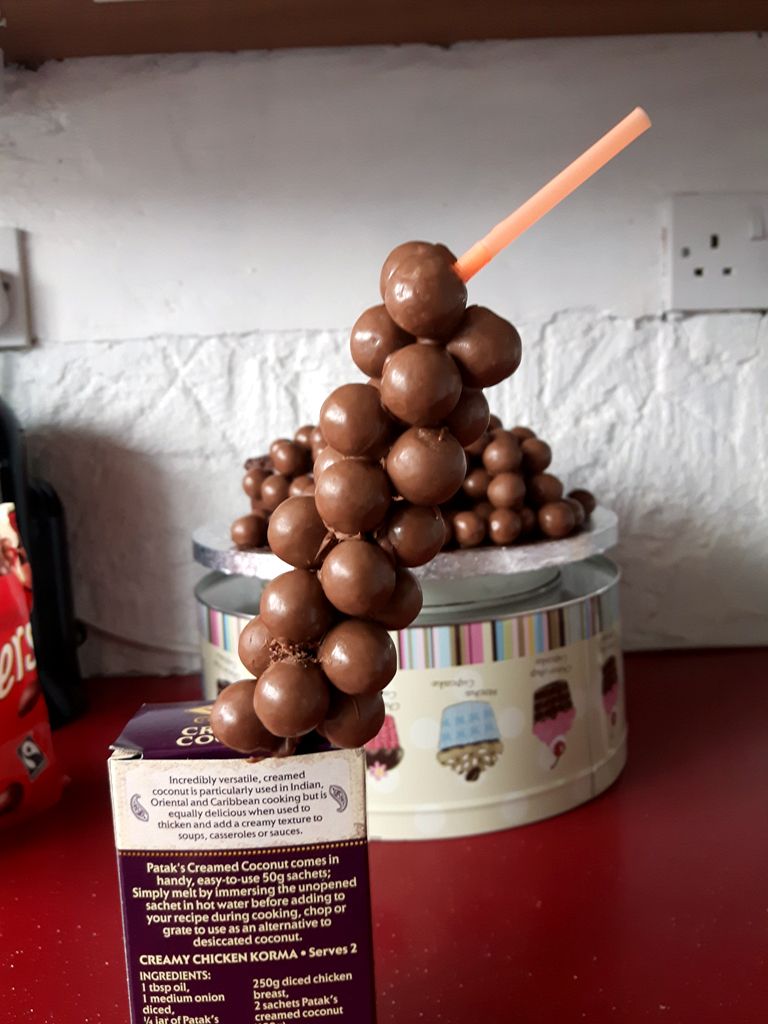
This is the magic bit! I wedged a straw into a box so that I could work off it without having to put it in the cake. I melted a small amount of chocolate and used that to stick the Maltesers to the straw. I found it was easier when the chocolate was starting to set and had thickened up a bit, otherwise the Maltesers just slid off. I also found it was handy to have the box to support the lower Maltesers! The chocolate on them melts so quickly, I couldn't hold them in place with my fingers. I put it in the fridge every so often to get the chocolate to harden and left it in there overnight to make sure it was properly set.
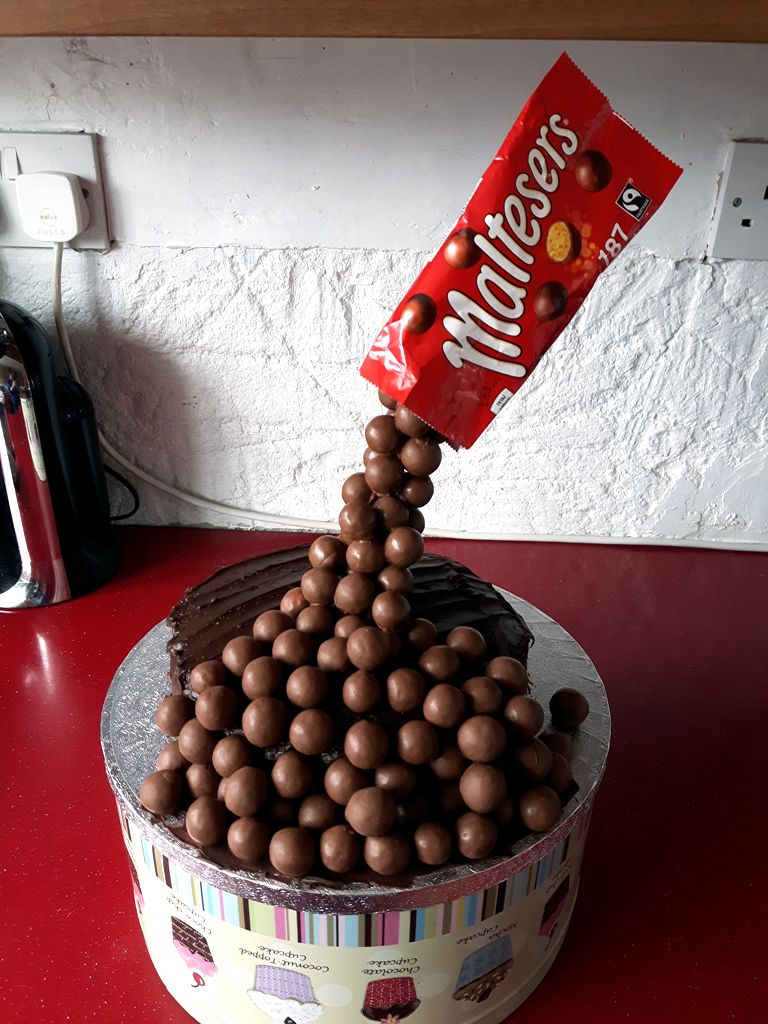
On the birthday morning, I put the straw into the centre of the cake, using the wooden skewer there for support, and covered up the join with some extra Maltesers. The finishing touch was to put the empty bag over the end of the straw. And that was it!
Click for a bigger picture.
I think it took me just over an hour to do on the Monday and barely 15 minutes to put it together the next morning. It's not as difficult as I thought, although the straw part is fiddly, it's not as complicated as you'd think. And it looks amazing.
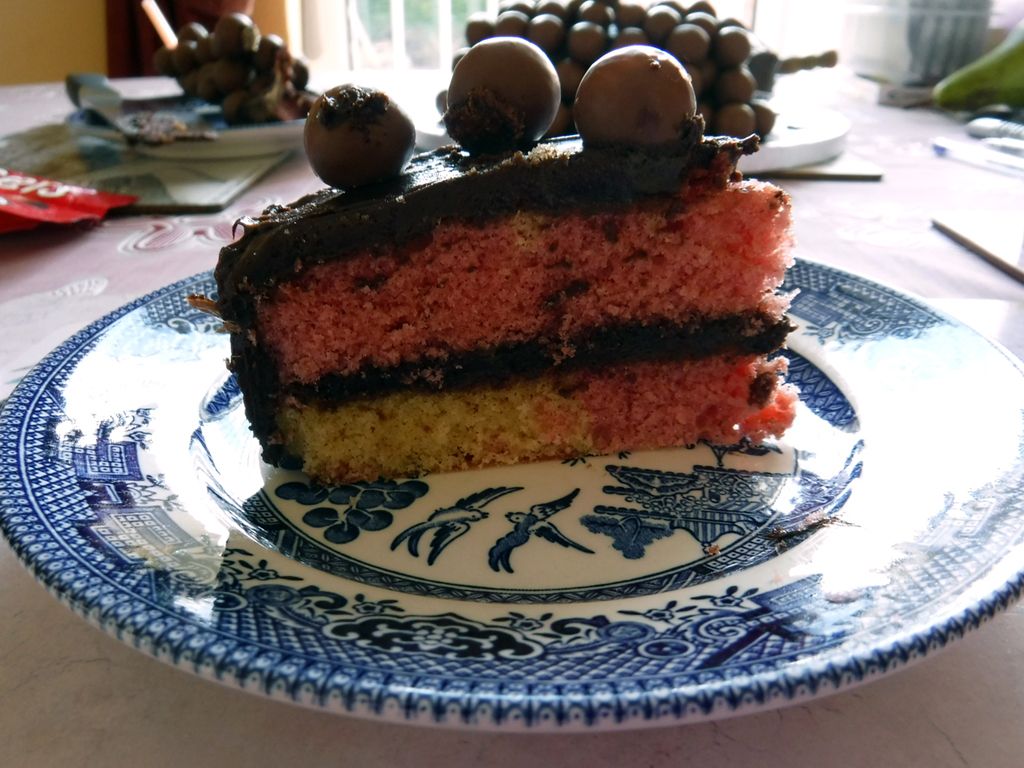
Tasted pretty good too ;)
Click for a bigger picture.
Not bad, eh? It's fairly simple to make really. As long as you can master Wingardium Leviosa (remember it's Levi-OH-sa, not Levi-oh-SAH), you'll be right.
The cake itself was fairly straightforward. I'd seen photos of a great swirly cake which reminded me of the marbled cakes my mother used to make so I had a go at that.
I made a basic sponge cake mix, put half of it into the cake tins and then coloured the remaining half pink. (The photo with the pink and plain blobs didn't come out but I'm sure you can imagine what it looked like.)
I spread the mix out a bit more with a butter knife and swirled a skewer through it to give the marbled effect. Unfortunately the one on the right didn't come out quite as well as the one on the left. It still looks good though.
Then it was time for the actual decorating!
I filled and covered the cake with chocolate frosting. Look at that finish! How good is that?
As the cake wasn't being eaten until the next day, it needed to be put in a tin overnight to stop it going dry but I didn't have a tin tall enough to put it in fully made up. I had to make it in two parts, so that I could add the cascade of Maltesers the following day.
I marked the centre point with a wooden skewer and then covered part the top and side with Maltesers, arranging them so they went down onto the cake board.
This is the magic bit! I wedged a straw into a box so that I could work off it without having to put it in the cake. I melted a small amount of chocolate and used that to stick the Maltesers to the straw. I found it was easier when the chocolate was starting to set and had thickened up a bit, otherwise the Maltesers just slid off. I also found it was handy to have the box to support the lower Maltesers! The chocolate on them melts so quickly, I couldn't hold them in place with my fingers. I put it in the fridge every so often to get the chocolate to harden and left it in there overnight to make sure it was properly set.
On the birthday morning, I put the straw into the centre of the cake, using the wooden skewer there for support, and covered up the join with some extra Maltesers. The finishing touch was to put the empty bag over the end of the straw. And that was it!
Click for a bigger picture.
I think it took me just over an hour to do on the Monday and barely 15 minutes to put it together the next morning. It's not as difficult as I thought, although the straw part is fiddly, it's not as complicated as you'd think. And it looks amazing.
Tasted pretty good too ;)