Tutorial 005 - snow monsters!
Bumble tutorial
Right, I have nothing planned for Friday night. Thus, a tutorial on how to turn a bumble's fur from pee-yellow to mountain-snow-white Or gray.
to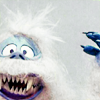
Elements 2.0.
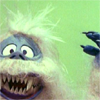
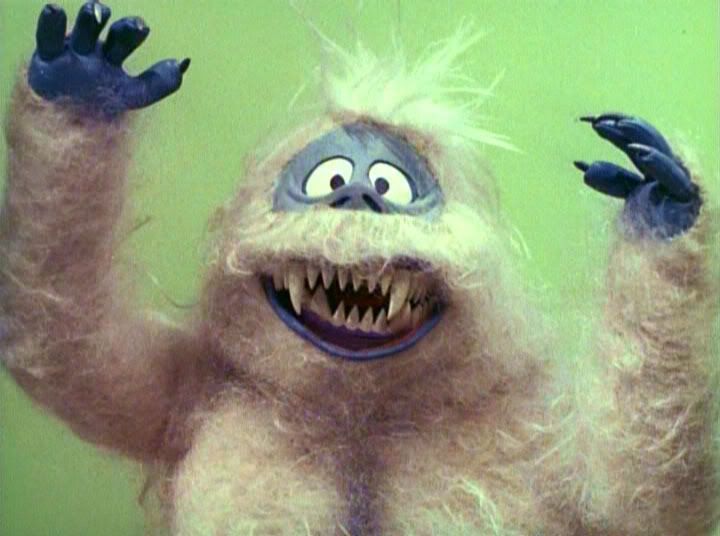
Most icons start with screencaps. That'd be here. Flaming bumble. I own the movie.
Gonna select and resize the image into Layer 1.
Rawr.
I have a basic way of doing icons - base, screened duplicate, gradient map -- then I go in and fuck things up. This is going based on the layers in the psd file. So...
Toss on a dark blue (021942) layer set to exclusion -- 100%
Duplicate the base/Layer 1 - two times. Both need to be on top of the exlusion layer. Set the first to soft light -- 100%
The second one set to screen -- 100%

Now, my favorite thing ever. Gradient maps. With the colours DFDFDF and FFFFFF (gray and white) I apply a gradient map and set it to color burn -- 100%
It's still green. At this point I went into the hue/saturation option. It's nifty.
Set the yellows a-like so (every freaking image is different, don't spazz out because omg it's not the same my iconz are teh suck, pls comment and love me for my iconskilz.)
Hue: 0
Saturation: -75
Lightness: -37
Set the greens a-like so
Hue: +163
Saturation: -81
Lightness: -67
These values or whatever? Me fucking around with the sliders. Do it, enjoy it. Freedom.
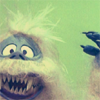
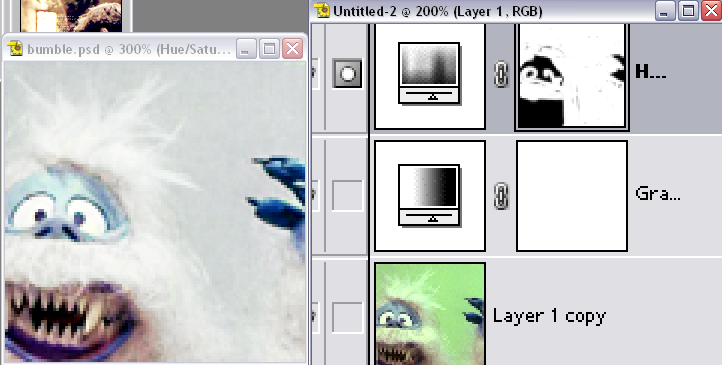
That same hue/saturation level, I erase the bits that cover anything that wasn't green or yellow -- his claws, non-lips and bandit mask.
Like this
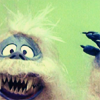
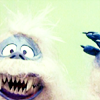
And the finished product. He's totally less crazy this way.
Layered up:
Hue/Saturation layer
Gradient map
screen
soft light
exclusion
base
Lesson learned: don't wee on bumbles.
Right, I have nothing planned for Friday night. Thus, a tutorial on how to turn a bumble's fur from pee-yellow to mountain-snow-white Or gray.
to
Elements 2.0.
Most icons start with screencaps. That'd be here. Flaming bumble. I own the movie.
Gonna select and resize the image into Layer 1.
Rawr.
I have a basic way of doing icons - base, screened duplicate, gradient map -- then I go in and fuck things up. This is going based on the layers in the psd file. So...
Toss on a dark blue (021942) layer set to exclusion -- 100%
Duplicate the base/Layer 1 - two times. Both need to be on top of the exlusion layer. Set the first to soft light -- 100%
The second one set to screen -- 100%
Now, my favorite thing ever. Gradient maps. With the colours DFDFDF and FFFFFF (gray and white) I apply a gradient map and set it to color burn -- 100%
It's still green. At this point I went into the hue/saturation option. It's nifty.
Set the yellows a-like so (every freaking image is different, don't spazz out because omg it's not the same my iconz are teh suck, pls comment and love me for my iconskilz.)
Hue: 0
Saturation: -75
Lightness: -37
Set the greens a-like so
Hue: +163
Saturation: -81
Lightness: -67
These values or whatever? Me fucking around with the sliders. Do it, enjoy it. Freedom.
That same hue/saturation level, I erase the bits that cover anything that wasn't green or yellow -- his claws, non-lips and bandit mask.
Like this
And the finished product. He's totally less crazy this way.
Layered up:
Hue/Saturation layer
Gradient map
screen
soft light
exclusion
base
Lesson learned: don't wee on bumbles.