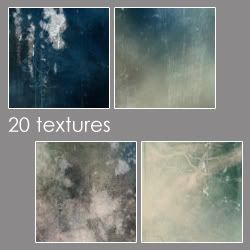
20 blue lagoon textures + large texture + tutorial + PSD file!
A few times now people have asked me whether I could write a texture making tutorial. It's not something I ever considered simply because I like to experiment so my textures tend to have a long and convoluted evolution and millions of layers. But having some time free today I thought I'd give it a go.
Here's the resulting icon sized textures:
DOWNLOAD
And here's the large texture and tutorial:
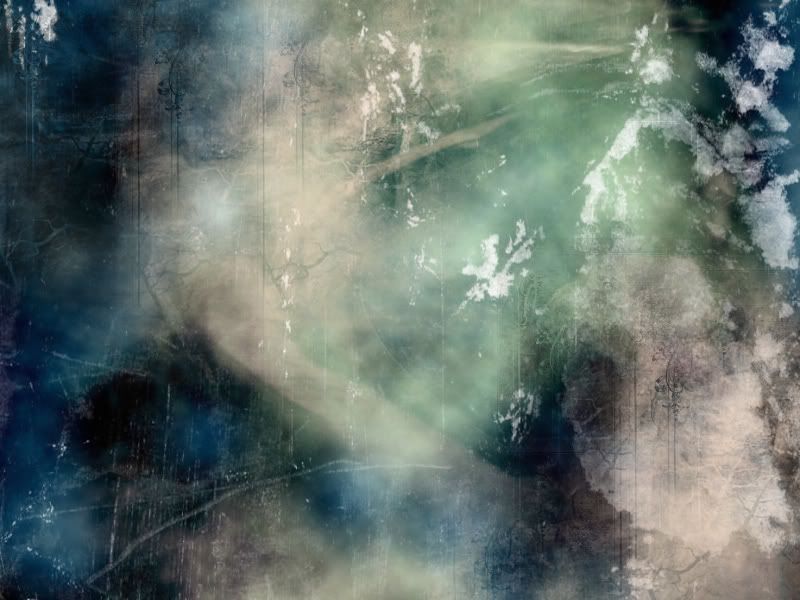
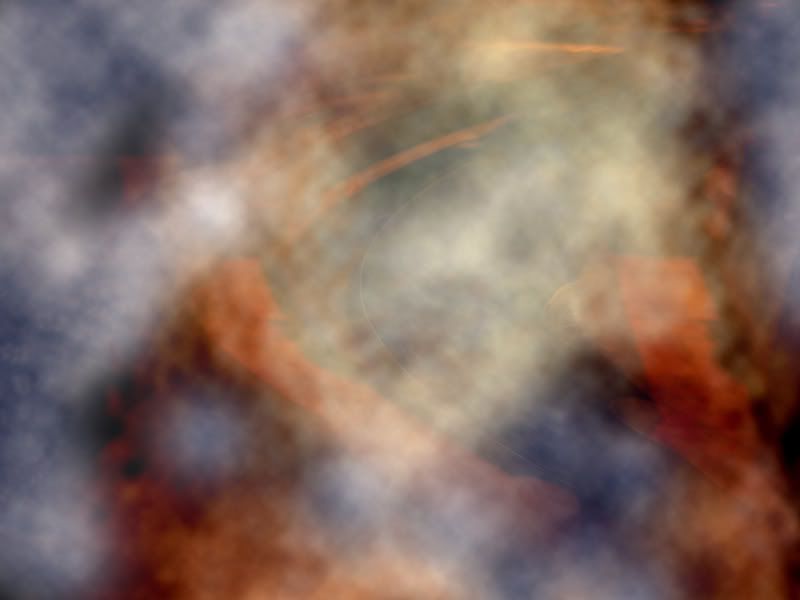
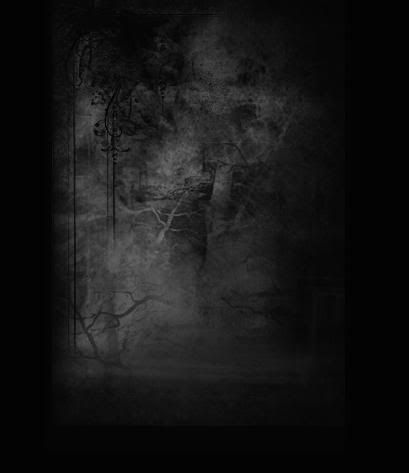
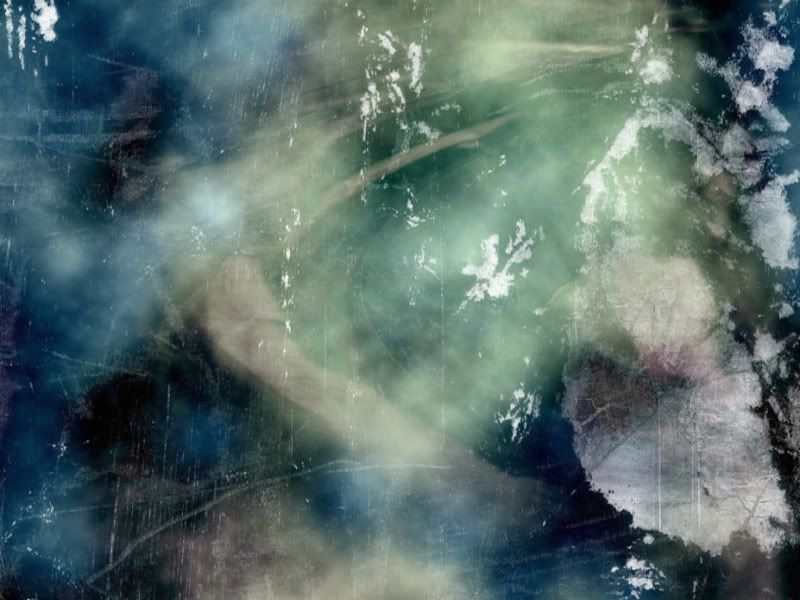
OK, this will be our finished texture:
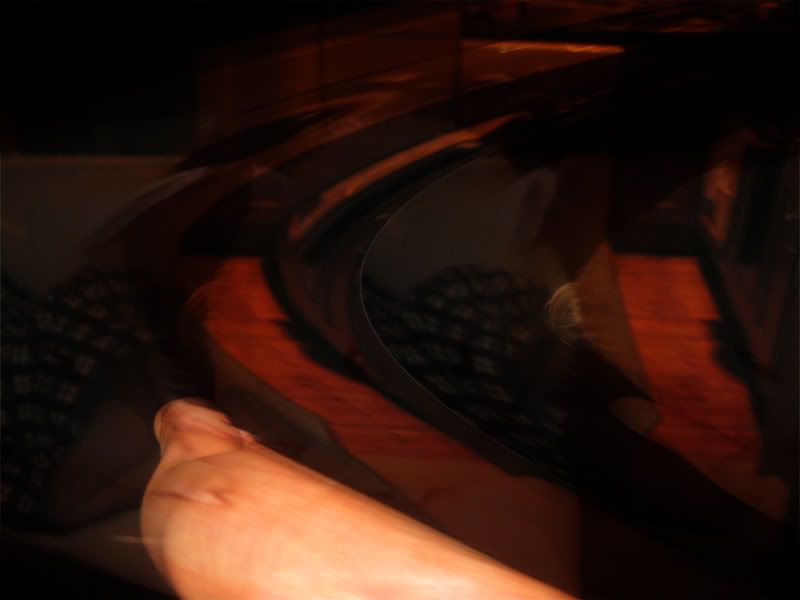
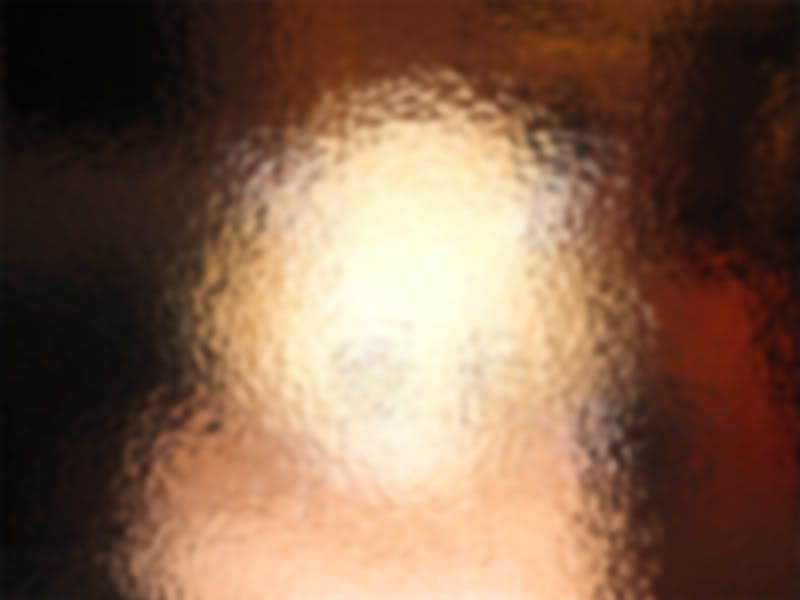
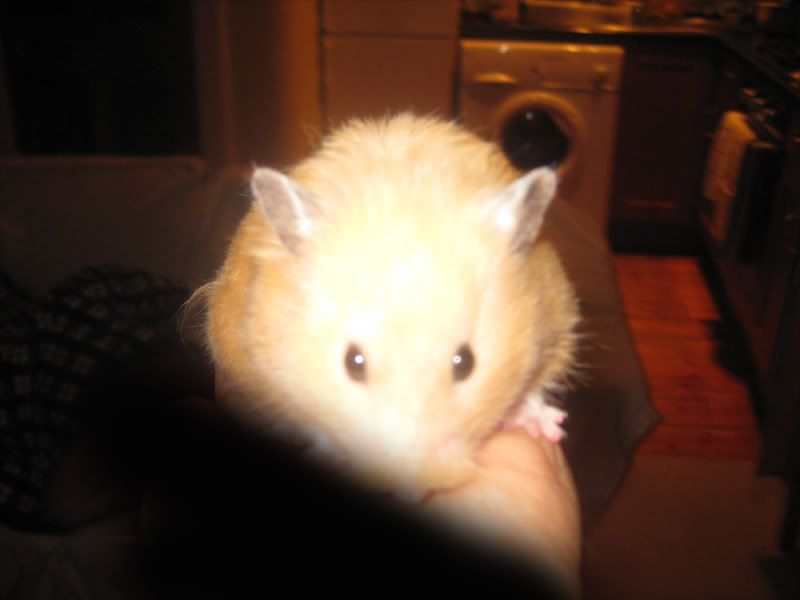
Now don't laugh, but this is our starting image!:
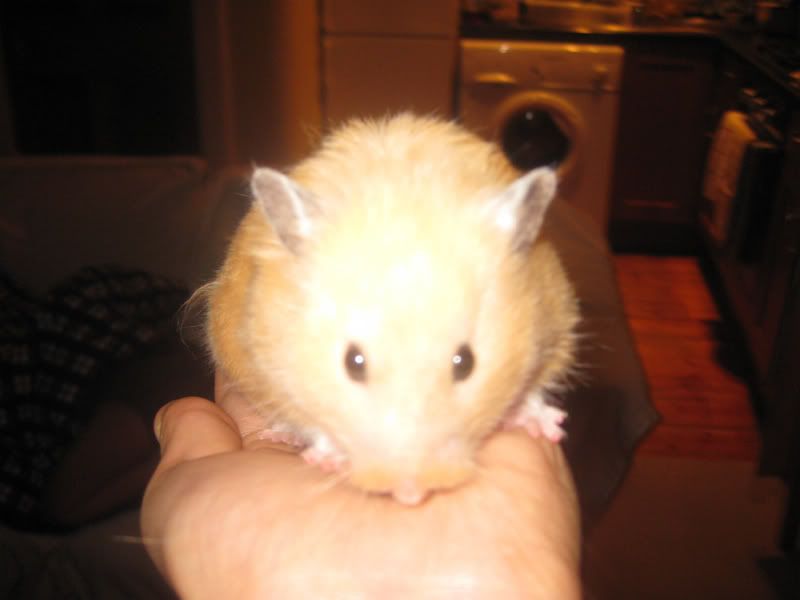
Yes - it is a very bad pic of my hamster! But seriously, textures can come from the strangest starting places, you just need a bit of imagination. I duplicated the pic and selected Filter>Distort>Shear... and used these settings:
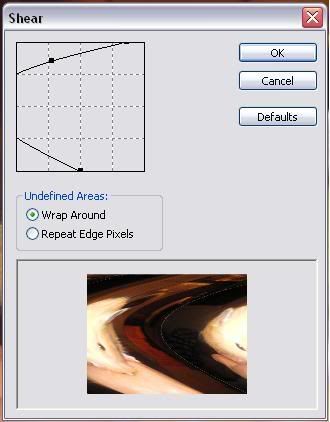
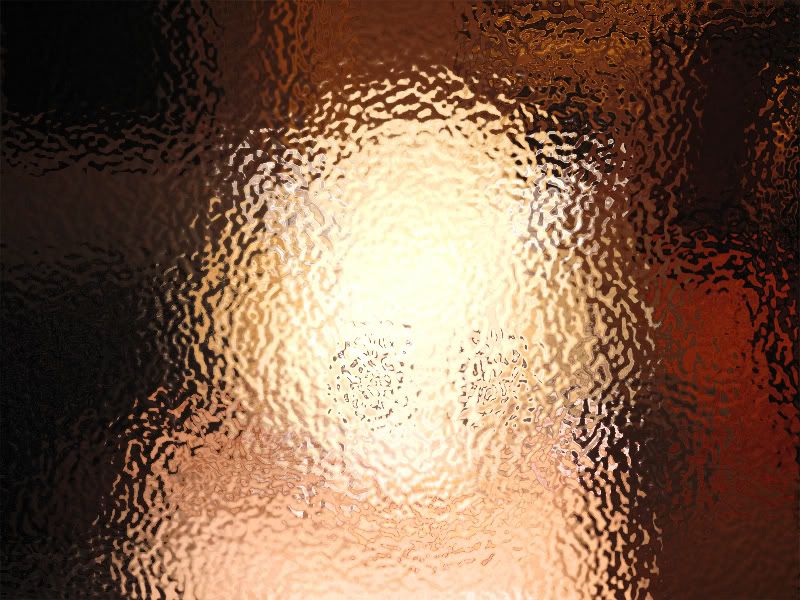
And I set this layer to Multiply so it looked like this:
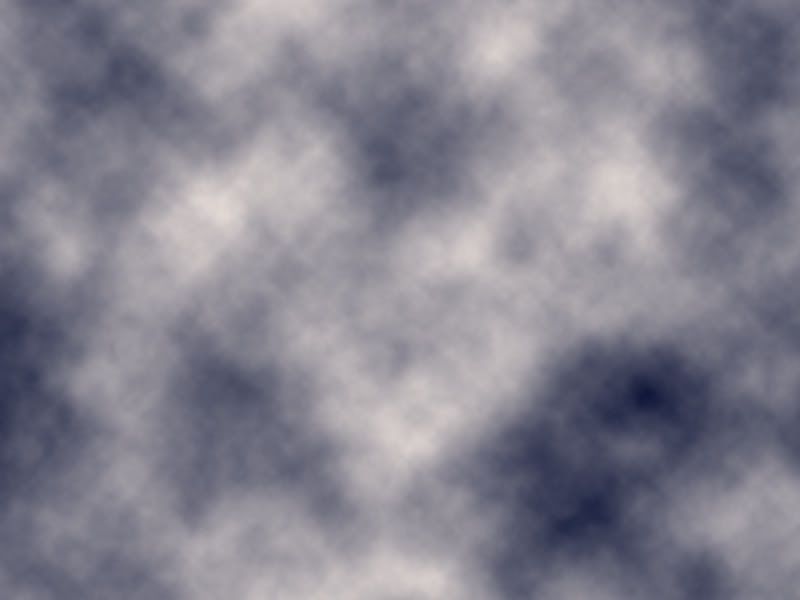
Next I created a new layer and selected Filter>Render>Clouds, the colours used were white and dark blue. The colours used for your clouds will be those you have selected in your tool bar.
Type
This layer was set to screen so it looked like:
I wanted a bit more variation in the image, so I duplicated the original pic of my hamster and made it my top layer. I then selected Filter>Distort:Ocean Ripple and used these settings:
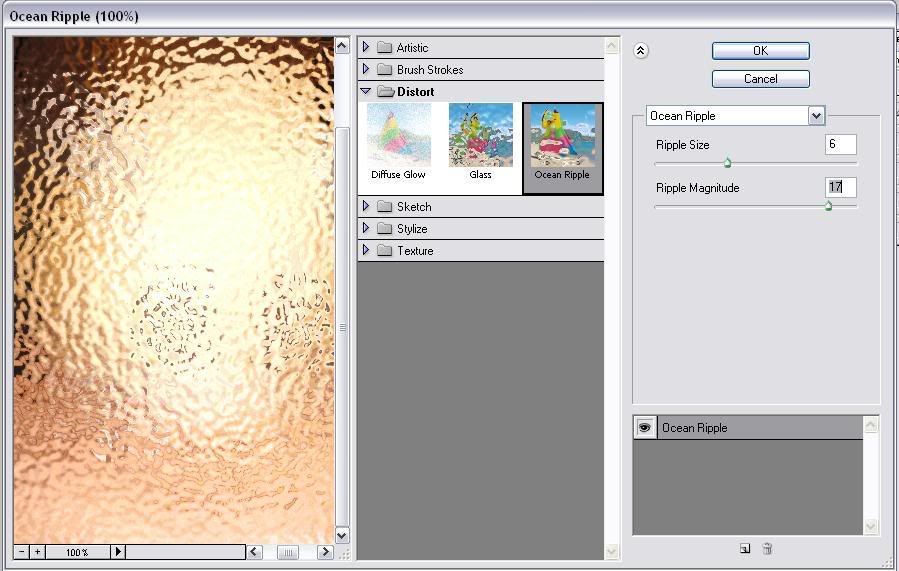
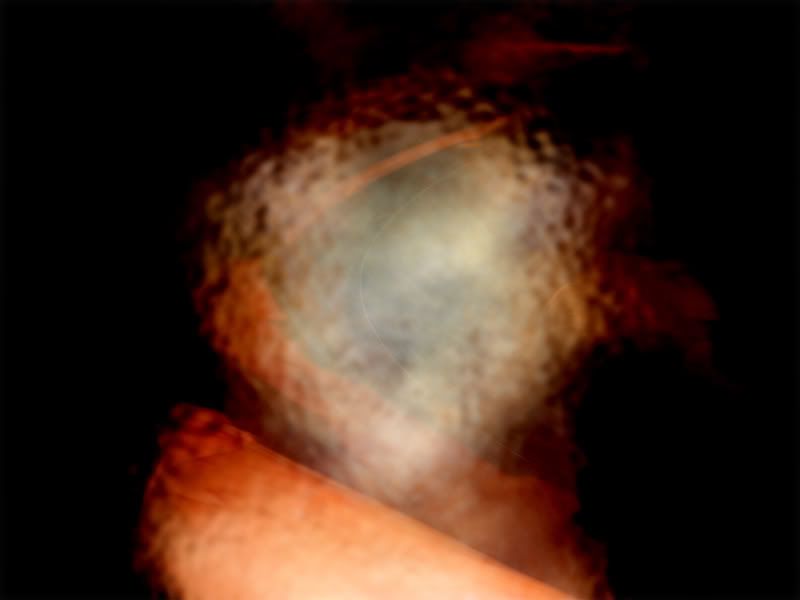
So it looked like this:
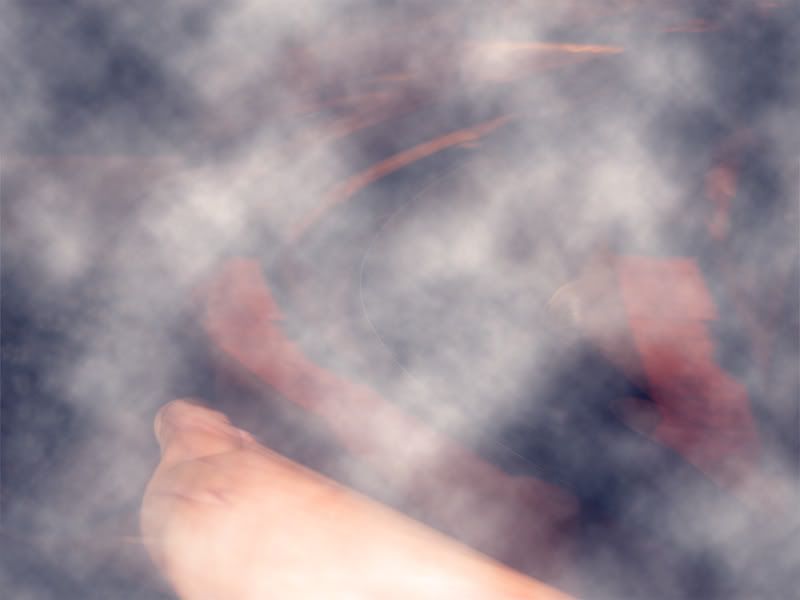
I then Guassian blurred the image (Filter>Blur>Guassian Blur) at a radius of 4.2 pixels so it looked like this:
And set the layer to Linear Burn:
I then stretched the layer so that what's left of the image of the hamster covers more of the pic, like this:
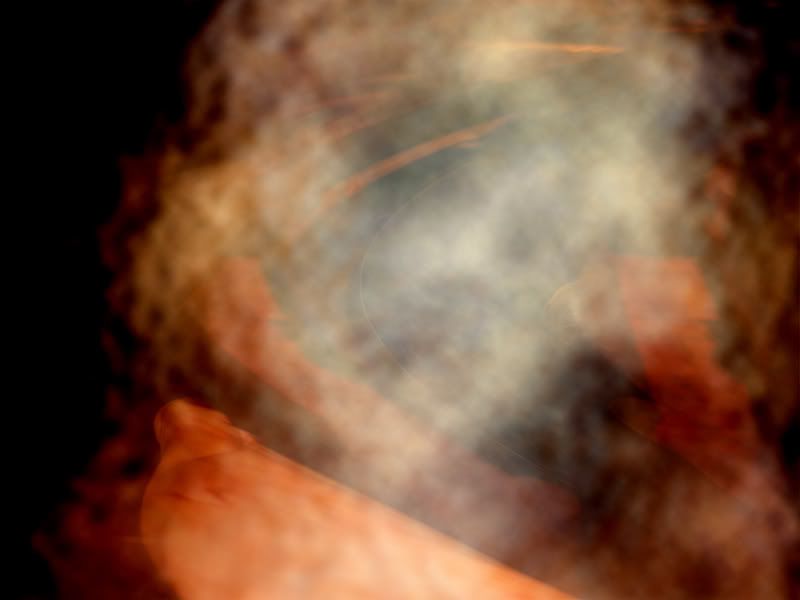
Finally a deleted most the black and a few patches of cream (the black areas in the pic below are the deleted areas):

This gave me:

The distorted image of my hand in the center bottom left of the pic was annoying me, so I simply deleted it from the bottom layer - our starting image of my hamster:
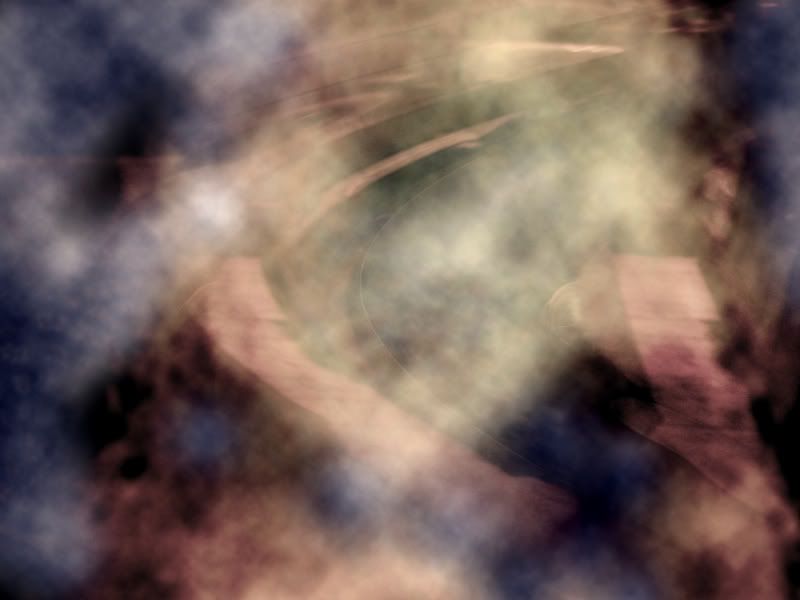
So my pic now looks like this:
so
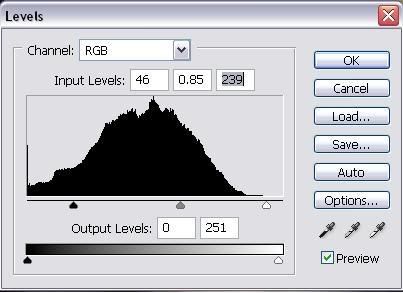
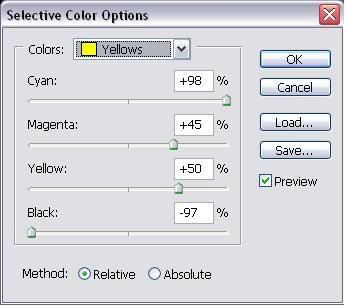
I really didn't like the colour so next I added a couple of adjustment layers (Layer>New Adjustment Layer>[select appropriate], first a levels layer and then a selective colour layer, here are the settings:
Levels:
Selective Color:

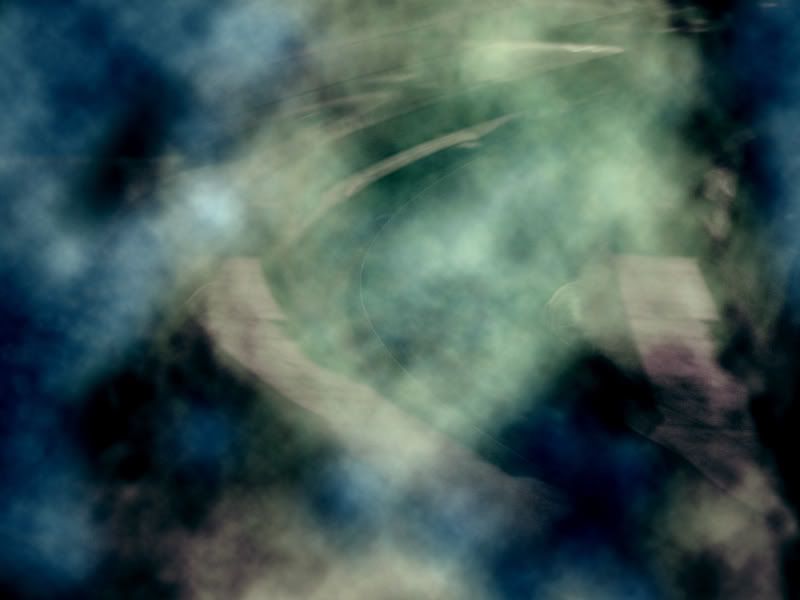
And this made my pic look like this:
I then created a new layer and filled it with the colour C8F7FB and set the layer to Linear Burn. So my pic looked like this:
Next I took a texture from dearest :
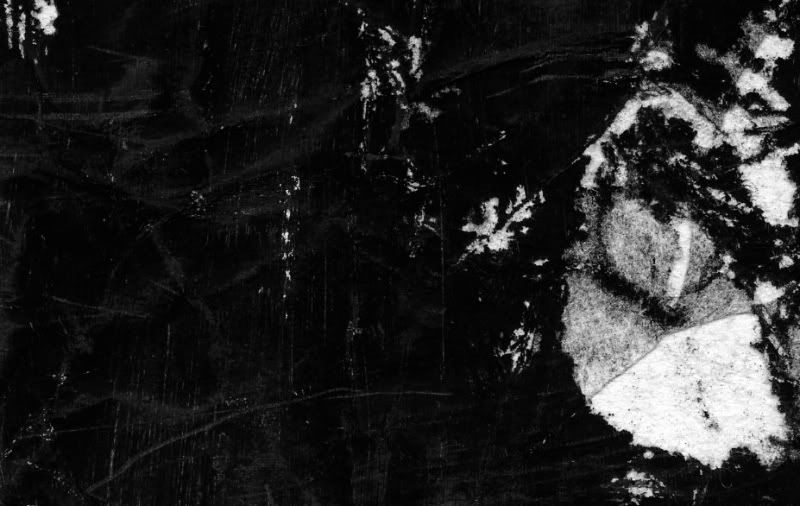
And I stretched it to cover the whole of the pic and set it to Screen. I then took this brush by 5th Muse:
And I deleted a little of the large white blob on the right. My image now looks like this:
Hurrah! Now I created 2 new layers and, using the same brush, added some detail in dark blue on the first layer:
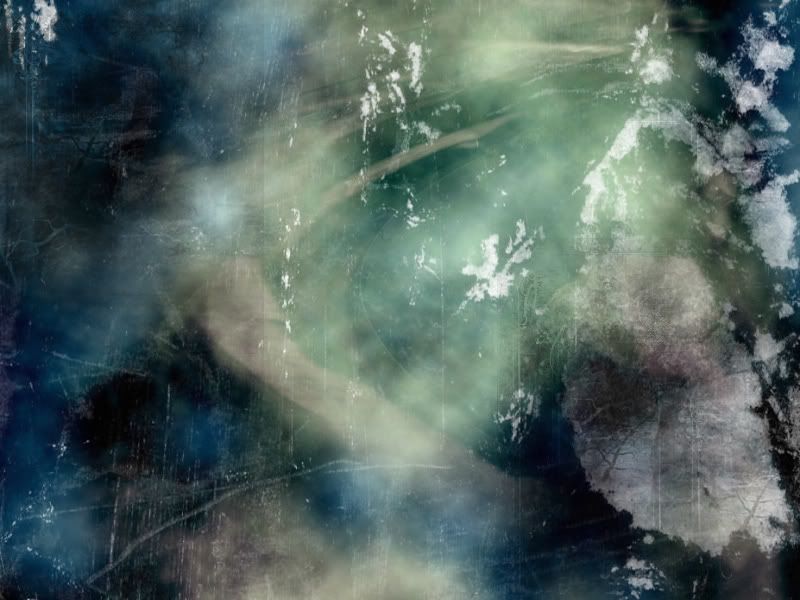
Then cream on the second layer:
There you go, from hamster to texture in a single tutorial!
DOWNLOAD PSD FILE
Here's the resulting icon sized textures:
DOWNLOAD
And here's the large texture and tutorial:
OK, this will be our finished texture:
Now don't laugh, but this is our starting image!:
Yes - it is a very bad pic of my hamster! But seriously, textures can come from the strangest starting places, you just need a bit of imagination. I duplicated the pic and selected Filter>Distort>Shear... and used these settings:
And I set this layer to Multiply so it looked like this:
Next I created a new layer and selected Filter>Render>Clouds, the colours used were white and dark blue. The colours used for your clouds will be those you have selected in your tool bar.
Type
This layer was set to screen so it looked like:
I wanted a bit more variation in the image, so I duplicated the original pic of my hamster and made it my top layer. I then selected Filter>Distort:Ocean Ripple and used these settings:
So it looked like this:
I then Guassian blurred the image (Filter>Blur>Guassian Blur) at a radius of 4.2 pixels so it looked like this:
And set the layer to Linear Burn:
I then stretched the layer so that what's left of the image of the hamster covers more of the pic, like this:
Finally a deleted most the black and a few patches of cream (the black areas in the pic below are the deleted areas):
This gave me:
The distorted image of my hand in the center bottom left of the pic was annoying me, so I simply deleted it from the bottom layer - our starting image of my hamster:
So my pic now looks like this:
so
I really didn't like the colour so next I added a couple of adjustment layers (Layer>New Adjustment Layer>[select appropriate], first a levels layer and then a selective colour layer, here are the settings:
Levels:
Selective Color:
And this made my pic look like this:
I then created a new layer and filled it with the colour C8F7FB and set the layer to Linear Burn. So my pic looked like this:
Next I took a texture from dearest :
And I stretched it to cover the whole of the pic and set it to Screen. I then took this brush by 5th Muse:
And I deleted a little of the large white blob on the right. My image now looks like this:
Hurrah! Now I created 2 new layers and, using the same brush, added some detail in dark blue on the first layer:
Then cream on the second layer:
There you go, from hamster to texture in a single tutorial!
DOWNLOAD PSD FILE