paranoid park: 2 tutorials
also posted @ icon_tutorial
#1:
how to go from
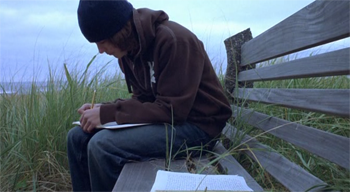
to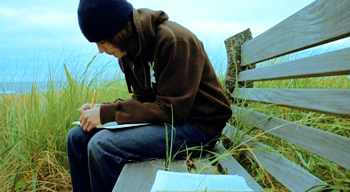
1. choose a base (this works especially well with very dark blue images)
2. new Color Balance layer (do NOT check "preserve luminosity")
s: 19,9,32
m: 59,66,38
h: 9,15,-21
3. new Selective Coloring layer
y: -100,0,100,0
g: 100,0,100,0
c: 100, 0, -100,100
b: 100,0,0,100
w: 100,0,0,0
b: 0,0,0,50
4. now make a new layer and press SHIFT, CTRL, ALT, and E at the same time (this merges all the visible layers into one). then set this layer to Soft Light.
Other examples:
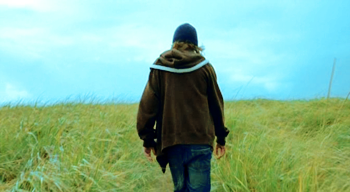
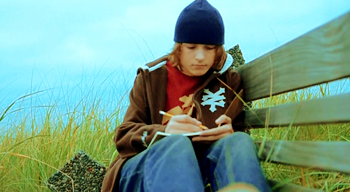
#2:
how to go from
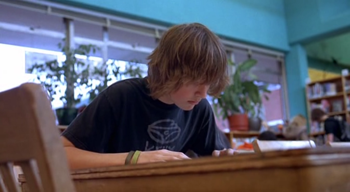
to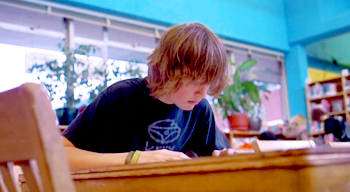
1. choose a base. here i chose a screencap from the movie, paranoid park.
2. new Curves layer
red: 125, 153
green: 132, 155
blue: 126, 156
(this lightens up the base, while slightly intensifying the colors)
3. new Levels layer
rgb: 25, 1.44, 255
(this softens the image)
4. new Selective Coloring layer
y: 0,0,100,0
g: 100,-100,100,0
c: 100,0,-100,0
b: 100,0,0,0
m: 0,100,0,0
w: -100,-25,0,0
5. new Hue/Saturation layer
s: +18
6. finally...new Levels layer
rgb: 25, 1.44, 255
(same as step 3)
please comment if you found this helpful
and feel free to add me!
#1:
how to go from

to

1. choose a base (this works especially well with very dark blue images)
2. new Color Balance layer (do NOT check "preserve luminosity")
s: 19,9,32
m: 59,66,38
h: 9,15,-21
3. new Selective Coloring layer
y: -100,0,100,0
g: 100,0,100,0
c: 100, 0, -100,100
b: 100,0,0,100
w: 100,0,0,0
b: 0,0,0,50
4. now make a new layer and press SHIFT, CTRL, ALT, and E at the same time (this merges all the visible layers into one). then set this layer to Soft Light.
Other examples:


#2:
how to go from

to

1. choose a base. here i chose a screencap from the movie, paranoid park.
2. new Curves layer
red: 125, 153
green: 132, 155
blue: 126, 156
(this lightens up the base, while slightly intensifying the colors)
3. new Levels layer
rgb: 25, 1.44, 255
(this softens the image)
4. new Selective Coloring layer
y: 0,0,100,0
g: 100,-100,100,0
c: 100,0,-100,0
b: 100,0,0,0
m: 0,100,0,0
w: -100,-25,0,0
5. new Hue/Saturation layer
s: +18
6. finally...new Levels layer
rgb: 25, 1.44, 255
(same as step 3)
please comment if you found this helpful
and feel free to add me!