(no subject)
Tutorial!
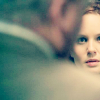
How to turn this: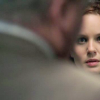
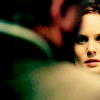
into this: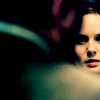
Using PSP 9. Easily translatable.
To begin, I'd like to state that I do not want anyone copying this tutorial with the same screencap and then posting it. I don’t mind following the tutorial exactly to get a feel for the colouring and such, that’s how we learn and then adapt to new things. But if I see this exact icon reproduced, I will not be pleased at all. If you're going to copy it, I don’t mind, just use a different screencap. Thankyou.
For the first portion on the tutorial, I used a colouring method from this tutorial by qtmjbcs
----here start qtmjbcs's tutorial.
First, I cropped my image, as you do, to get this:

Then I duplicated the image 4 times, and set each duplicate to screen.
Your image should look like this:
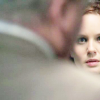
Then, underneath the top screen layer, I made a new layer and floodfilled with #011537 and set to exclusion.
Then I duplicated that layer. Your image should look like this:
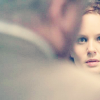
Now, select all (ctrl+A), and copy merged (ctrl+shift+C) then paste your merged icon on top of all existing layers. Set it to softlight.
Now, below your top layer, but above all other layers flood fill a new layer with #a4ddf4 and set it to burn.
Lookie:
-------here end qtmjbcs's part in the tutorial. Thanks to her!!
Now, beneath your softlight layer, floodfill a new layer with #949494. Set it to burn, and duplicate it. Set the duplicated layer to 40%.
And we have:
Now, we move into colour adjustment and other interesting things like that.
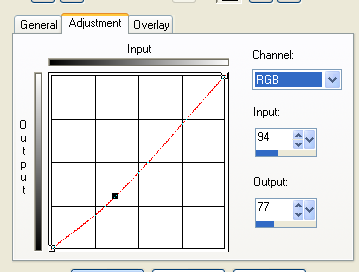
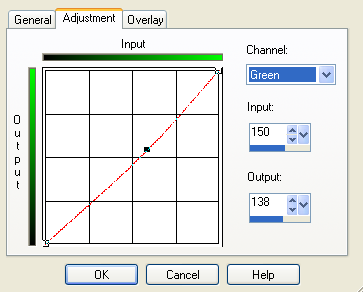
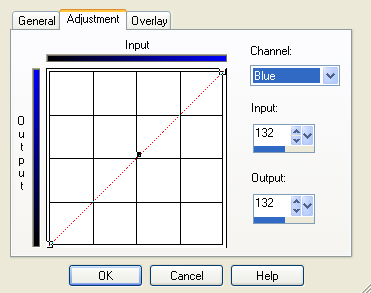
Go to layerNew adjustment layerCurves.
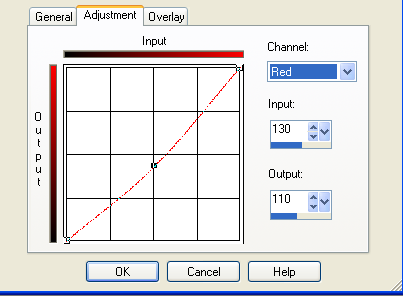
Set the values to the following.
RGB
RED
GREEN
BLUE
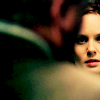
Looking good:
Now go into layerNew adjustment layerColour Balance
Set the following.
MIDTONES
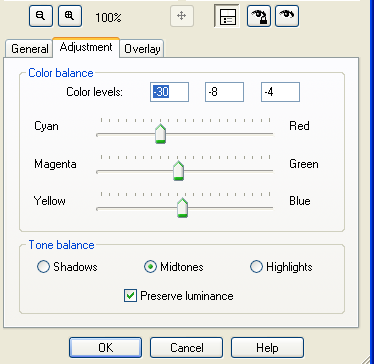
SHADOWS
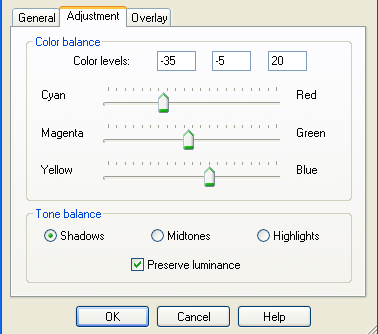
Ahhh. Nice.

And that’s it! Youre done!
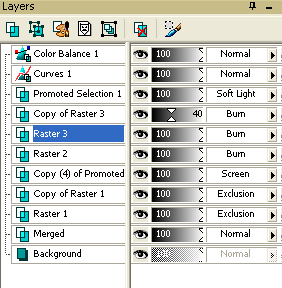
Your layers palette should look like this:

softlight

Burn 40%

Burn

Screen

Exclusion

Exclusion

Screen

Screen

Screen

Any questions? Im here to answer them.
How to turn this:

into this:

Using PSP 9. Easily translatable.
To begin, I'd like to state that I do not want anyone copying this tutorial with the same screencap and then posting it. I don’t mind following the tutorial exactly to get a feel for the colouring and such, that’s how we learn and then adapt to new things. But if I see this exact icon reproduced, I will not be pleased at all. If you're going to copy it, I don’t mind, just use a different screencap. Thankyou.
For the first portion on the tutorial, I used a colouring method from this tutorial by qtmjbcs
----here start qtmjbcs's tutorial.
First, I cropped my image, as you do, to get this:

Then I duplicated the image 4 times, and set each duplicate to screen.
Your image should look like this:

Then, underneath the top screen layer, I made a new layer and floodfilled with #011537 and set to exclusion.
Then I duplicated that layer. Your image should look like this:

Now, select all (ctrl+A), and copy merged (ctrl+shift+C) then paste your merged icon on top of all existing layers. Set it to softlight.
Now, below your top layer, but above all other layers flood fill a new layer with #a4ddf4 and set it to burn.
Lookie:

-------here end qtmjbcs's part in the tutorial. Thanks to her!!
Now, beneath your softlight layer, floodfill a new layer with #949494. Set it to burn, and duplicate it. Set the duplicated layer to 40%.
And we have:

Now, we move into colour adjustment and other interesting things like that.
Go to layerNew adjustment layerCurves.
Set the values to the following.
RGB

RED

GREEN

BLUE

Looking good:

Now go into layerNew adjustment layerColour Balance
Set the following.
MIDTONES

SHADOWS

Ahhh. Nice.

And that’s it! Youre done!
Your layers palette should look like this:

softlight

Burn 40%

Burn

Screen

Exclusion

Exclusion

Screen

Screen

Screen


Any questions? Im here to answer them.