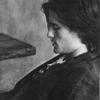
My Second Tutorial.
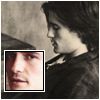
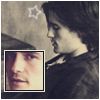
How to go from this to 
or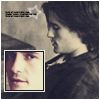
in PS7 in 9 fairly easy steps.
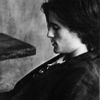
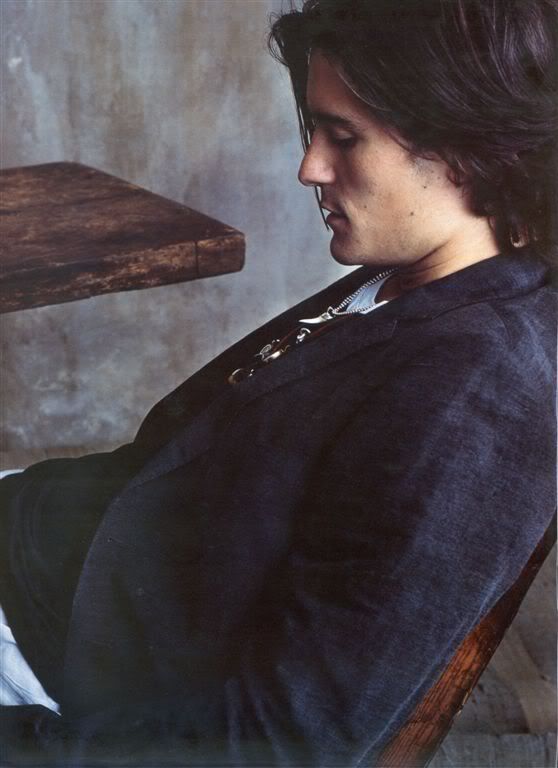
1. Find your images:

and
2. Crop the bottom image to 100x100, then create a new layer and stroke a 1px white border around the icon. Keep the border layer on top, always:

3. Duplicate the base image, desaturate it, and set it to soft light at 100% opacity:

4. Duplicate the base image again, drag it on top, and set it to screen at 50% opacity:

5. If you're not happy with the color, repeat step 4 (or just set it to 100% opacity):

6. Take your second pic, crop it down to 35x35, desaturate it, and stroke it first with a 1px black boreder,then a 1px white border:

7. Select the small image's layer transparency, then create a new fill layer (while the small pic layer is still selected), fill it with #E6D3AA, or any light peachy color, then set it to multiply at 80% opacity. deselect (ctrl-D) and the color should cover only the 35x35 square:
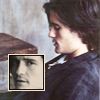
8. Create a new layer. In the brush menu, find the star-shaped one (I'd show a screen shot but I don't know how). Set it to a size of 15px, make sure your foreground color is white and that your brush settings are on pen pressure, then press once and you should get a light star. You can move it where ever you want it to go. I chose near Orlando's head:
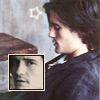
9. Create tiny text. I simply type in Arial Black size 1.5, then rasterize it and sharpen it once. I made 3 tiny text lines:
.

.
---
1. Crop your base image to 100x100 and desaturate it:
2. Duplicate the base and set it to soft light, 100%:
3. Duplicate the base, drag it on top, and set it to screen, 50% opacity:
4. New layer, ctrl-A, stroke inside 1px in white:
5. New fill layer of color #F5E3C9 set to multiply at 100%:

6. Crop the other pic to 35x35 (mine is bigger, sorry), stoke 1px black and 1pk white, then duplicate it once, desaturate and set to soft light, duplicate again, drag on top, and set to screen 50% just like the base layer:
7. Select the small image's transparency and create a fill layer, filling it with #0B0C22 and setting it to exclusion at 70% opacity, press ctrl-D:

8. create a new fill layer and fill it with #0B0C22, set to exclusion at 100%:

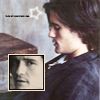
9. With a 15px star brush, set to pen pressure, click once and drag it next to orlando's face:
10. Add tiny text layers:
And voila!
Let me know what you think of the tutorial and feel free to show me your results!
or
in PS7 in 9 fairly easy steps.
1. Find your images:
and
2. Crop the bottom image to 100x100, then create a new layer and stroke a 1px white border around the icon. Keep the border layer on top, always:
3. Duplicate the base image, desaturate it, and set it to soft light at 100% opacity:
4. Duplicate the base image again, drag it on top, and set it to screen at 50% opacity:
5. If you're not happy with the color, repeat step 4 (or just set it to 100% opacity):
6. Take your second pic, crop it down to 35x35, desaturate it, and stroke it first with a 1px black boreder,then a 1px white border:
7. Select the small image's layer transparency, then create a new fill layer (while the small pic layer is still selected), fill it with #E6D3AA, or any light peachy color, then set it to multiply at 80% opacity. deselect (ctrl-D) and the color should cover only the 35x35 square:
8. Create a new layer. In the brush menu, find the star-shaped one (I'd show a screen shot but I don't know how). Set it to a size of 15px, make sure your foreground color is white and that your brush settings are on pen pressure, then press once and you should get a light star. You can move it where ever you want it to go. I chose near Orlando's head:
9. Create tiny text. I simply type in Arial Black size 1.5, then rasterize it and sharpen it once. I made 3 tiny text lines:
.
.
---
1. Crop your base image to 100x100 and desaturate it:
2. Duplicate the base and set it to soft light, 100%:
3. Duplicate the base, drag it on top, and set it to screen, 50% opacity:
4. New layer, ctrl-A, stroke inside 1px in white:
5. New fill layer of color #F5E3C9 set to multiply at 100%:
6. Crop the other pic to 35x35 (mine is bigger, sorry), stoke 1px black and 1pk white, then duplicate it once, desaturate and set to soft light, duplicate again, drag on top, and set to screen 50% just like the base layer:
7. Select the small image's transparency and create a fill layer, filling it with #0B0C22 and setting it to exclusion at 70% opacity, press ctrl-D:
8. create a new fill layer and fill it with #0B0C22, set to exclusion at 100%:
9. With a 15px star brush, set to pen pressure, click once and drag it next to orlando's face:
10. Add tiny text layers:
And voila!
Let me know what you think of the tutorial and feel free to show me your results!