Tutorial #4: The truth
Another tutorial requested by campmotha.
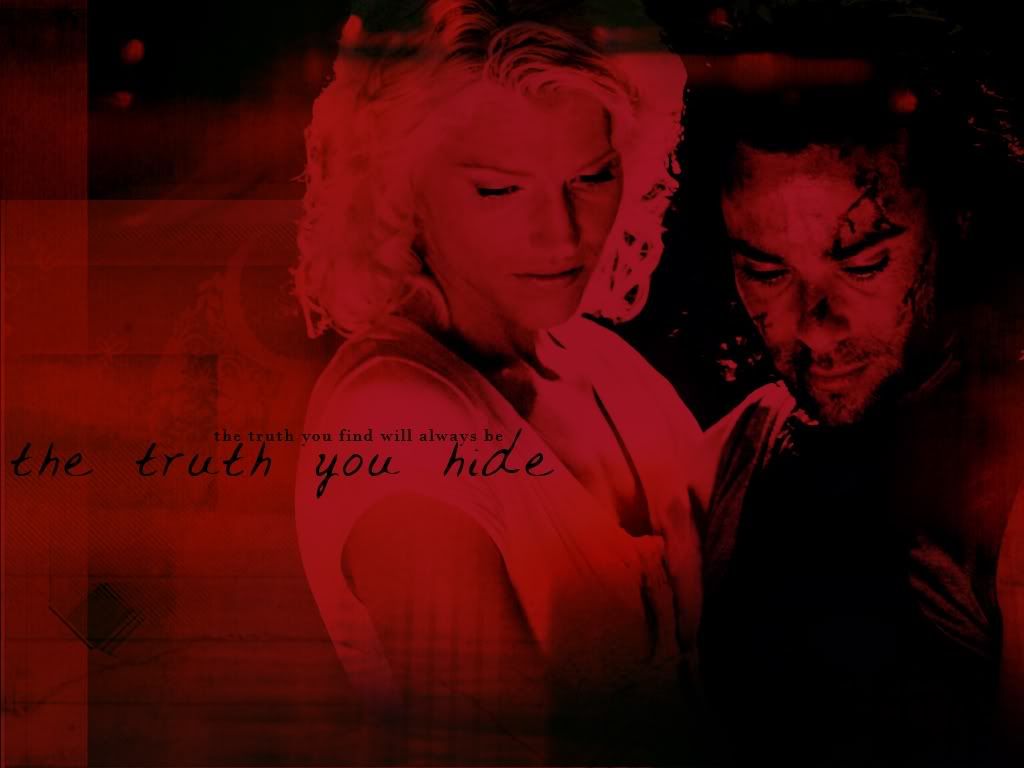
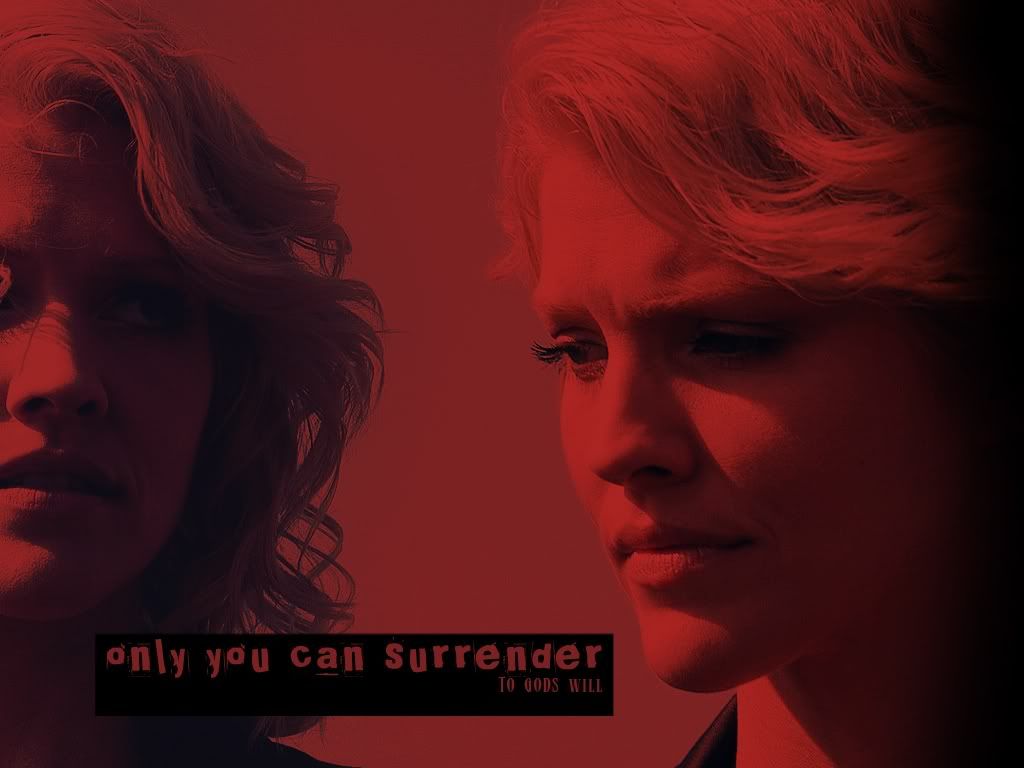
So today we will learn how to make this...

Made in PS CS2 but it should be transferable.
Step 1: Preparing your picture
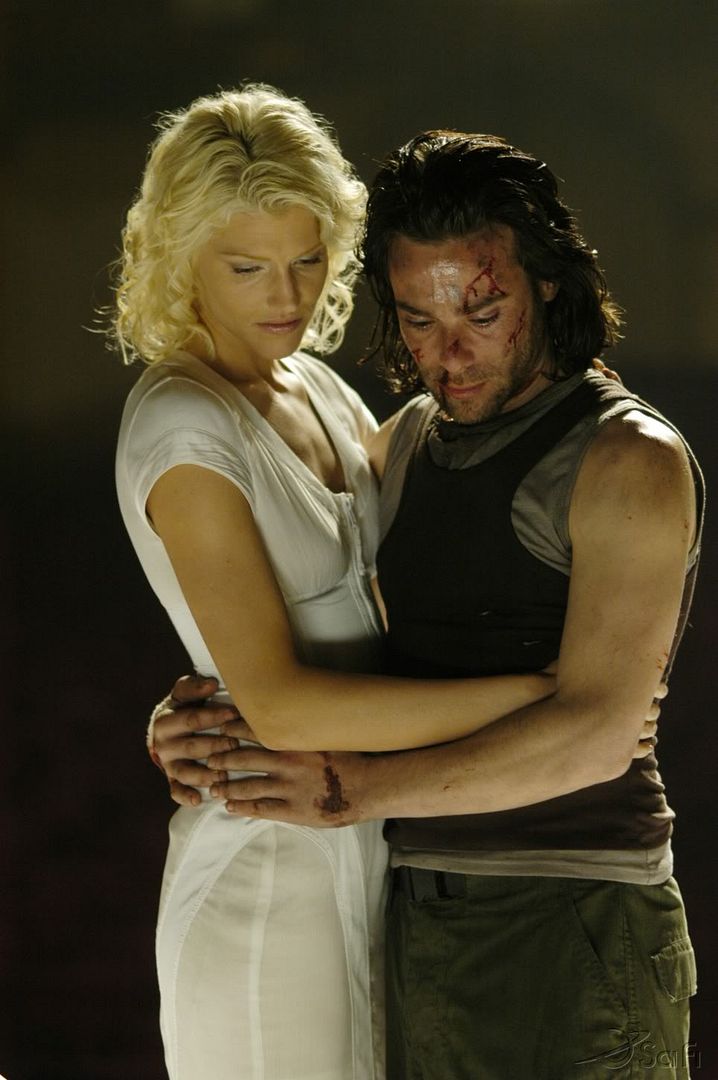
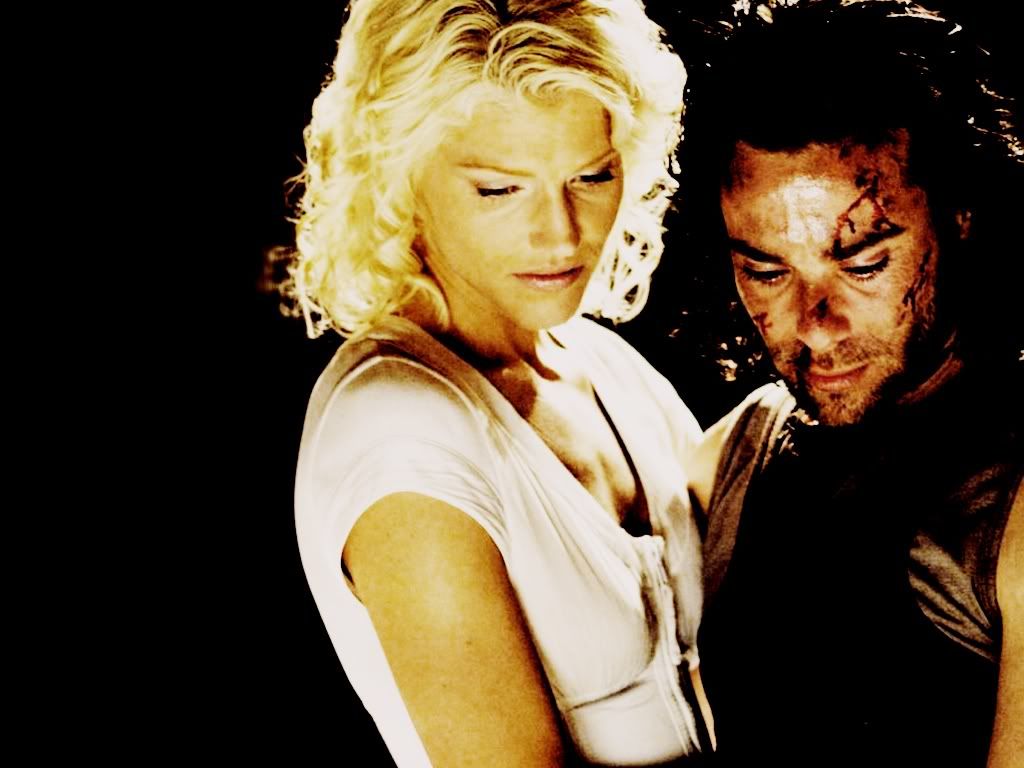
Place your picture in a new document. I chose this picture from Dark Thoughts.

Dulplicate the layer and Sharpen the copy. Set it to Opacity 80% and Merge Visible Layers so that the layer reads Background.
You should end up with something like this.

(You won't see too much difference but you will the next few steps.)
Step 2: Opening a new canvas
Open up a new canvas and fill a new layer with c1b1b1.
Paste your image onto the canvas and orientate it however you wish (use the Free Transform to make the image larger if desired.)
Duplicate the image twice. You should have three copies of the image. Follow the following instructions.
Third Copy-->Soft Light 100%
Second Copy-->Soft Light 100%
First Copy-->Desaturate Colorburn 100%
Colorfill-->c1b1b1
Background
You should have a result that looks like this.

Step 3: Coloring
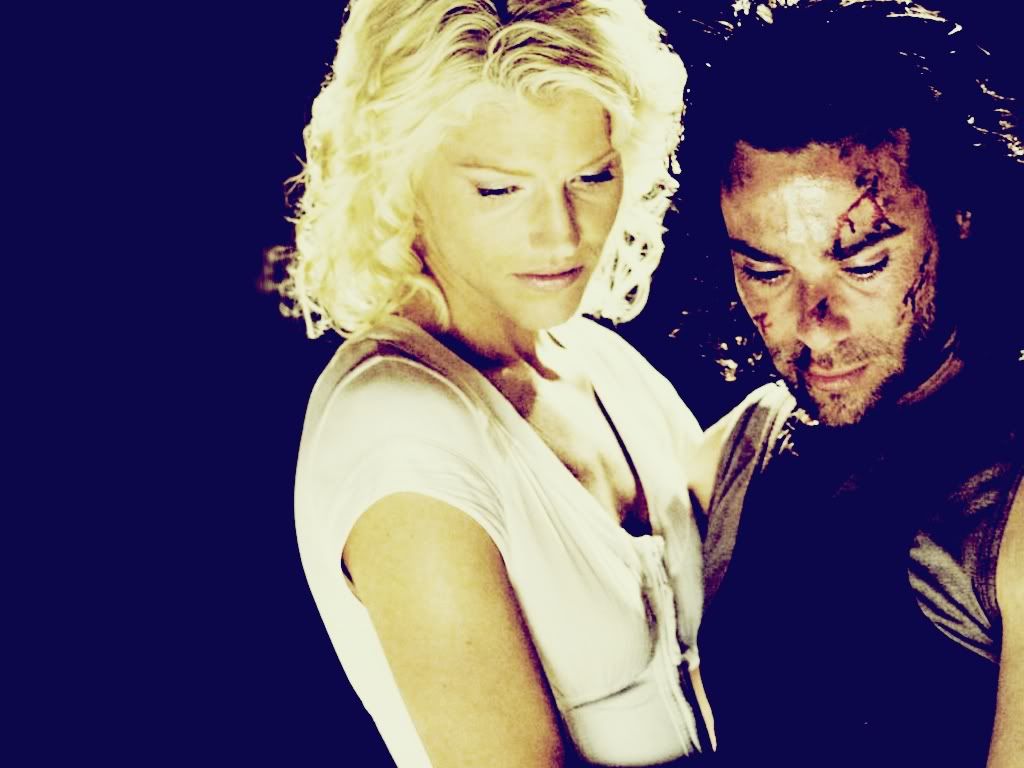
I didn't originally plan on going for the red look. So I added a few layers of color to the image.
First, I added a layer of 050223 and set it to Exclusion 100%.
Then I added a layer of bbead5 and set it to Soft Light 100%.

Then duplicate your image twice and desaturate the first copy and set both to Soft Light 100%
You should end up with something like this.

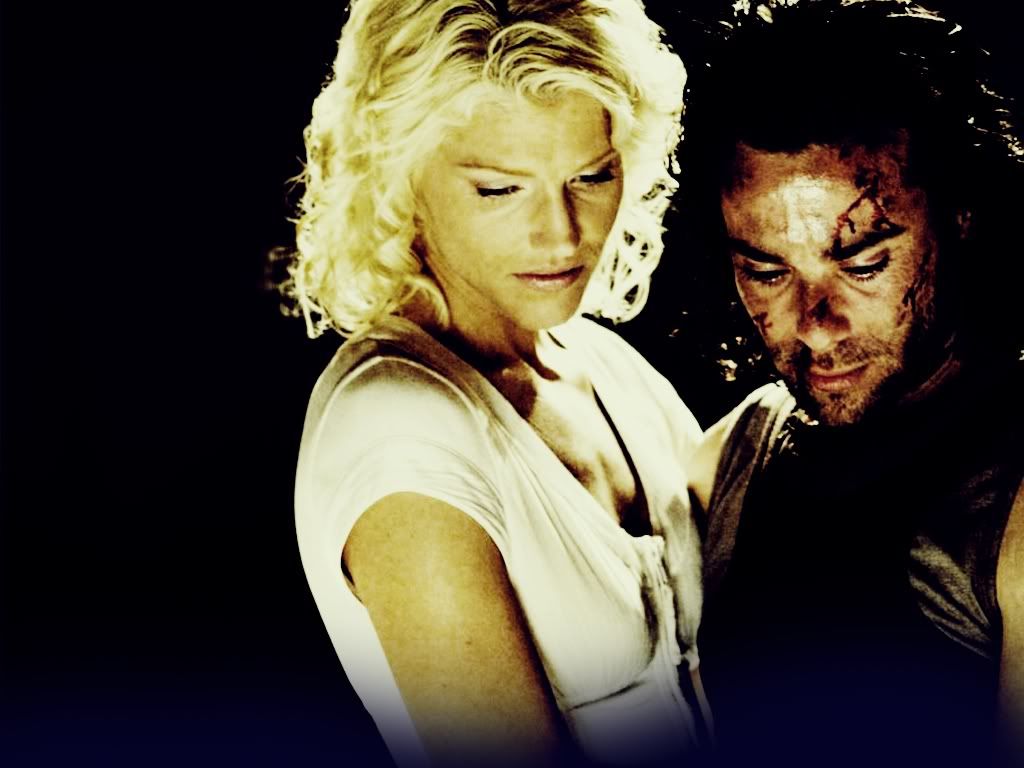
Step 4: Getting rid of the hard edge
To get rid of the hard edge at the bottom I used a soft round brush and carfully brushed on a color that matched the background by using the eyedrop too to select one. The color I ended up using was 040224.

Step 5: Textures
The image alone looks boring! So I added a couple of textures by gender to brighten it up
First I used this texture and set it to Pin Light 100% and earased the area that covered the image.
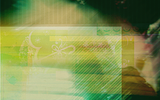
You should end up with something like this:

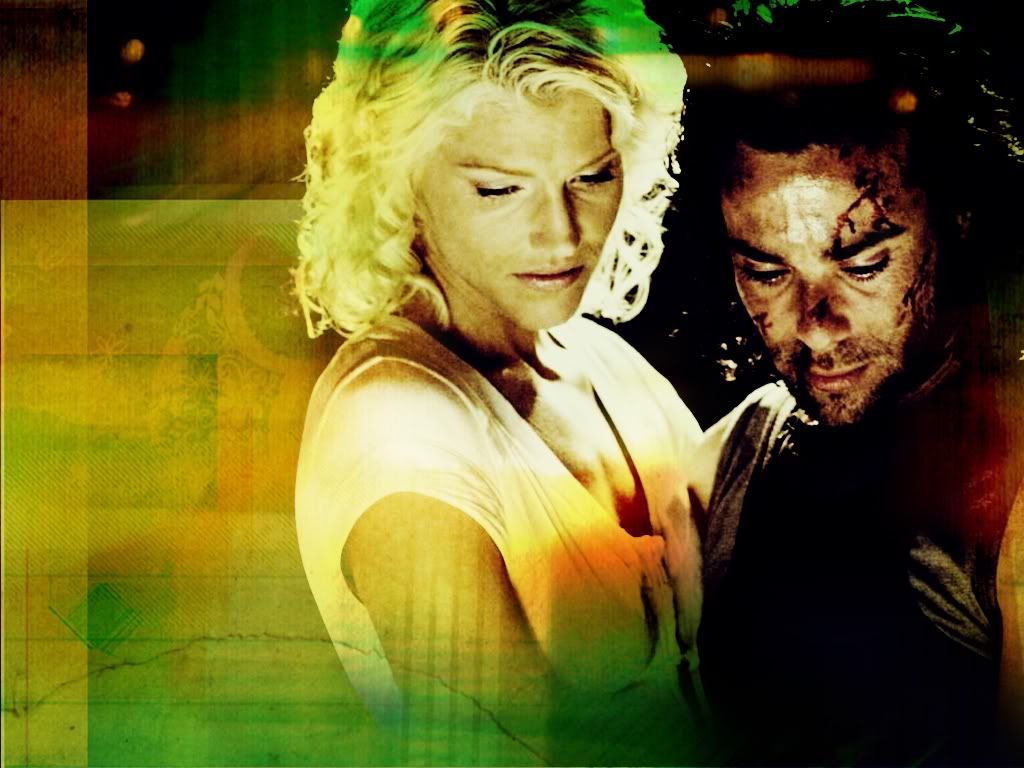
Then I added this texture, also by gender, and set it to Hard Light 100%. I once again earased the area that covered their faces. Leaving a little bit of the color showing on the image.
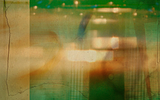
You should end up with something like this:

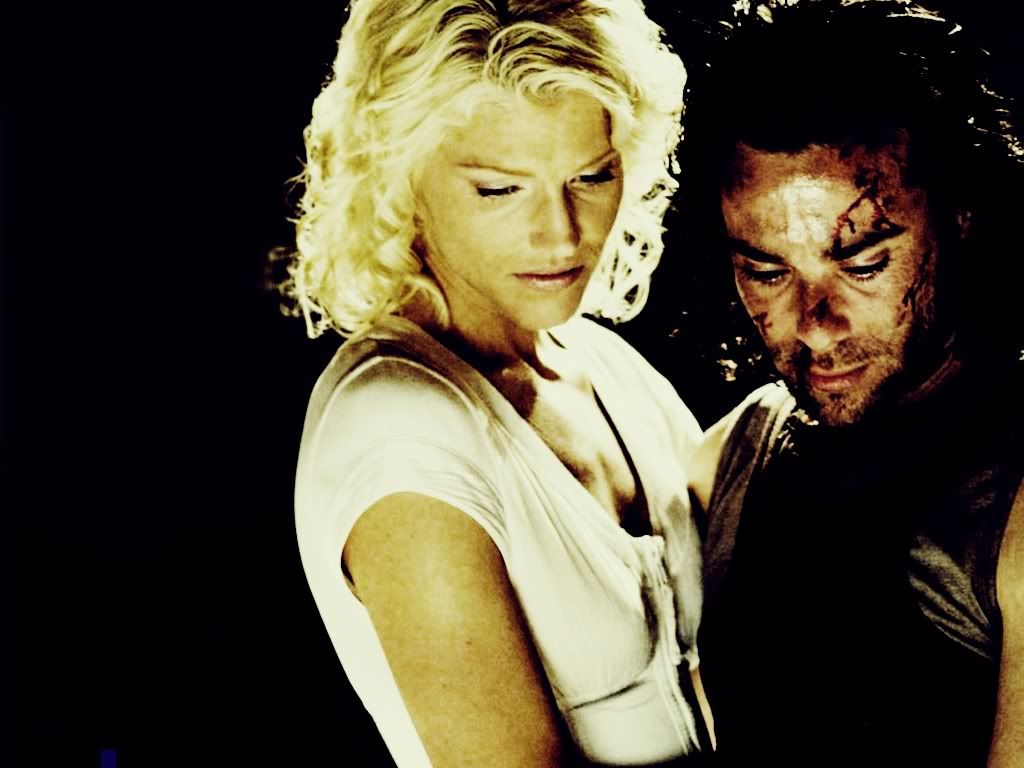
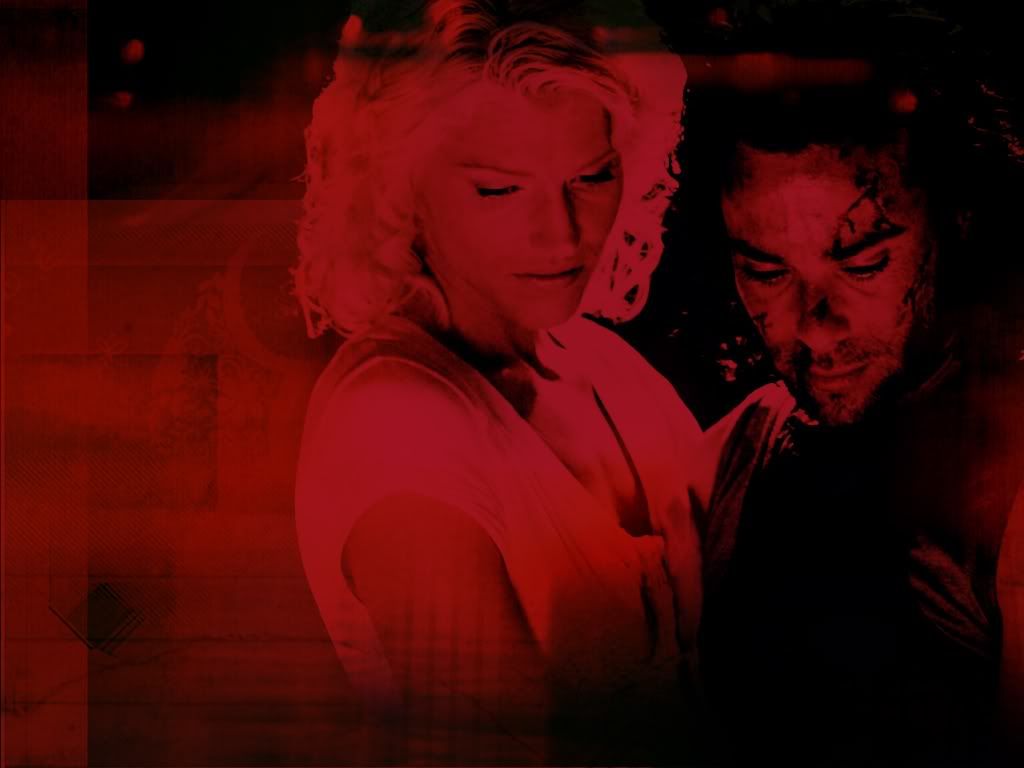
Step 6: The Red Color
While the above wallpaper looks fine as it is, I wanted to take it one step further. So I filled a layer with a51327 and set it to Multiply 100%
It will look something like this.

Step 7: Text
Okay...text time. I chose to use lyrics from How Do You Love by Collective Soul.
I added the first half of the lyrics in Bodoni MT in size 18.
Then I added the second half of the text in Rai, size 48.
And now you're done!
You should have a wallpaper that looks something like this.

Other wallpapers made using the same technique:

WANT THE PSD?
download it here
Questions? Concerns? Trials? Tribulations? Problems? Issues? Anxieties? Things that will make you not sleep tonight about this tutorial?
I would love to hear your comments, both good and bad so please feel free to let me know what you think and let me know if you're using my tutorial. It helps me know whether or not I should write another.
So today we will learn how to make this...
Made in PS CS2 but it should be transferable.
Step 1: Preparing your picture
Place your picture in a new document. I chose this picture from Dark Thoughts.
Dulplicate the layer and Sharpen the copy. Set it to Opacity 80% and Merge Visible Layers so that the layer reads Background.
You should end up with something like this.

(You won't see too much difference but you will the next few steps.)
Step 2: Opening a new canvas
Open up a new canvas and fill a new layer with c1b1b1.
Paste your image onto the canvas and orientate it however you wish (use the Free Transform to make the image larger if desired.)
Duplicate the image twice. You should have three copies of the image. Follow the following instructions.
Third Copy-->Soft Light 100%
Second Copy-->Soft Light 100%
First Copy-->Desaturate Colorburn 100%
Colorfill-->c1b1b1
Background
You should have a result that looks like this.
Step 3: Coloring
I didn't originally plan on going for the red look. So I added a few layers of color to the image.
First, I added a layer of 050223 and set it to Exclusion 100%.
Then I added a layer of bbead5 and set it to Soft Light 100%.
Then duplicate your image twice and desaturate the first copy and set both to Soft Light 100%
You should end up with something like this.
Step 4: Getting rid of the hard edge
To get rid of the hard edge at the bottom I used a soft round brush and carfully brushed on a color that matched the background by using the eyedrop too to select one. The color I ended up using was 040224.
Step 5: Textures
The image alone looks boring! So I added a couple of textures by gender to brighten it up
First I used this texture and set it to Pin Light 100% and earased the area that covered the image.

You should end up with something like this:
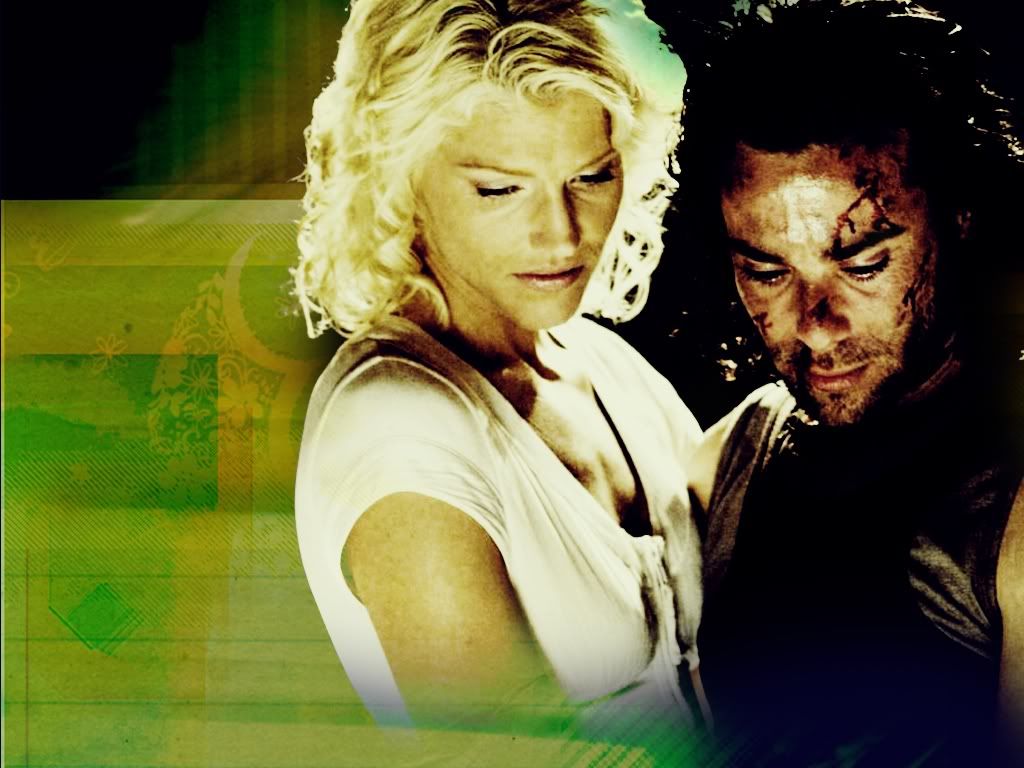
Then I added this texture, also by gender, and set it to Hard Light 100%. I once again earased the area that covered their faces. Leaving a little bit of the color showing on the image.

You should end up with something like this:
Step 6: The Red Color
While the above wallpaper looks fine as it is, I wanted to take it one step further. So I filled a layer with a51327 and set it to Multiply 100%
It will look something like this.
Step 7: Text
Okay...text time. I chose to use lyrics from How Do You Love by Collective Soul.
I added the first half of the lyrics in Bodoni MT in size 18.
Then I added the second half of the text in Rai, size 48.
And now you're done!
You should have a wallpaper that looks something like this.

Other wallpapers made using the same technique:
WANT THE PSD?
download it here
Questions? Concerns? Trials? Tribulations? Problems? Issues? Anxieties? Things that will make you not sleep tonight about this tutorial?
I would love to hear your comments, both good and bad so please feel free to let me know what you think and let me know if you're using my tutorial. It helps me know whether or not I should write another.