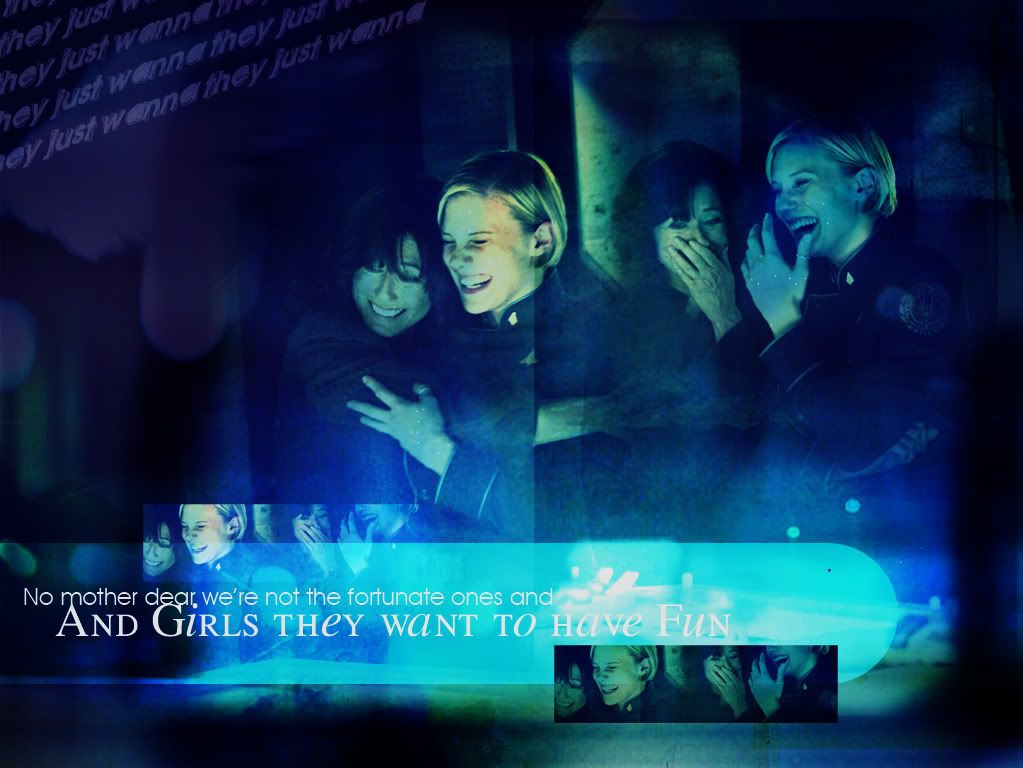
Tutorial #3: Girls Just Wanna Have Fun
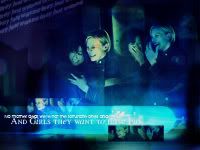
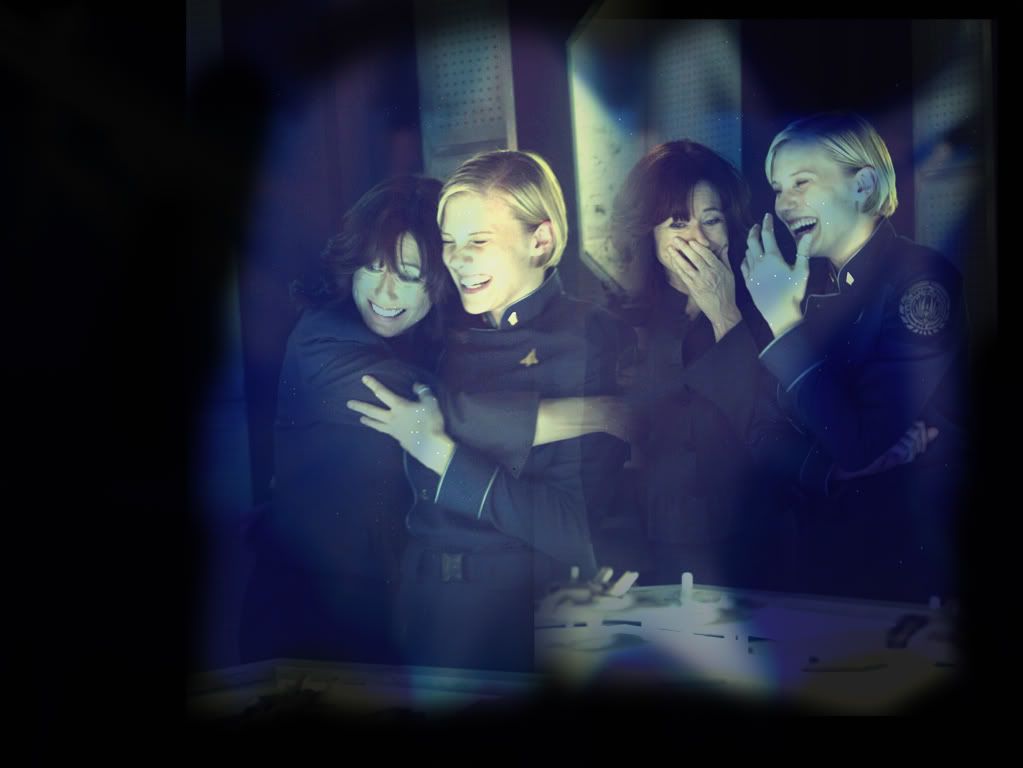
Once again, another request by campmotha. This time we will learn how to make this...
Made in Photoshop CS2, but should be transferable.
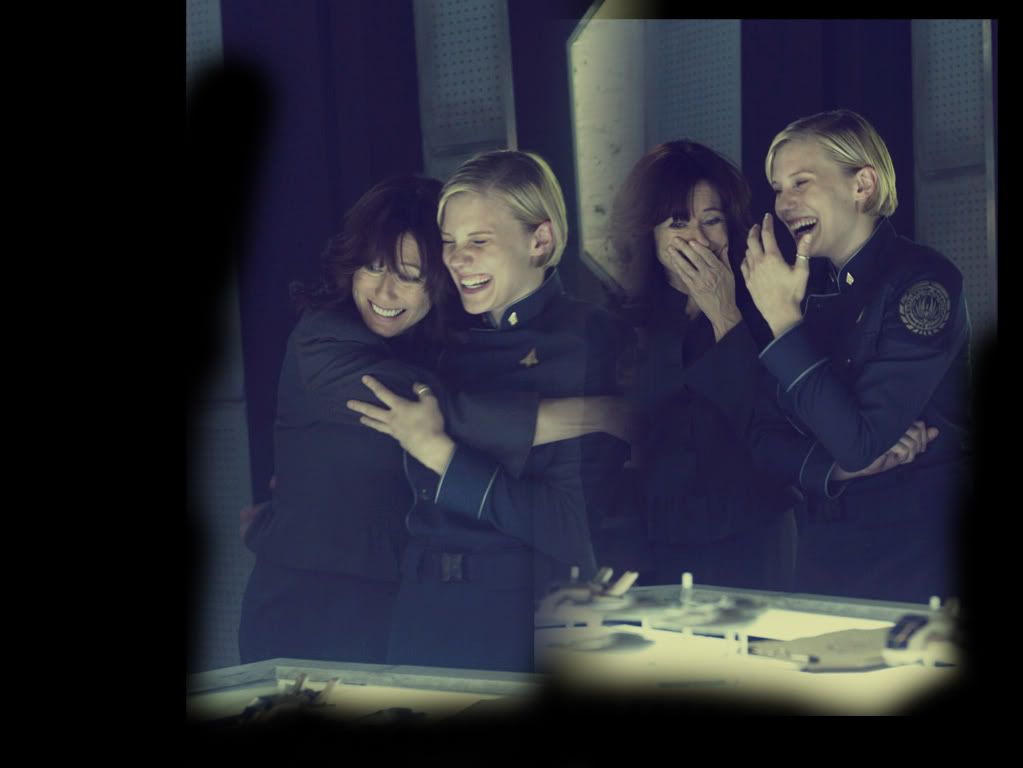
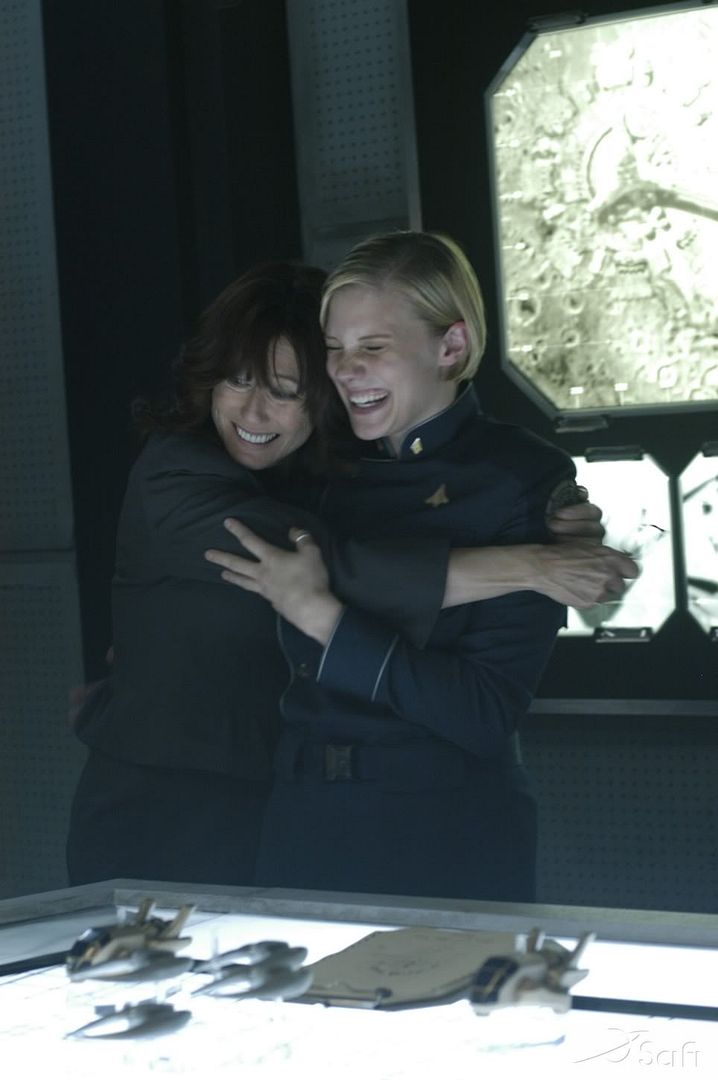
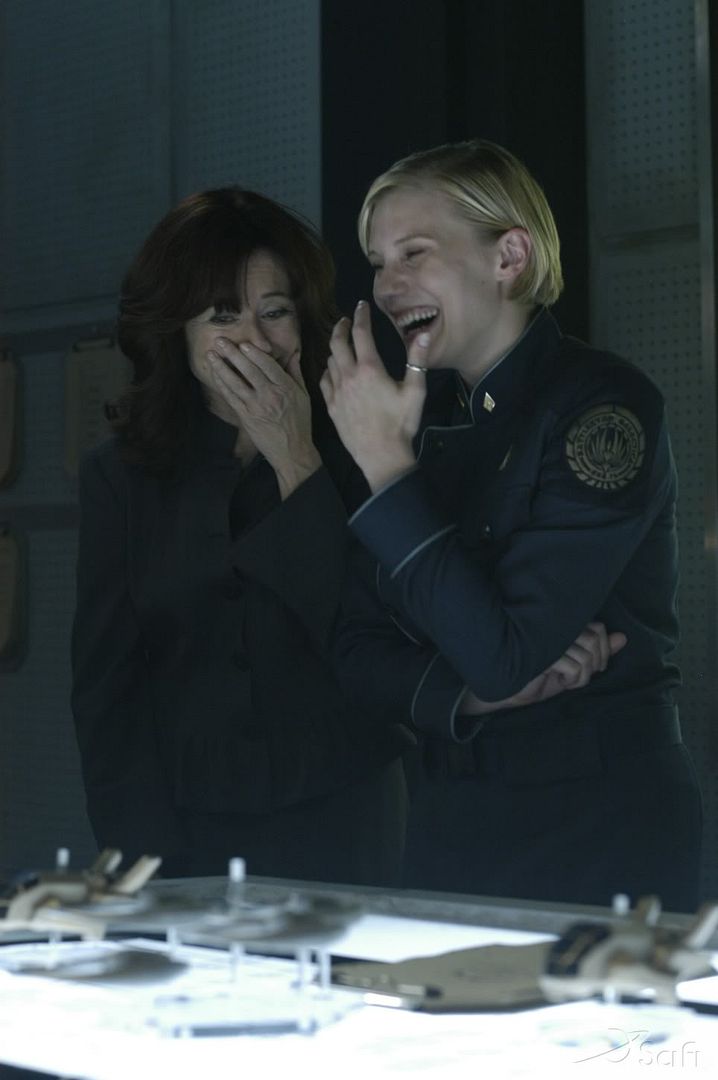
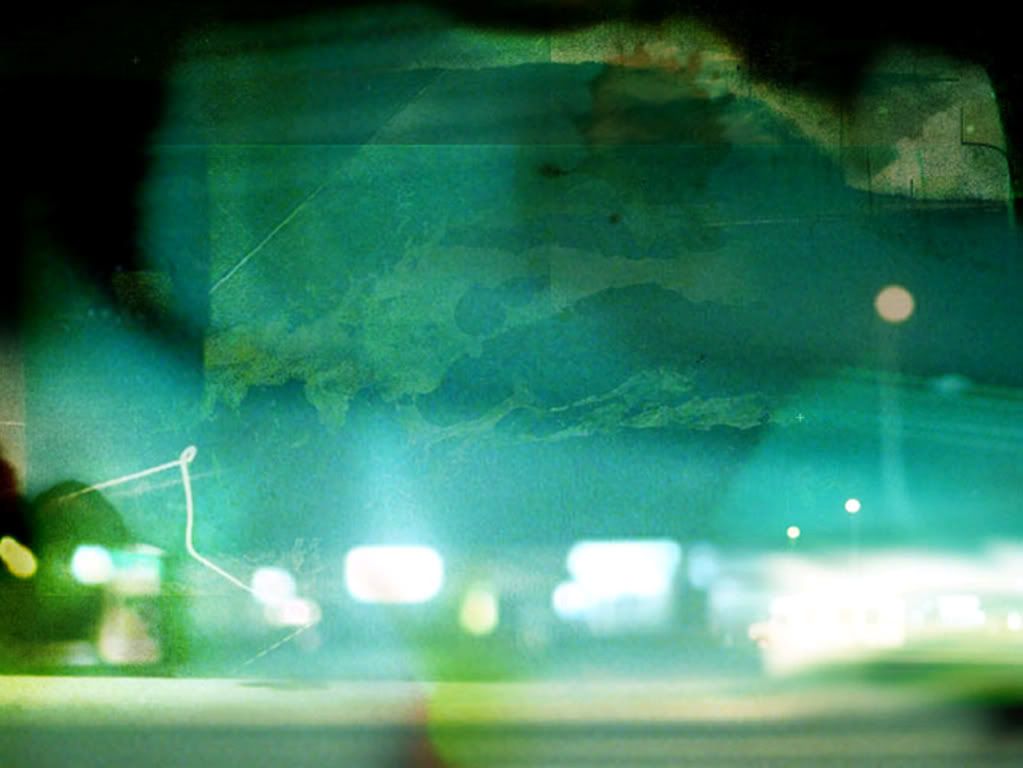
STEP 1: The Base Start with a black background and place your pictures on it. Once again I am using photos from Dark Thoughts. The images are from the gallery for The Hand of God and can be found here and here.
Position the pictures how you would like them to appear and then use a Layer Mask by going to Layer-->Layer Mask-->Reveal All. Then select your gradient tool make sure it is set to the black and white gradient and drag it across the layer until the two pictures blend smoothly together.
I didn't do this until later on but I went back and painted over the edges of the pictures with the paintbrush tool because they were clearly visible through the textures I added. You can do this now or wait until your done working. (You could also keep doing the layer mask thing but I thought that painting over the edges was alot easier.)
MY RESULT:
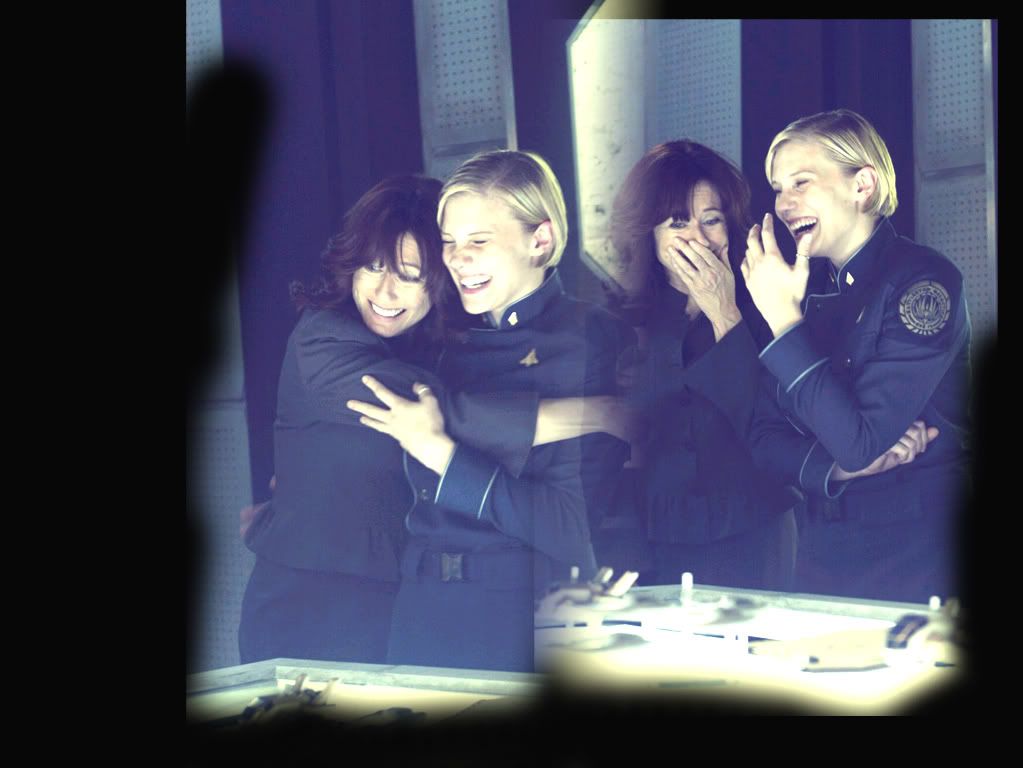
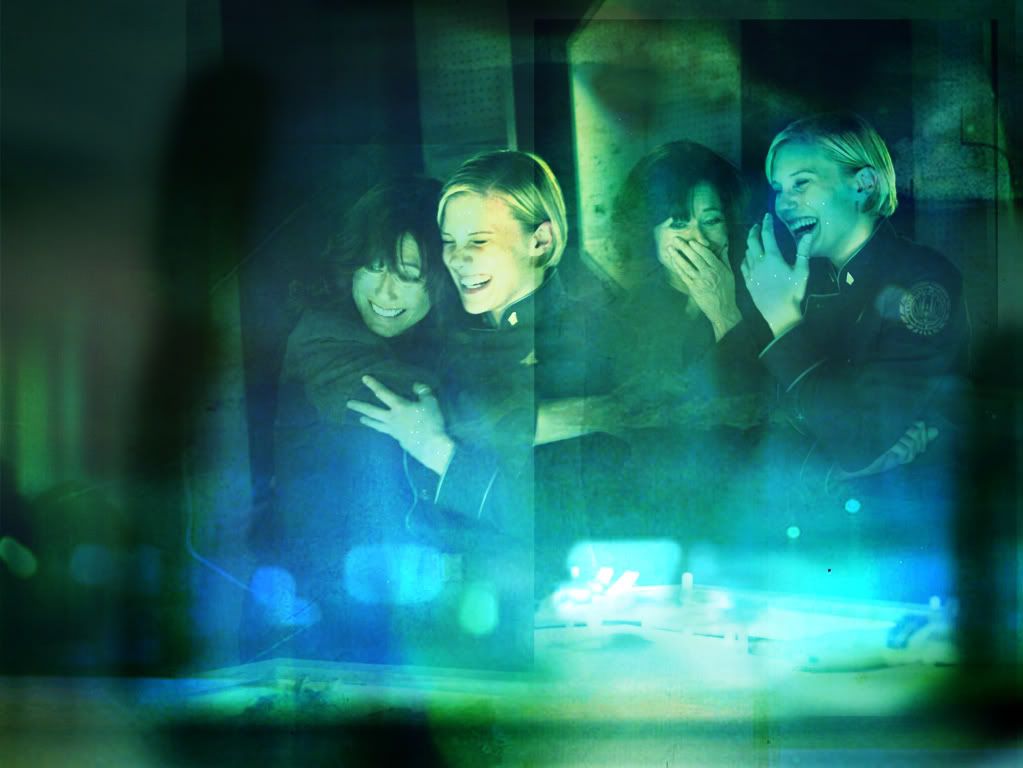
STEP TWO: Brightness/Contrast I wasn't too happy with how the pictures looked against the dark background so I added a brightness and contrast layer by going to Layer-->New Adjustment Layer-->Brightness and Contrast. I set the layer to Brightness +56 and Contrast +41.
MY RESULT:
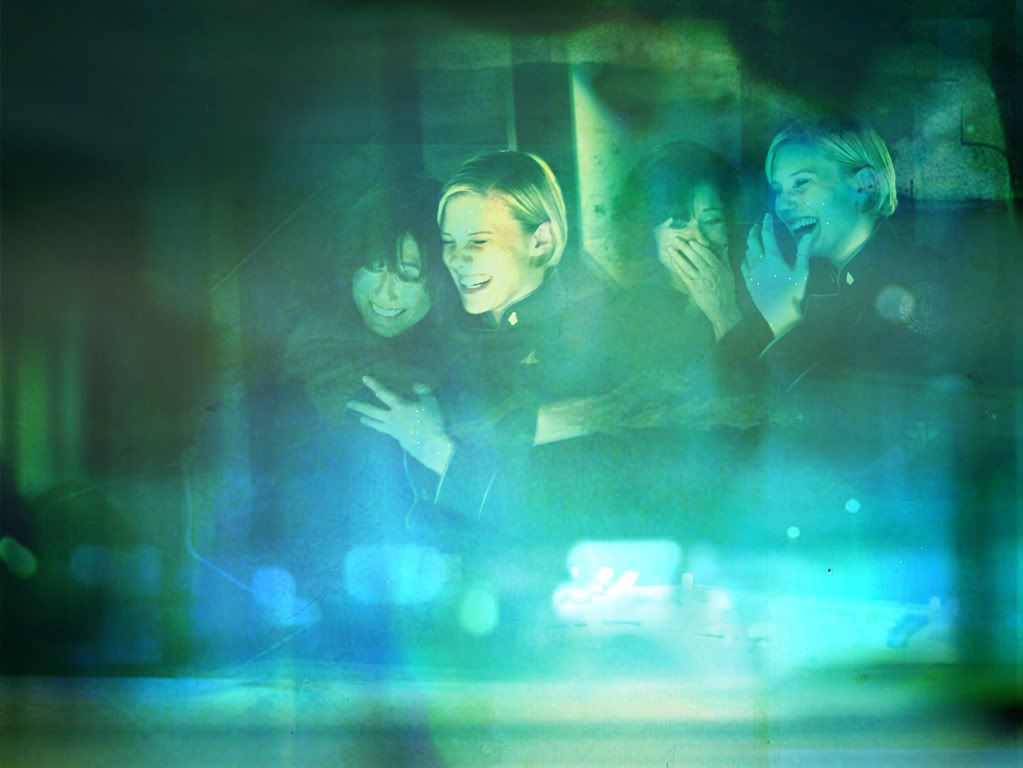
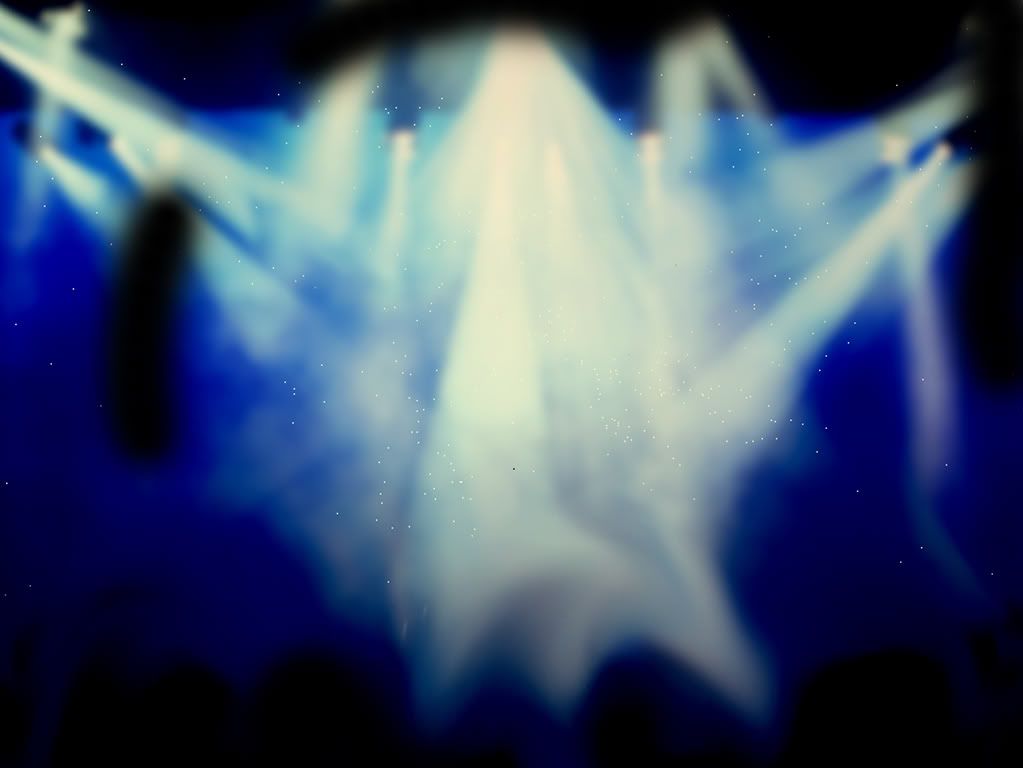
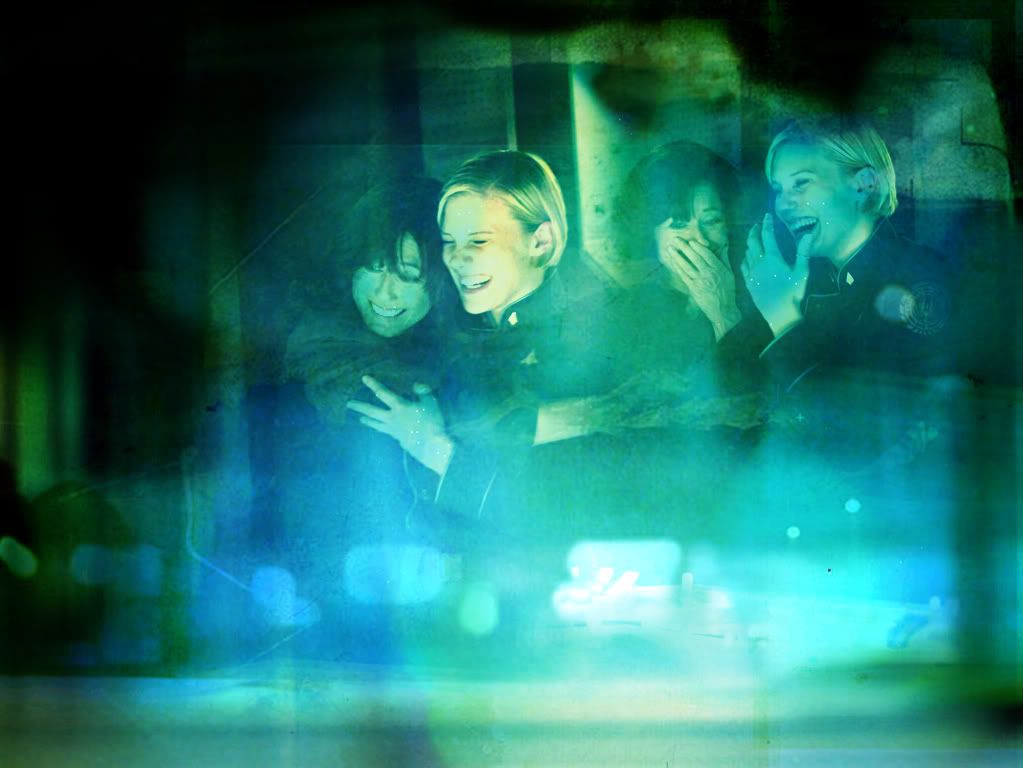
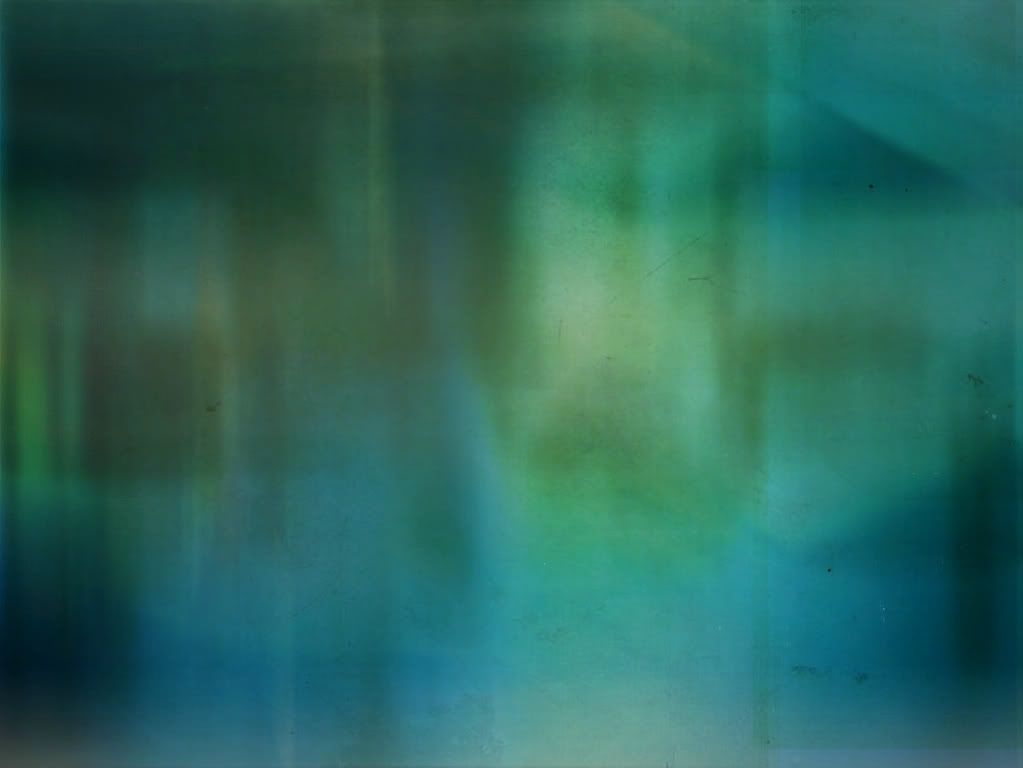
STEP 3: Textures At this point I added several textures to the wallpaper. I apologize I cannot remember who created these lovely peices but if someone recognizes one of them please let me know and I will make sure to give credit where credit is due.
I started with this texture (credit to ?) and set it to Multiply 86%. RESULT
Then I used this texture (credit to ?) set to Screen 100% Result
Then I added another texture and set to Overlay 100% RESULT
Finally I added, this texture and set it to Lighten 36%.
THE RESULT:
STEP 4: Making the Subject Stand Out After the hardwork I put you through here is an easy step! Duplicate your picture layers by going to Layer-->Duplicate Layer and dragging them to the top! DO NOT MOVE THEM but set them to Soft Ligtht 100%
My Result:
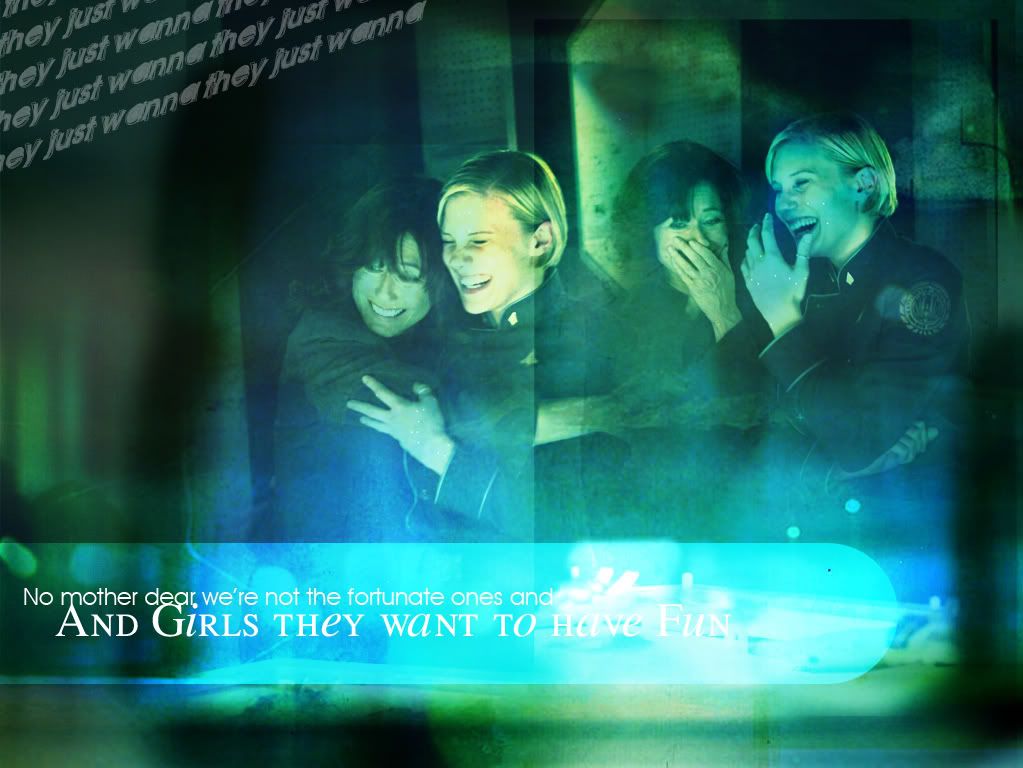
STEP FIVE: Text in the Corner The upper left hand corner looks a little bland doesn't it? So lets change that. I added some song lyrics using the font Astigma. I set it to 35 pt and set it to Normal 33%. To get the odd angle I went to Edit-->Free Transform and shifted the orientation and then held down the control key as I played with the perspective.
MY RESULT:

STEP 6: The Rounded Rectangle Select your Rounded Rectangle Tool and set the radius to 100 pt. Then draw a rectangle using 4db2cd and then set it to Overlay 100%
MY RESULT:

STEP 7: The Rest of the Text The rounded rectangle that you just created will serve as a textbox. I chose to put my text in two lines. I used the font DECKER (I can't remember where I downloaded it from but it was a free font site) in 24 pt for the smaller insignificant text and then for the larger text I used Will and Grace in 48 pt both set to Normal 100%
MY RESULT:
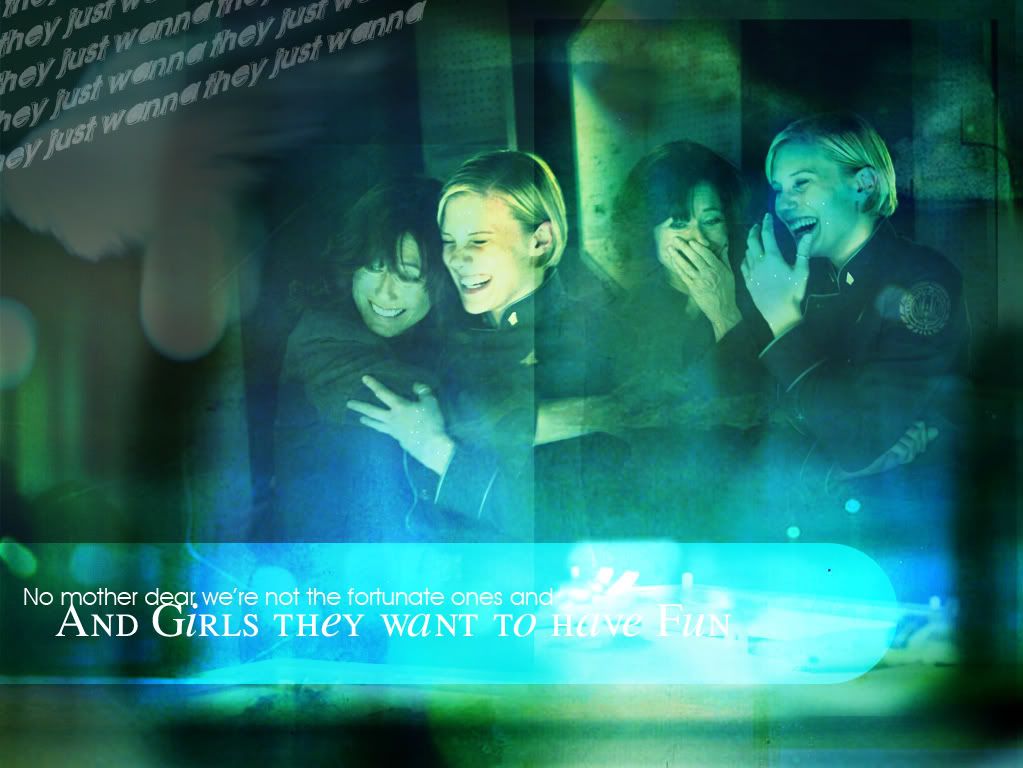
STEP 8: Adding texture to the corner I wanted to add more texture to the corner of the wallpaper where I placed the text earlier. So I used this texture (credit to?) and positioned it so that the light was half on, half off the text. I then set it to Lighten 20%.
MY RESULT:
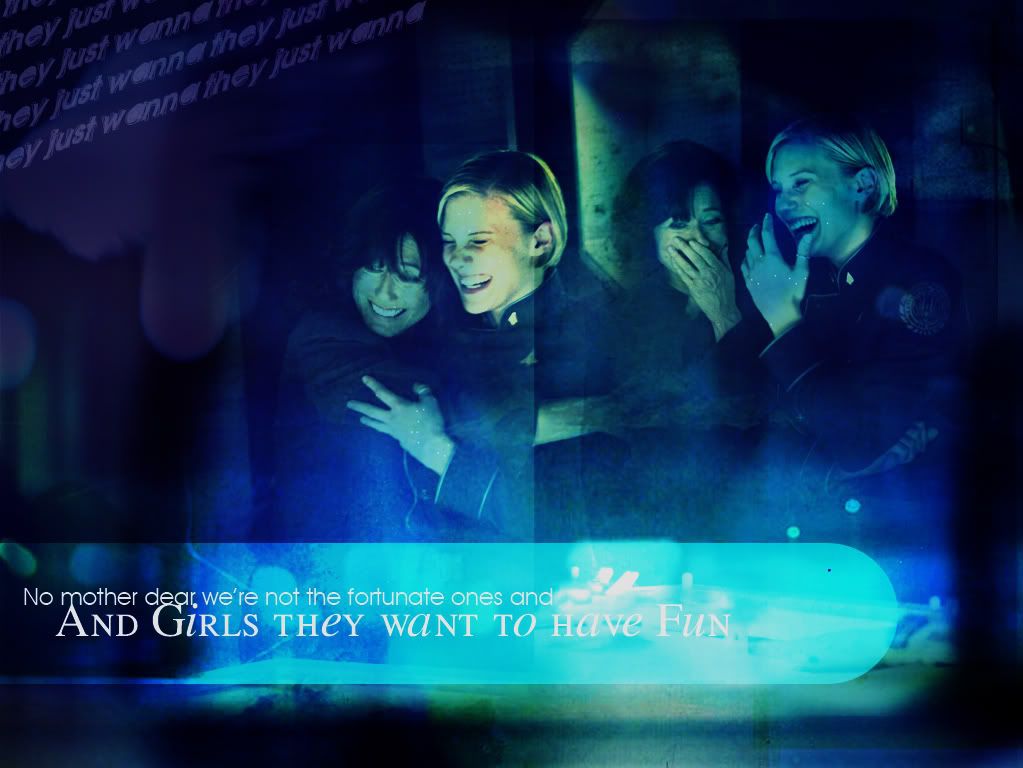
STEP 9: Curves I decided that I wanted to bring out the blue in the wallpaper some more. So I added a curves layer with the following settings.
RGB: Three points
TOP
Input: 255
Output: 228
MIDDLE
Input: 128
Output: 109
END
Input: 23
Output: 0
RED: Three points
TOP
Input: 255
Output: 255
MIDDLE
Input: 103
Output: 134
BOTTOM
Input: 8
Output: 58
GREEN: One point
MIDDLE
Input: 108
Output: 100
BLUE: Three Points
TOP
Input: 255
Output: 255
MIDDLE
Input: 124
Output: 244
BOTTOM
Input: 0
Output: 237
MY RESULT
STEP 10: Little pics The wallpaper still seemed incomplete to me. So I selected the area that encompassed the faces from both pics and copy merged all the layers. I then pasted it and resized it using Free Transform Then I copied the layer and positoned the copies on the top and bottom of the rounded rectangle. I set the top one to Screen 100% and the bottom one to Multiply 100%
AND YOU'RE DONE!
END RESULT!
WANT THE PSD?
download it here
Questions? Concerns? Trials? Tribulations? Problems? Issues? Anxieties? Things that will make you not sleep tonight about this tutorial?
I would love to hear your comments, both good and bad so please feel free to let me know what you think and let me know if you're using my tutorial. It helps me know whether or not I should write another.

Made in Photoshop CS2, but should be transferable.
STEP 1: The Base Start with a black background and place your pictures on it. Once again I am using photos from Dark Thoughts. The images are from the gallery for The Hand of God and can be found here and here.
Position the pictures how you would like them to appear and then use a Layer Mask by going to Layer-->Layer Mask-->Reveal All. Then select your gradient tool make sure it is set to the black and white gradient and drag it across the layer until the two pictures blend smoothly together.
I didn't do this until later on but I went back and painted over the edges of the pictures with the paintbrush tool because they were clearly visible through the textures I added. You can do this now or wait until your done working. (You could also keep doing the layer mask thing but I thought that painting over the edges was alot easier.)
MY RESULT:
STEP TWO: Brightness/Contrast I wasn't too happy with how the pictures looked against the dark background so I added a brightness and contrast layer by going to Layer-->New Adjustment Layer-->Brightness and Contrast. I set the layer to Brightness +56 and Contrast +41.
MY RESULT:
STEP 3: Textures At this point I added several textures to the wallpaper. I apologize I cannot remember who created these lovely peices but if someone recognizes one of them please let me know and I will make sure to give credit where credit is due.
I started with this texture (credit to ?) and set it to Multiply 86%. RESULT
Then I used this texture (credit to ?) set to Screen 100% Result
Then I added another texture and set to Overlay 100% RESULT
Finally I added, this texture and set it to Lighten 36%.
THE RESULT:
STEP 4: Making the Subject Stand Out After the hardwork I put you through here is an easy step! Duplicate your picture layers by going to Layer-->Duplicate Layer and dragging them to the top! DO NOT MOVE THEM but set them to Soft Ligtht 100%
My Result:
STEP FIVE: Text in the Corner The upper left hand corner looks a little bland doesn't it? So lets change that. I added some song lyrics using the font Astigma. I set it to 35 pt and set it to Normal 33%. To get the odd angle I went to Edit-->Free Transform and shifted the orientation and then held down the control key as I played with the perspective.
MY RESULT:
STEP 6: The Rounded Rectangle Select your Rounded Rectangle Tool and set the radius to 100 pt. Then draw a rectangle using 4db2cd and then set it to Overlay 100%
MY RESULT:
STEP 7: The Rest of the Text The rounded rectangle that you just created will serve as a textbox. I chose to put my text in two lines. I used the font DECKER (I can't remember where I downloaded it from but it was a free font site) in 24 pt for the smaller insignificant text and then for the larger text I used Will and Grace in 48 pt both set to Normal 100%
MY RESULT:
STEP 8: Adding texture to the corner I wanted to add more texture to the corner of the wallpaper where I placed the text earlier. So I used this texture (credit to?) and positioned it so that the light was half on, half off the text. I then set it to Lighten 20%.
MY RESULT:
STEP 9: Curves I decided that I wanted to bring out the blue in the wallpaper some more. So I added a curves layer with the following settings.
RGB: Three points
TOP
Input: 255
Output: 228
MIDDLE
Input: 128
Output: 109
END
Input: 23
Output: 0
RED: Three points
TOP
Input: 255
Output: 255
MIDDLE
Input: 103
Output: 134
BOTTOM
Input: 8
Output: 58
GREEN: One point
MIDDLE
Input: 108
Output: 100
BLUE: Three Points
TOP
Input: 255
Output: 255
MIDDLE
Input: 124
Output: 244
BOTTOM
Input: 0
Output: 237
MY RESULT
STEP 10: Little pics The wallpaper still seemed incomplete to me. So I selected the area that encompassed the faces from both pics and copy merged all the layers. I then pasted it and resized it using Free Transform Then I copied the layer and positoned the copies on the top and bottom of the rounded rectangle. I set the top one to Screen 100% and the bottom one to Multiply 100%
AND YOU'RE DONE!
END RESULT!
WANT THE PSD?
download it here
Questions? Concerns? Trials? Tribulations? Problems? Issues? Anxieties? Things that will make you not sleep tonight about this tutorial?
I would love to hear your comments, both good and bad so please feel free to let me know what you think and let me know if you're using my tutorial. It helps me know whether or not I should write another.