Papercraft tutorial part 3!
Hello all! I finally finished my Eurovision/Hetalia fanart papercraft!
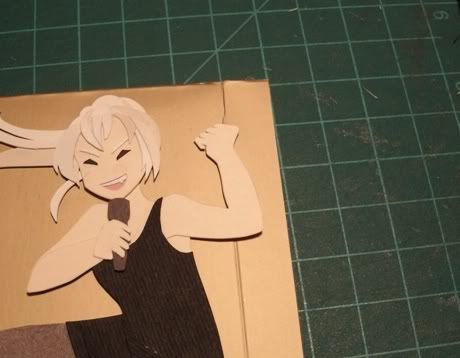
Part one
Part two
The Eurovision opener this is based on
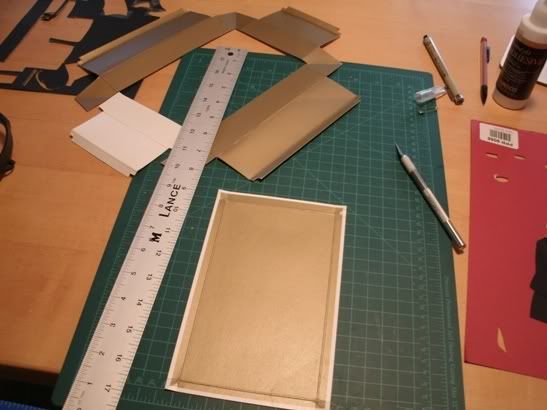
BACKGROUND TIME. I decided against the yellower paper I had chosen before in favor of this gold paper I got from a box of fancy soaps. It still smells faintly of soap haha
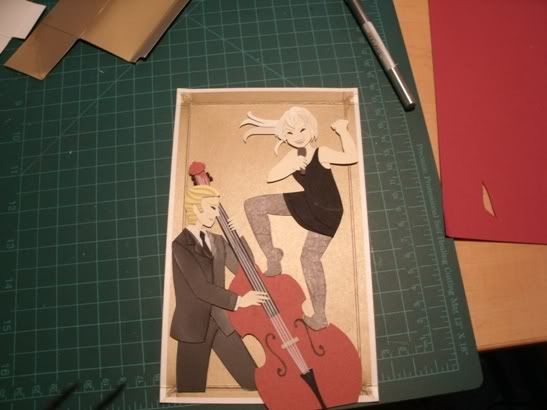
Ooooh it JUST fits...

I wanted it to be 5x7 for easier printing later... it's a little more than seven inches.
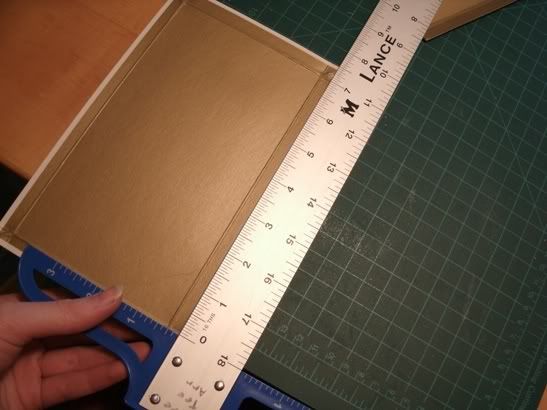
There we go!
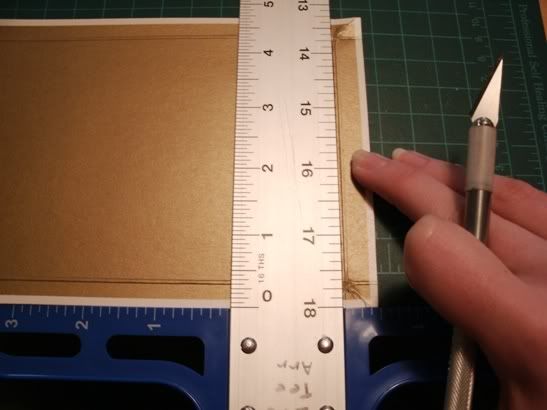
Cutting the bottom edges off to fit...

Then I realized I was being STUPID and I could have just cut the bg out of the OTHER side of the paper where the color was continuous and I wouldn't have to be bound by this arbitrary box arrrrgh

Luckily I saved a second box.
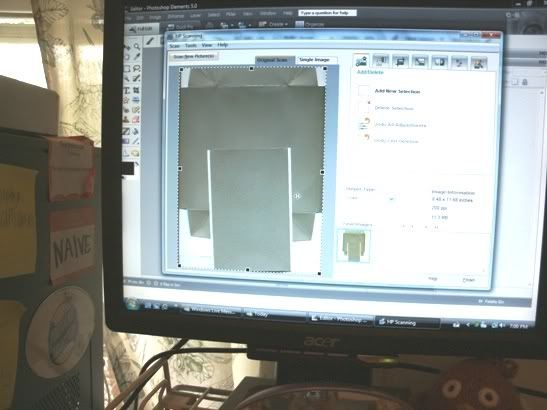
Still hemming and hawing because I DID like the texture of the first piece I chose, I scanned them both to see how they'd eventually look. Ehhhh ok I'll use the other side.
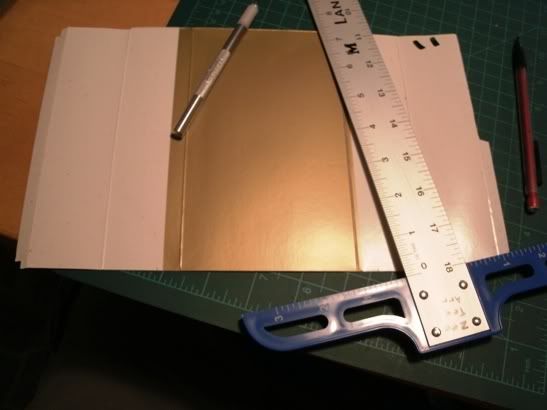
Measuring it out. I like evenness and symmetry so I tried to get the bars that are an unfortunate side effect of the packaging to be the same size at least. Ummm we'll say they're the breaks between the three screens they had at Eurovision this year yeah let's go with that. Marking the opposite side and making a tiny cut before cutting from the front-facing side. (the side you cut the paper on effects what the cut will look like. If you cut everything out from behind your cuts will have an odd dimple to the edges.)

Then I took a break to trespass on the empty summerhome across the street so I could see the most amazing foggy sunset I've ever seen, you guys I want to papercraft this sunset oh man I love living here *o*
disclaimer: do not trespass as part of your papercrafting process it would probably actually be detrimental to your work
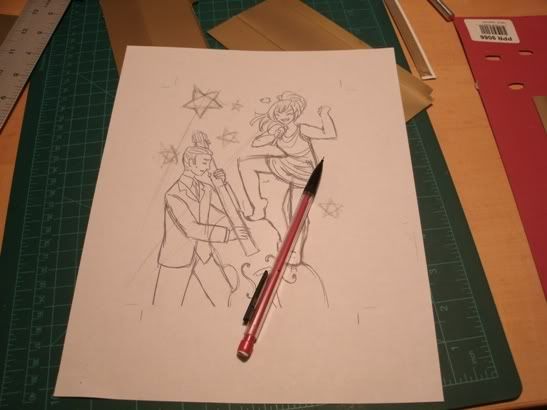
Back inside and not arrested, I sketched out the bg on the original sketch I've been basing all this off of.
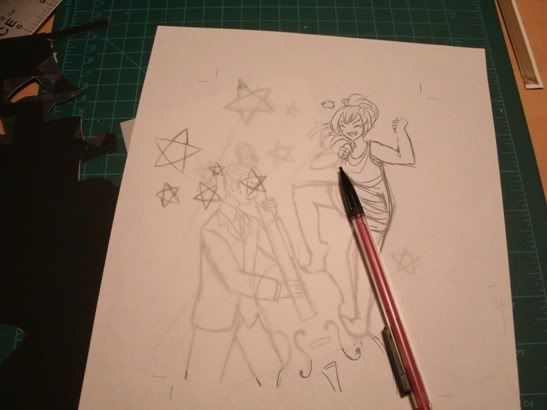
Tracing the stars onto my tracing vellum...

I used a really thick card for the stars, and for once welcomed the fact that the color doesn't go all the way through! By making light cuts and only taking off the top layer, I was able to make a shine on the edges! I blacked out the non-shine edges like I normally would, though.

When I cut the stars I went from the inside angle out. It's easy to start a cut but harder to stop it right where it needs to be. Cutting this way makes for fewer sloppy overlapped cuts.
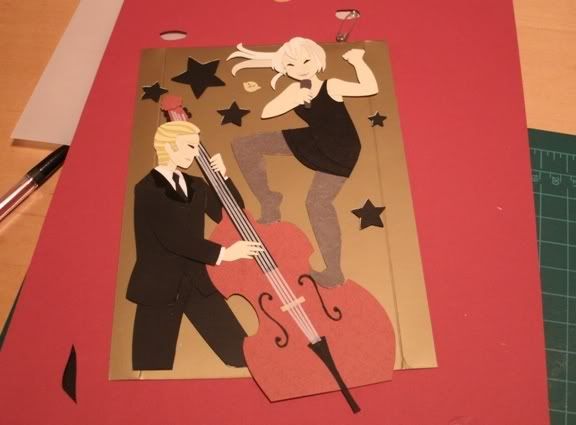
Yeeeah stars all done
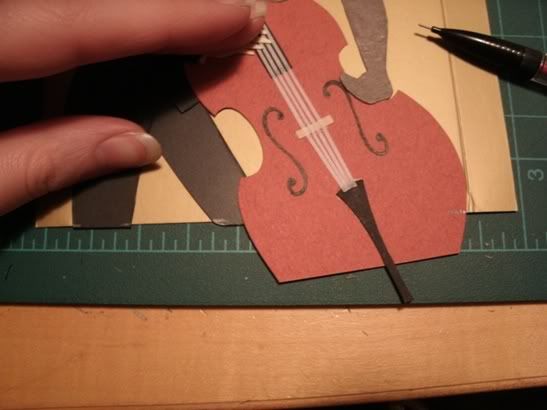
Now it's time to shear off the bottom edge. I carefully arranged them on the bg and made small marks where I wanted the line to be.

Hemmed and hawed and nervoused over it before replacing my x-acto blade for maximum clean cutting and just jumping in.

Whew. Erased the marks as well.
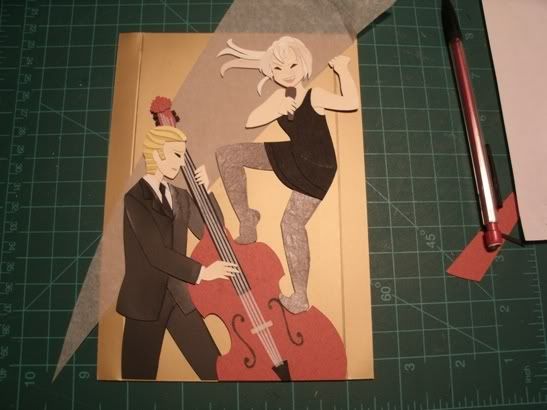
I wanted to add in a spotlight, but balked at how it dulled the background.

Nope that doesn't work either OH HECK who needs spotlights and depth of field not me that's 'oo

Tamgents and distracting things like that should be avoided. There was a messy fold on the corner that happened to be shared by Prussia's fist, so...

I flipped the page so a neater less noticeable one was there. The offending fold got covered by Germany's leg.
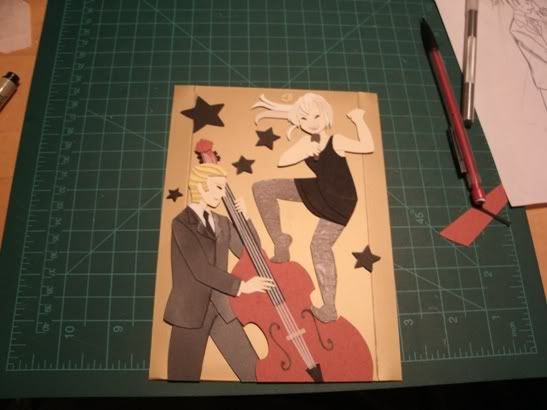
Alright everything's in place oh man oh man time to glue it all down aaa... As you can see I rearranged the stars endlessly, worrying about the composition.

In the interest of depth and more shadows I only glued it by Germany's legs and bass. I went in and glued Prussia's legs down afterwards because I worried about the stability of the piece.
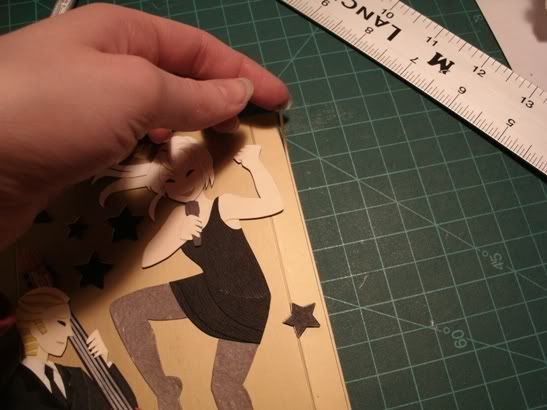
The whole piece seemed a tad too squished over to the left. I sliced off a tiny bit of the right and it worked out a little better.
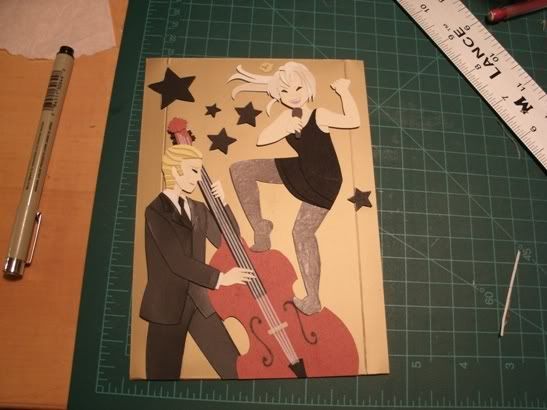
YEEEEAH... all that was left was scanning, which was a whooole nother kettle of fish since my scanner hates me and likes to render shadows in neon blue. After much poking and prodding and cursing of photoshop, though, I ended up with this!
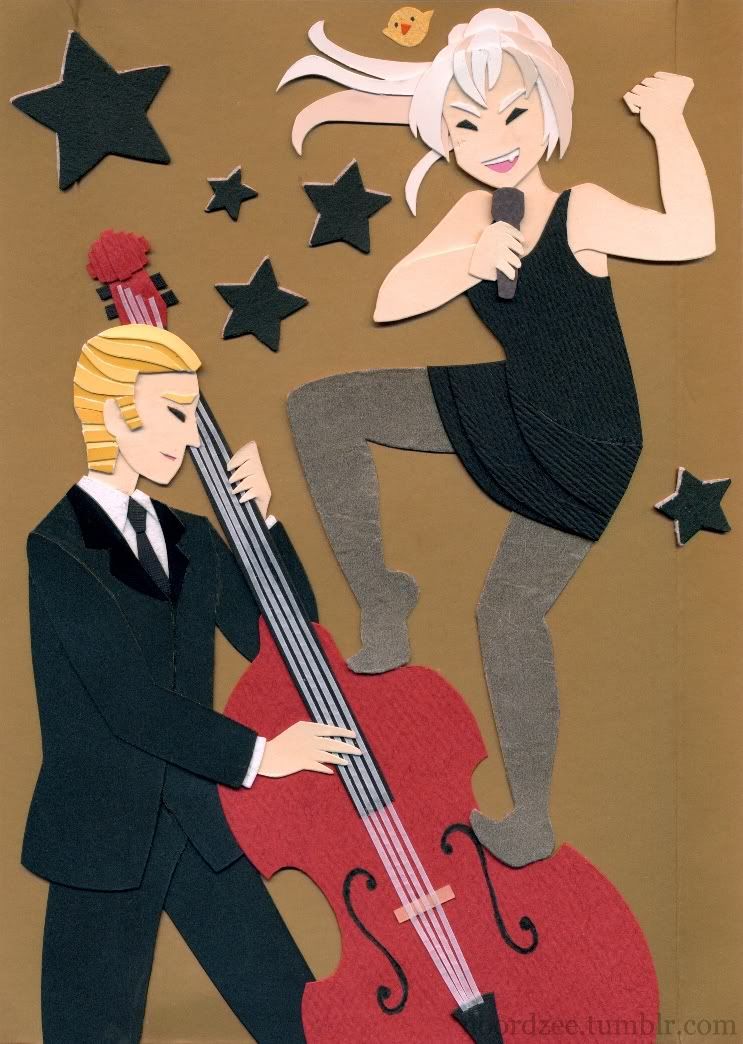
awriiiiight!
Wellp, that's that, it's finished and I can finally do something else with my papers, haha! I hope you enjoyed and/or learned from this, thankyou for following along!

Part one
Part two
The Eurovision opener this is based on

BACKGROUND TIME. I decided against the yellower paper I had chosen before in favor of this gold paper I got from a box of fancy soaps. It still smells faintly of soap haha

Ooooh it JUST fits...

I wanted it to be 5x7 for easier printing later... it's a little more than seven inches.

There we go!

Cutting the bottom edges off to fit...

Then I realized I was being STUPID and I could have just cut the bg out of the OTHER side of the paper where the color was continuous and I wouldn't have to be bound by this arbitrary box arrrrgh

Luckily I saved a second box.

Still hemming and hawing because I DID like the texture of the first piece I chose, I scanned them both to see how they'd eventually look. Ehhhh ok I'll use the other side.

Measuring it out. I like evenness and symmetry so I tried to get the bars that are an unfortunate side effect of the packaging to be the same size at least. Ummm we'll say they're the breaks between the three screens they had at Eurovision this year yeah let's go with that. Marking the opposite side and making a tiny cut before cutting from the front-facing side. (the side you cut the paper on effects what the cut will look like. If you cut everything out from behind your cuts will have an odd dimple to the edges.)

Then I took a break to trespass on the empty summerhome across the street so I could see the most amazing foggy sunset I've ever seen, you guys I want to papercraft this sunset oh man I love living here *o*
disclaimer: do not trespass as part of your papercrafting process it would probably actually be detrimental to your work

Back inside and not arrested, I sketched out the bg on the original sketch I've been basing all this off of.

Tracing the stars onto my tracing vellum...

I used a really thick card for the stars, and for once welcomed the fact that the color doesn't go all the way through! By making light cuts and only taking off the top layer, I was able to make a shine on the edges! I blacked out the non-shine edges like I normally would, though.

When I cut the stars I went from the inside angle out. It's easy to start a cut but harder to stop it right where it needs to be. Cutting this way makes for fewer sloppy overlapped cuts.

Yeeeah stars all done

Now it's time to shear off the bottom edge. I carefully arranged them on the bg and made small marks where I wanted the line to be.

Hemmed and hawed and nervoused over it before replacing my x-acto blade for maximum clean cutting and just jumping in.

Whew. Erased the marks as well.

I wanted to add in a spotlight, but balked at how it dulled the background.

Nope that doesn't work either OH HECK who needs spotlights and depth of field not me that's 'oo

Tamgents and distracting things like that should be avoided. There was a messy fold on the corner that happened to be shared by Prussia's fist, so...

I flipped the page so a neater less noticeable one was there. The offending fold got covered by Germany's leg.

Alright everything's in place oh man oh man time to glue it all down aaa... As you can see I rearranged the stars endlessly, worrying about the composition.

In the interest of depth and more shadows I only glued it by Germany's legs and bass. I went in and glued Prussia's legs down afterwards because I worried about the stability of the piece.

The whole piece seemed a tad too squished over to the left. I sliced off a tiny bit of the right and it worked out a little better.

YEEEEAH... all that was left was scanning, which was a whooole nother kettle of fish since my scanner hates me and likes to render shadows in neon blue. After much poking and prodding and cursing of photoshop, though, I ended up with this!

awriiiiight!
Wellp, that's that, it's finished and I can finally do something else with my papers, haha! I hope you enjoyed and/or learned from this, thankyou for following along!