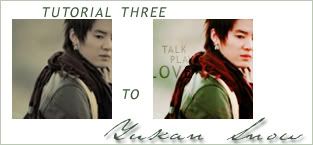
icon tutorial 3; Talk, Play, Love.
So I'm back with another tutorial. Feeling a little guilty seeing as I haven't updated in awhile >.< sorry!
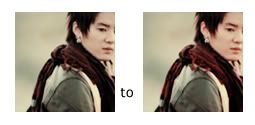
Well this time I thought I would do something a little more dull haha oh how I hate the colour of that Anyband mv.
Because I used screencaps from the mv, this tutorial does not work on normally coloured pictures (trust me, I've tried), only images similar in colour to Junsu's image. Nvm that. Dee tried and it works! <3
STEP 01; Duplicate your 100x100 image and set it to SCREEN at 54%. Merge visible layers (ctrl+shift+E).
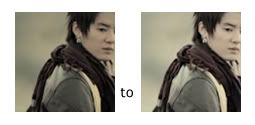
STEP 02; Duplicate your image again and this time set it to SOFTLIGHT at 100% (some images may need to be set at a lower opacity).
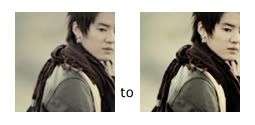
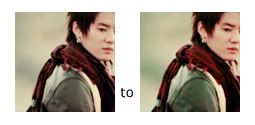
STEP 03; This is where the colour starts. LAYER--->NEW ADJUSTMENT LAYER--->SELECTIVE COLOUR.
REDS: -100. +78, +16, 0
GREENS: +100, 0, +100, 0
STEP 04; LAYER--->NEW ADJUSTMENT LAYER--->SELECTIVE COLOUR.
REDS: -100, 0, 0, 0
STEP 05; LAYER--->NEW ADJUSTMENT LAYER--->SELECTIVE COLOUR.
REDS: -65, +27, 0, 0
GREENS: +100, 0, +100, 0
BLUES: +100, 0, +100, 0
NEUTRALS: +14, 0, +9, 0
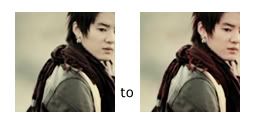
STEP 06; LAYER--->NEW ADJUSTMENT LAYER--->CURVES
RGB
point1: input=172, output=182
point2: input=72, output=65
GREEN
point1: input=89, output=89
point2: input=186, output=185
BLUE
point1: input=150, output=166
point2: input=85, output=67
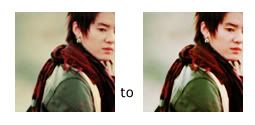
STEP 07; Add some text and BAM! you are finished XD.
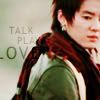
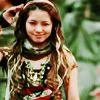
Other icons made using the same tutorial


Comments are appreciated XD and remember to credit if used. Also WATCH this community for more tutorials!
Well this time I thought I would do something a little more dull haha oh how I hate the colour of that Anyband mv.
Because I used screencaps from the mv, this tutorial does not work on normally coloured pictures (trust me, I've tried), only images similar in colour to Junsu's image. Nvm that. Dee tried and it works! <3
STEP 01; Duplicate your 100x100 image and set it to SCREEN at 54%. Merge visible layers (ctrl+shift+E).
STEP 02; Duplicate your image again and this time set it to SOFTLIGHT at 100% (some images may need to be set at a lower opacity).
STEP 03; This is where the colour starts. LAYER--->NEW ADJUSTMENT LAYER--->SELECTIVE COLOUR.
REDS: -100. +78, +16, 0
GREENS: +100, 0, +100, 0
STEP 04; LAYER--->NEW ADJUSTMENT LAYER--->SELECTIVE COLOUR.
REDS: -100, 0, 0, 0
STEP 05; LAYER--->NEW ADJUSTMENT LAYER--->SELECTIVE COLOUR.
REDS: -65, +27, 0, 0
GREENS: +100, 0, +100, 0
BLUES: +100, 0, +100, 0
NEUTRALS: +14, 0, +9, 0
STEP 06; LAYER--->NEW ADJUSTMENT LAYER--->CURVES
RGB
point1: input=172, output=182
point2: input=72, output=65
GREEN
point1: input=89, output=89
point2: input=186, output=185
BLUE
point1: input=150, output=166
point2: input=85, output=67
STEP 07; Add some text and BAM! you are finished XD.
Other icons made using the same tutorial
Comments are appreciated XD and remember to credit if used. Also WATCH this community for more tutorials!