Stana Katic Signature Tutorial
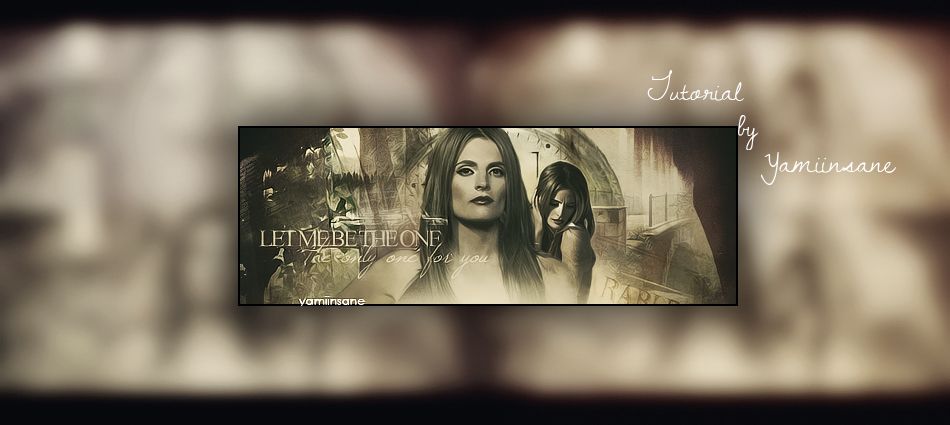
Here is one of the tutorials that Ikorni (Gateworld forum) requested.
Here is how I made my Stana sig.
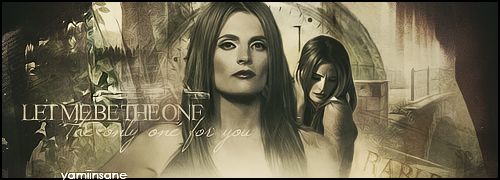
BASE
1) Open a document to whatever signature size you prefer, I chose 500x180. Fill with white.
2) Open and paste into the document this clock stock. Try to put the clock just off center and to the right, do not worry about leaving the edge visible. It will be covered up in the following steps. Normal, 100%.
3) Open and paste this stock into the document. Set to the left of the clock and, with a layer mask, blend into the clock. Normal, 100%.
4) Open and paste this bridge stock into the document. Set to the right and bottom of the clock and, with a layer mask, blend into the clock and erase the other edge if it's visible. Normal, 100%.
5) Take this window and paste it into the document. Set to Multiply, 100%.
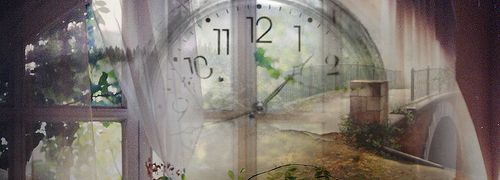
6) Add this fire stock and set it to Normal, 100%. Erase the edges and set to the bottom center of the canvas. Make sure you erase this with a layer mask so you can go back and add more of this stock or less.
7) Add your first picture of your character. Resize to as small as you like and place off center. Cut your character completely out of the background.
8) Add another picture of your character. Resize if need be and place just to the left of the smaller picture. Cut her/him completely out of the background.
9) Make a copy of the second stock and bring to the front. Move to where the fog is just under where your main character picture is and erase whatever you don't like.
10) Take this texture and add it to the left side of the canvas. Set this to Lighten, 100%. Duplicate the layer and set this one to Screen, 100%. Erase whatever you don't like but make sure the words are still visible.
11) Take this texture and add it to the canvas. Resize to about the size of your canvas and set to Soft Light, 100%. If you need to, use the smudge brush to clean up the texture on top of your characters pictures. Create a stamp of your current work, you will need this later.

COLORING
12) Curves: Increase Contrast (RGB)
13) Hue/Saturation: Colorize checked. Hue: 202, Saturation: 9, Lightness: +13.
14) Photo filter: Default with Warming Filter (LBA)
15) Selective Color:
-Whites: 83, 29, 0, -49
-Neutrals: 9, -6, -12, 16
-Blacks: 13, -4, 9, -11
16) Color Fill #1: #051f25. Set to Exclusion, 100%.
17) Color FIll #2: #290d2b. Set to Exclusion, 76%.
18) Take the stamp you created in step 11 and bring to the front. Set to Normal, 25%.
19) Curves: Point 1: Output: 140, Input: 158.
20) Gradient Map: Washed away art Gradients #2: Gradient #12. If you can't use Photoshop gradients: #ebecc2 to #402b0e. Set to Overlay, 50%.
21) Duplicate the stamp from steps 11 and 18. Bring to front, set to Overlay, 14%

FINISHING TOUCHES
22) Create a stamp. Use Topaz Clean, Crispstyle. Set layer to Normal, 60%. NOTE: If you do not have Topaz Clean, don't worry. Just use whatever filters you use to finalize your art.
23) Create another stamp. Use Paint Daubs: 1, 1. Set layer to Normal, 40%.
24) Create one last stamp. Blending Options: Stroke: Default, size: 2.
25) Watermark your work, if you do, and you are finished.

Let me know if you have any questions.