tutorial
This is for GIMP, but it's easily translatable for PS or PSP.
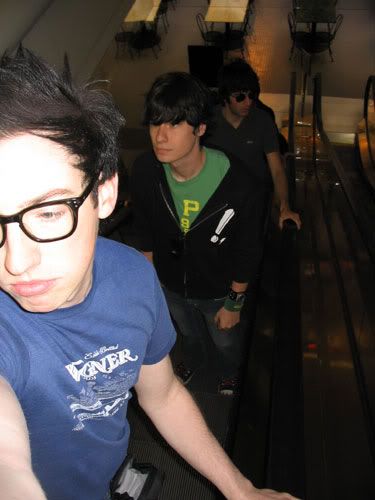
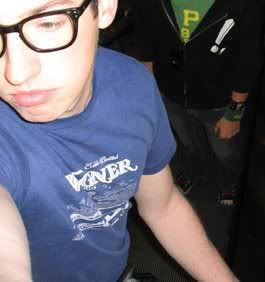
Go from this to
Disclaimer: I've only been using GIMP for the past couple months. I'm still used to PS7 so if I get confusing please let me know.
Also, I made the original icon a few weeks ago so the colors might not match exactly, but you get the general idea.
First choose your picture. I chose this one because emo!Dan is amuses me.

Using your crop tool, crop to your desire. I can't say for sure if GIMP is good for creative cropping, but it's great for simple icons.

Next go to image>scale image and scale it down to 100xwhatever. Copy and paste it in a new 100x100 image.

Next go to layers>color>levels. Please note that the levels I list here won't exactly work for another image; it just happens to work well with this one.
Anyway, I used 62, .82 and 249 and 241 on the white part of the output levels.

Nice color difference eh? Next you want to duplicate your layer and set it to multiply at 27.3 opacity.

Next add a new layer and choose your airbrush. Up the size to about 55x55 (go to dialogs>brush>create new brush) of the soft round brush. Now just brush along the edges to paint out part of Dan and the background.

And you're pretty much done. You can sharpen a bit if you want to, I think I did on the original, but I didn't for this tutorial.
Go from this to
Disclaimer: I've only been using GIMP for the past couple months. I'm still used to PS7 so if I get confusing please let me know.
Also, I made the original icon a few weeks ago so the colors might not match exactly, but you get the general idea.
First choose your picture. I chose this one because emo!Dan is amuses me.
Using your crop tool, crop to your desire. I can't say for sure if GIMP is good for creative cropping, but it's great for simple icons.
Next go to image>scale image and scale it down to 100xwhatever. Copy and paste it in a new 100x100 image.
Next go to layers>color>levels. Please note that the levels I list here won't exactly work for another image; it just happens to work well with this one.
Anyway, I used 62, .82 and 249 and 241 on the white part of the output levels.
Nice color difference eh? Next you want to duplicate your layer and set it to multiply at 27.3 opacity.
Next add a new layer and choose your airbrush. Up the size to about 55x55 (go to dialogs>brush>create new brush) of the soft round brush. Now just brush along the edges to paint out part of Dan and the background.
And you're pretty much done. You can sharpen a bit if you want to, I think I did on the original, but I didn't for this tutorial.