Tutorial #4
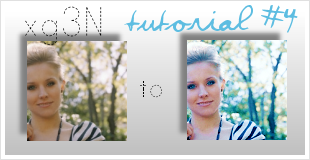
Using PSP7. Easily transposable - no colour fill layers, no selective colouring.
STEP1. Get a base. I got mine from kristenbell.net, Crop and resize, yada yada
Here's mine:
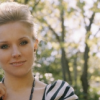
STEP2. Make a new colour balance layer. ( Layers > New Adjustment Layer > Color Balance). This is to make her skin more pink and fluffy, and less yellow.
Set the settings to this:
Midtones: 29,0,40. Make sure preserve luminosity is checked.
Sharpen base.
Merge layers.
You should have something like this:

>
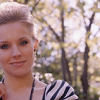
STEP3. Go to effects > Enhance Photo > Automatic Color Balance.
Set the settings to this:
Strength: 86
Remove color cast checked
Temperature: 9300 (cooler, blue)
Click ok.
You should have something that looks like this:

>

I know, its a bit too blue, but it'll get there =)
STEP4. Add a new Hue/Saturation/Lightness Adjustment layer (Layers > New Adjustment Layer > Hue/Saturation/Lightness)
Set the settings to this:
Master: Saturation = 2
Reds: Saturation = 10
Cyans: Saturation = 20
Magenta: Saturation = 10
You should have something that looks like this:

>
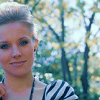
STEP5. Its a bit too dark, so I'll have to lighten it.
Duplicate your merged image and set it to Screen 88%. This layer should be between the Hue/Saturation/Lightness layer and your "base".
It should now look like this:

>

STEP6. At the moment, it looks quite flat. So duplicate your "merged base" and drag it to the top. Set this layer to Burn 21%.
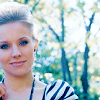
It should look something like this:

>

*Note. If the result looks too light or dark, play around with the burn and screen layers =)*
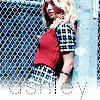
Examples of other icons using this technique.


PS. I appreciate comments ;)