A GIMP Brush Tutorial

Gimp 2.2.10
Here is a very simple tutorial for making your own GIMP Grung brushes. I know that I am always looking for new brushes to use on icons, wallpapers, banners etc. and not always do I have what I am looking for and so I have resorted to making my own. I thought maybe it would be helpful to other GIMPERS out there so here it is behind the the cut.
Knowledge of GIMP is important, however if you have any questions feel free to ask.
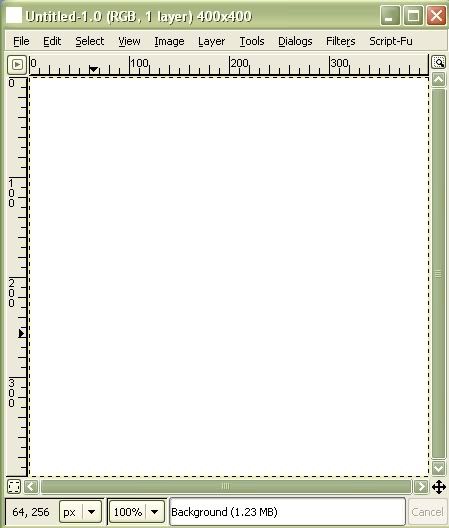
1.Go to file and open up a new canvas. I am going to use a 400x400px. You may use what ever size that you desire. Make sure that your background color is white. It is important for later.
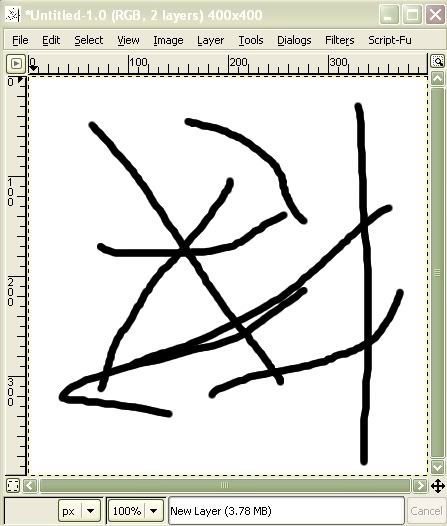
2. Make a new layer in transparent and start by using your brush tool and the 07x07px brush. I generally start by doing a few strokes in any direction. Make sure that you are using black as your color.
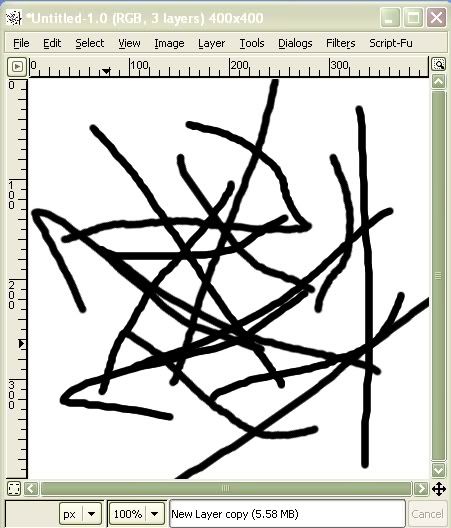
3. Duplicate this layer. On your new duplicated layer you will want to rotate it. I am going to rotate mine 55degrees. You may do how ever many degrees you want to.
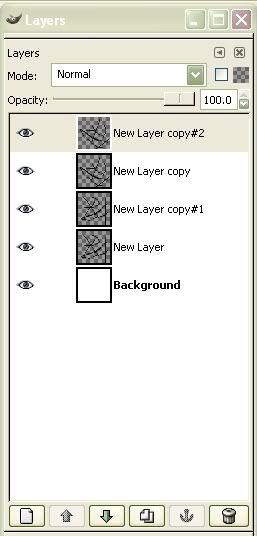
4. Next you will be using several different filter distortions. These will give the grunge look and feel. But first duplicate both of your layers. New-Layer & New-Layer Copy
*Your Layers should look like this so far
5. On the layer entitled New-Layer copy #1 You will be using the Whirl and Pinch effect. Filters>Distorts>Whirl and Pinch I set my settings as follows but you may do what ever you like.
Whirl angle=240.74
Pinch amount=-0.362
Radius=1.779
Once you have these settings or what ever ones you chose hit okay.
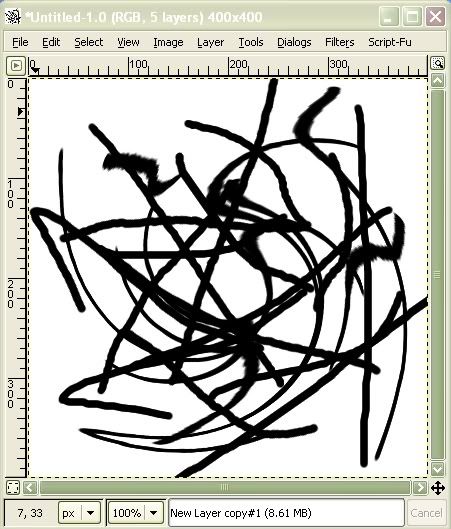
6. On the layer entitled New-Layer copy #2 You will be using the Polarize effect. Filters>Distorts>Polarize Once again you can use my setting or you can choose your own.
Circle depth in percent=100.00
Offset angle=173.99
Make sure that you have the little box beside Map From Top & To Polar checked. Then hit okay
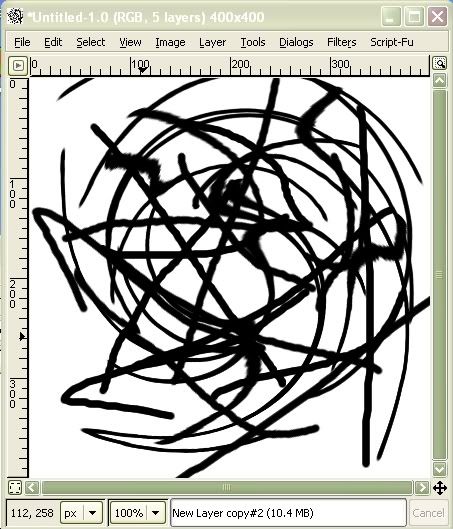
7. Duplicate each layer again. On each layer you want to add a Gaussian Blur. Filters>Blur>Gaussian Blur Set your blur power at 28.
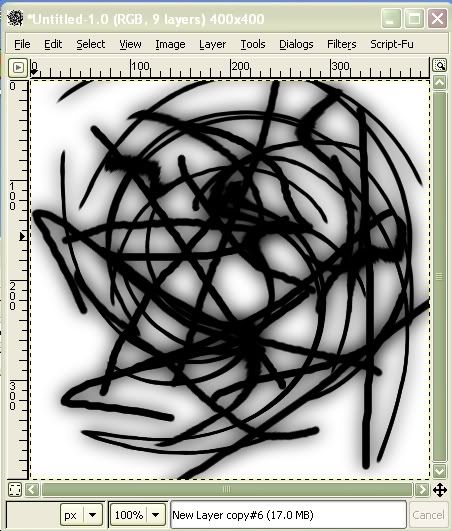
*This is how your layers should look
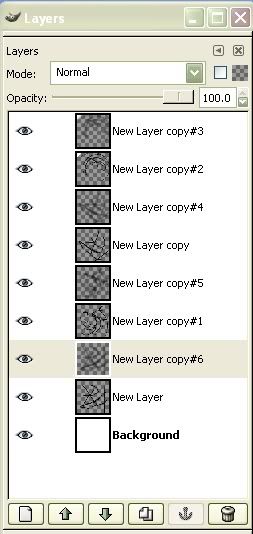
8. We need to merge some layers together. Don't merge them all into one because things will not work out in the end. If you take the top four layers and merge them down into the layer entitled New Layer copy and the 4 underneath it *not including the white layer* merge them into the layer entitled New Layer You should have only 3 layers and they should line up like this. If it is a little confusing do not hesitate to ask I will do my best explain what is going though my head:)
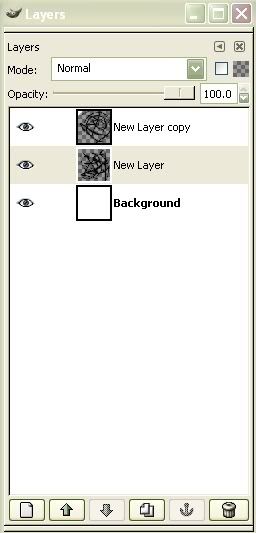
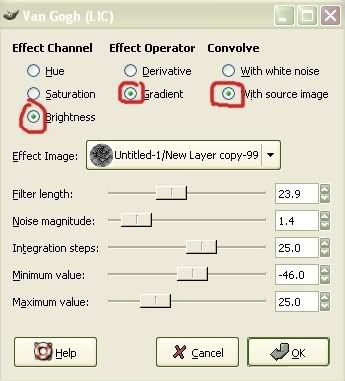
9. On the layer entitled New Layer you want to apply a Van Gogh(LIC) effect. Filters>Map>Van Gogh(LIC) Use your own settings and play or you can just follow the setting that Ihave used.
Instead of me trying to give you all the settings I just screen capped. Take note to the red circles make sure that these are checked.
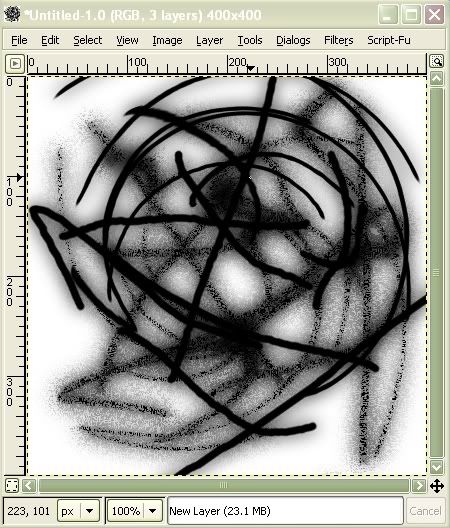
10. On the layer above this one you will be applying the Cubism effect. Filters>Artistic>Cubism Setting as follows
Tile size=10.00
Tile Saturation=4.0
*make sure that the Box beside Use Background color is left UNCHECKED!
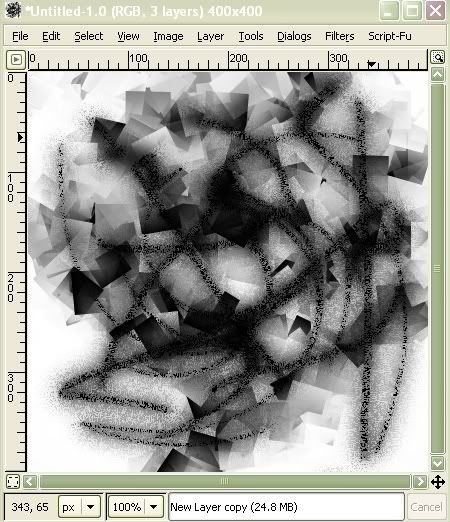
11. Bring the opacity in both of your layers down to 80% and then merge the top layer in the next without flattening your image.
Now you should have 2 layers one is your white background layer and the other one is the one that we did all the funky stuff too.
12. Now we want to make that top layer Seamless Go to Filters>Map>Make Seamless
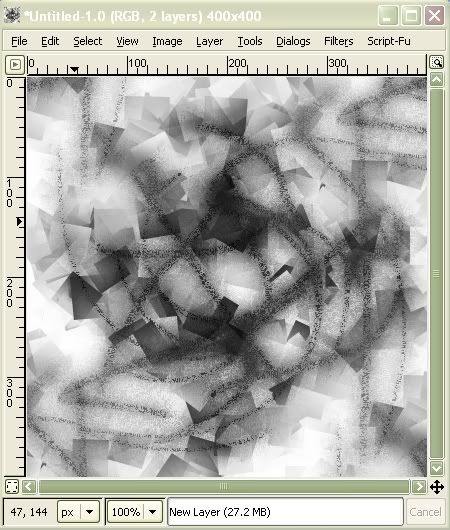
13. Duplicate this layer and lower it's opacity. Add Emboss effect.
Make sure the little circle beside Emboss is checked and then these are the settings I used.
Azimuth=30.00
Elevation=45.00
Depth=20
Hit okay and set this Layer to Dissolve.
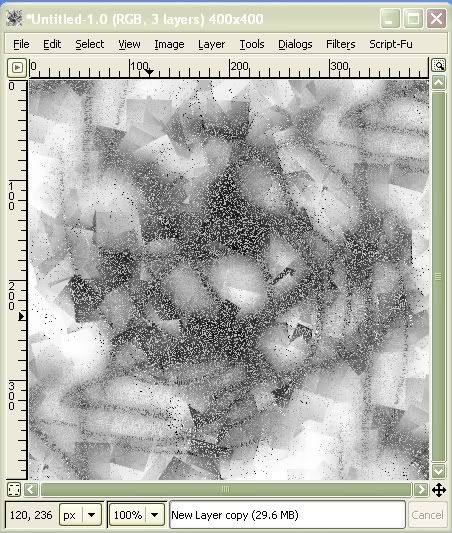
14. Flatten your image. Get a nice fresh Canvas to work with, using the same dimensions as the canvas that you were working on. We are almost done I promise. I think the next few steps are a little more tricky so just take your time.
Take your free select tool the one that looks like a little Lasso. Make sure that your settings are set to Feather I have mine set at 20. Within the canvas that we where just working on make some random shape. I tend to just go a little 'wild'. Just make sure that you do not go too close to the edge or off the canvas or your brush will have a very defined straight edge. Personally I don't like that but you might. Always make sure that you met up where you left off. You can kind of see the dotted line of my selection.
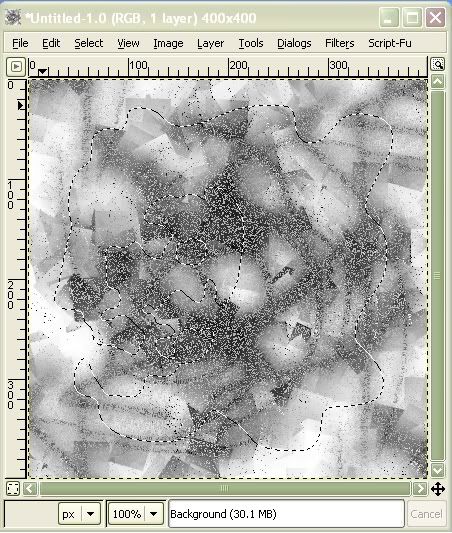
15. Cut and past the selection that you just made onto your new canvas.
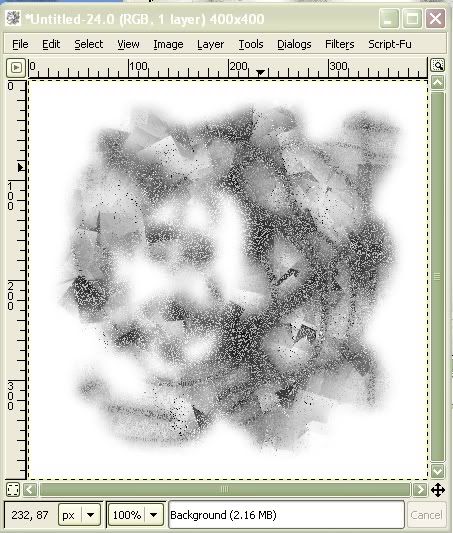
16. Now to save it as a brush. We need to make the brush transparent. So go to Layer>Transparency>Color to Alpha. A small dialog box will pop up and just hit OK.
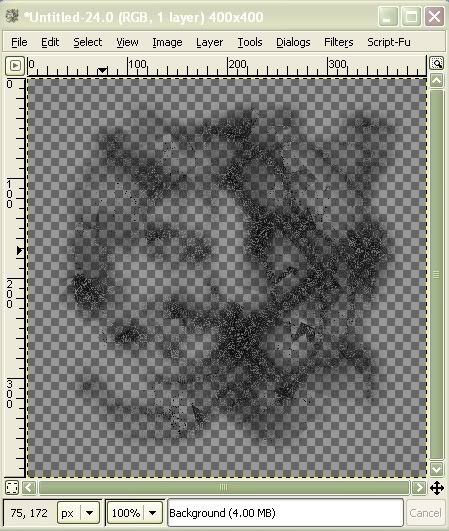
17. Now we need to be able to make the brush so that you can use it in any color that you want to. Go to Image>Mode>Grayscale This will take automatic effect.
18. You can either save it as a gbr. file and drop it into you GIMP Brush file and then refresh your brushes to have it show up, or you can use Script-Fu and have GIMP do all of the work for you. If you do use the later Go to Script-Fu>Selection>To Brush A little dialog box will pop up and will ask you to name your brush and name your file.
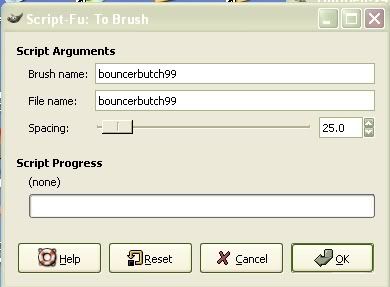
I always use the same name for both. *shrugs* Don't know why just do and once I have done this I will hit OK and Script-Fu will do the rest of the work for me. Once it is done working you will see your new brush in your brush file:) Tadda a New fab Brush made by you:)
I hope that this helps some of you out there. I have found that the Filters can do some pretty amazing things and I am sure that because I am still learning, I have only touched the tip of the IceBurg. Let me know what you think, comments are always welcome and questions should always be asked. Please use this as a bases for your own creative mind:)
Please Friend this community so you don't miss the good stuff in the future. I would love for you to hang around:)