(no subject)
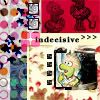
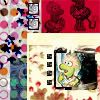
Today, since I really feel like making a crazy ass tutorial, we shall be making this icon:

NOT DIAL-UP SAFE
First we start with the basics, our picture all of this will be made from
- http://i1.tinypic.com/nz3jvq.jpg
First to make the base of the icon I used two scans by gender (my hero, seriously).
http://i1.tinypic.com/nz3mmb.jpg and http://i1.tinypic.com/nz3m08.jpg
You want to crop a section out of the first texture that has all three elements in it. Something like this:
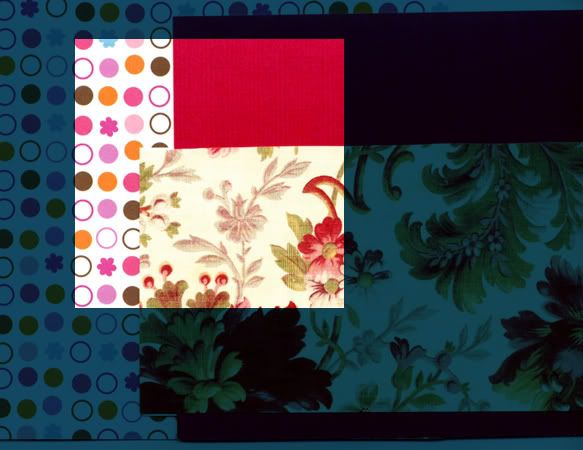
Resize to 100x100, so now you have this:
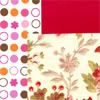
Now using the plastic scan, make a section that will fit over the part with the dots. Anything that hangs over onto the flowers or the red, make sure you delete. Set the plastic layer to Multiply 100% and you have this:
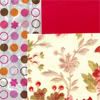
Using this next texture also by gender (I think, correct me if I'm wrong) crop out a rectangular section of it and place it next to the part of your base with the flowers. Set it to Exclusion 100%.

>>>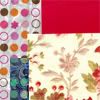
And that is the base of your icon. Now return to your picture you want on it. I'm sure life pictures will also work, but I think the effect will work best with an illiustration or something 2-D, seeing though, that I haven't tried a 3-D picture, I don't know for sure.
Using your polygonal lasso, select the subjet of your icon out, press CTRL+C, then return to your base picture and press CTRL+V, and your image will pop up. Chances are that the picture is far too big for your base, that's okay, because press CTRL+T or Edit>>Free Transform and while holding shift, resize your picture so most of it will fit onto the red section of your base. Like so:
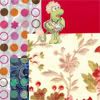
Duplicate this. Sharpen that layer, desaturate and use the Auto Level function. Set it to Multiply 100% and delete any part of the image that is not in the red section. Repeat this step on a
duplicate layer of the original. Only flip this image horizontal. Place it on the icon how you please:
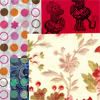
Use a box made by _joni_ on the flowered portion of your base.

Using your square marquee tool, select a portion of the box (5x5) and place them on the left side of your box. Just decoration.
Once again, return to your original picture and crop out the same subject only in a more rectangular shape. Paste it onto your base and using Free Transform and Shift (for the love of god, use shift PLEASE, it make icons so bad when you don't. Trust me) and make it fit onto the box. Sharpen. Duplicate and set to Soft Light 100%. Press CRTl+E, which will merdge the layer down onto the base. Now, go to your eraser and use these settings:
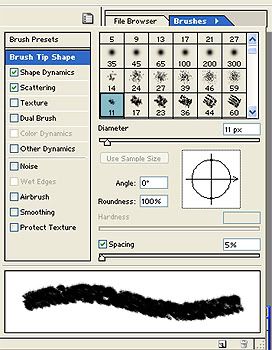
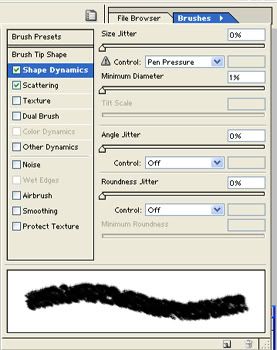

Now, erase the right side of your picture that you just flattened, not too much, but just so it has a bit of an edge. You can use the burn tool on Midtones if you want to darken up that side. Now we have this:
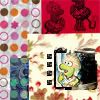
Take this flowered texture by colorfilter and get rid of the tan portion the best you can (I used the magic wand tool, it's okay if you can't get rid of all of it, just as long as the bulk of it is gone) and set it to Color Burn 100%

>>>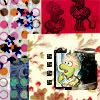
Next, I cropped out Wembley's head in a little rectangle, desaturated and flipped it 90 clockwise. Also hit it with Auto Levels. I dragged it up to the red portion and duplicated it, and dragged the duplicate under the original. Using my pencil tool I made borders, so now we have this:
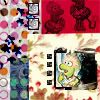
In FDFDE2 I made a rectangle over the top of the flowered and added a 2px line between the flowers and the blue box. Set this to Pin Light 100%:
Now using a brush by me:

(to make this into a brush, save it to your computer, open it in Photoshop, then: Edit >> Define Brush)
Use this in C4416D, place it overlapping your creamy pin-light section, and set it to Hard Light 100%. Now add your text and you have your icon!


NOT DIAL-UP SAFE
First we start with the basics, our picture all of this will be made from
- http://i1.tinypic.com/nz3jvq.jpg
First to make the base of the icon I used two scans by gender (my hero, seriously).
http://i1.tinypic.com/nz3mmb.jpg and http://i1.tinypic.com/nz3m08.jpg
You want to crop a section out of the first texture that has all three elements in it. Something like this:

Resize to 100x100, so now you have this:

Now using the plastic scan, make a section that will fit over the part with the dots. Anything that hangs over onto the flowers or the red, make sure you delete. Set the plastic layer to Multiply 100% and you have this:

Using this next texture also by gender (I think, correct me if I'm wrong) crop out a rectangular section of it and place it next to the part of your base with the flowers. Set it to Exclusion 100%.

>>>

And that is the base of your icon. Now return to your picture you want on it. I'm sure life pictures will also work, but I think the effect will work best with an illiustration or something 2-D, seeing though, that I haven't tried a 3-D picture, I don't know for sure.
Using your polygonal lasso, select the subjet of your icon out, press CTRL+C, then return to your base picture and press CTRL+V, and your image will pop up. Chances are that the picture is far too big for your base, that's okay, because press CTRL+T or Edit>>Free Transform and while holding shift, resize your picture so most of it will fit onto the red section of your base. Like so:

Duplicate this. Sharpen that layer, desaturate and use the Auto Level function. Set it to Multiply 100% and delete any part of the image that is not in the red section. Repeat this step on a
duplicate layer of the original. Only flip this image horizontal. Place it on the icon how you please:
Use a box made by _joni_ on the flowered portion of your base.

Using your square marquee tool, select a portion of the box (5x5) and place them on the left side of your box. Just decoration.
Once again, return to your original picture and crop out the same subject only in a more rectangular shape. Paste it onto your base and using Free Transform and Shift (for the love of god, use shift PLEASE, it make icons so bad when you don't. Trust me) and make it fit onto the box. Sharpen. Duplicate and set to Soft Light 100%. Press CRTl+E, which will merdge the layer down onto the base. Now, go to your eraser and use these settings:


Now, erase the right side of your picture that you just flattened, not too much, but just so it has a bit of an edge. You can use the burn tool on Midtones if you want to darken up that side. Now we have this:
Take this flowered texture by colorfilter and get rid of the tan portion the best you can (I used the magic wand tool, it's okay if you can't get rid of all of it, just as long as the bulk of it is gone) and set it to Color Burn 100%

>>>
Next, I cropped out Wembley's head in a little rectangle, desaturated and flipped it 90 clockwise. Also hit it with Auto Levels. I dragged it up to the red portion and duplicated it, and dragged the duplicate under the original. Using my pencil tool I made borders, so now we have this:
In FDFDE2 I made a rectangle over the top of the flowered and added a 2px line between the flowers and the blue box. Set this to Pin Light 100%:
Now using a brush by me:

(to make this into a brush, save it to your computer, open it in Photoshop, then: Edit >> Define Brush)
Use this in C4416D, place it overlapping your creamy pin-light section, and set it to Hard Light 100%. Now add your text and you have your icon!
