machine binding tutorial

I have had soooo many questions about machine binding lately, so I will share my method. I am not a pro at this, but I have figured out what works best for me.
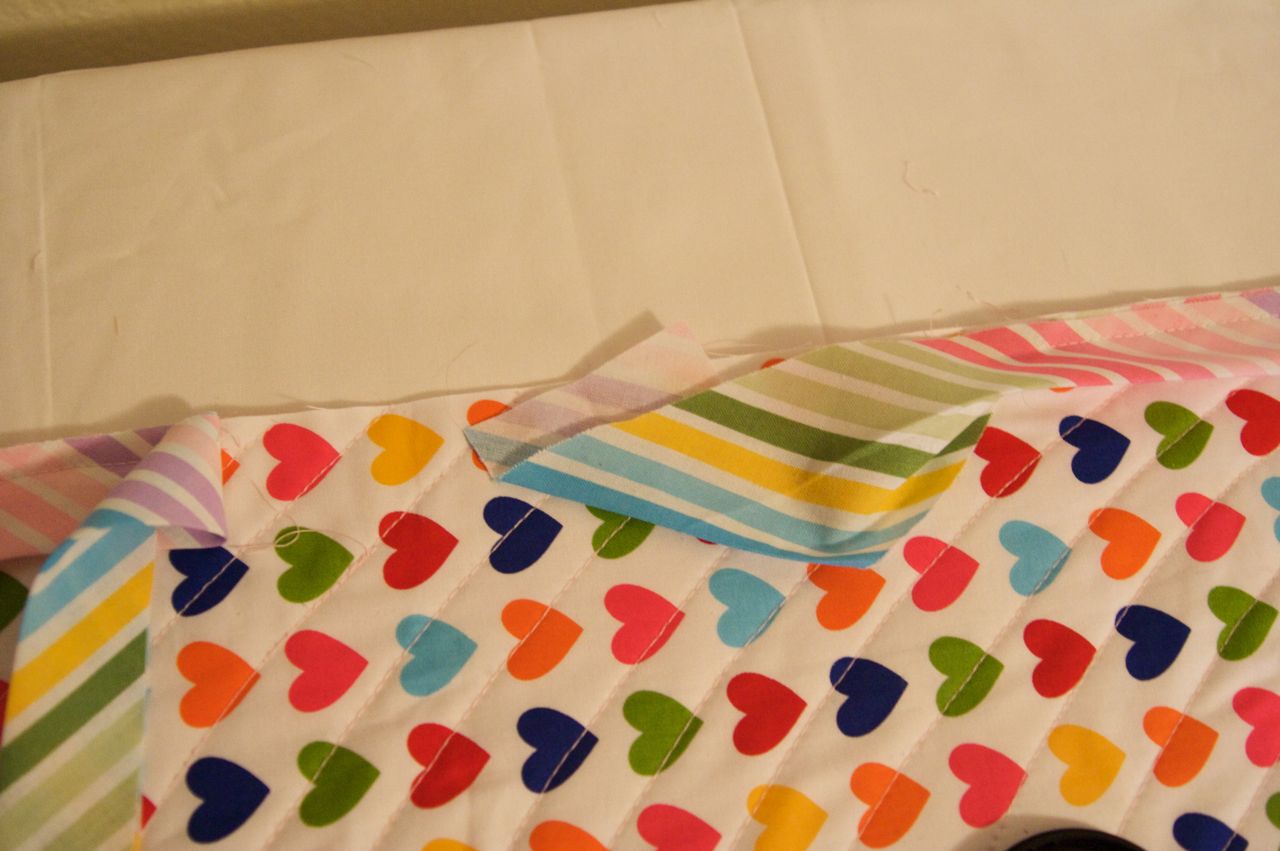
Prepare your binding as you normally would. I use this method for continuous crossgrain binding, and this method(basically) for bias binding. (p.s.--I never roll my binding up like the above image except when I need to take a picture of it.)I trim off my excess batting and backing fabric before attaching my binding. I never measure anything to determine how much binding to make. I know this isn't a good practice to admit, and I have even had to stop in the middle of attaching binding to add more. But, usually I come out with more than I need (phew), and any extra goes into a box and gets used for bibs or binding on another quilt. I guess I shouldn't say I don't measure at all. I usually lay my quilt on the floor, then cut my binding strips and lay them out along the edges of my quilt until I have enough.
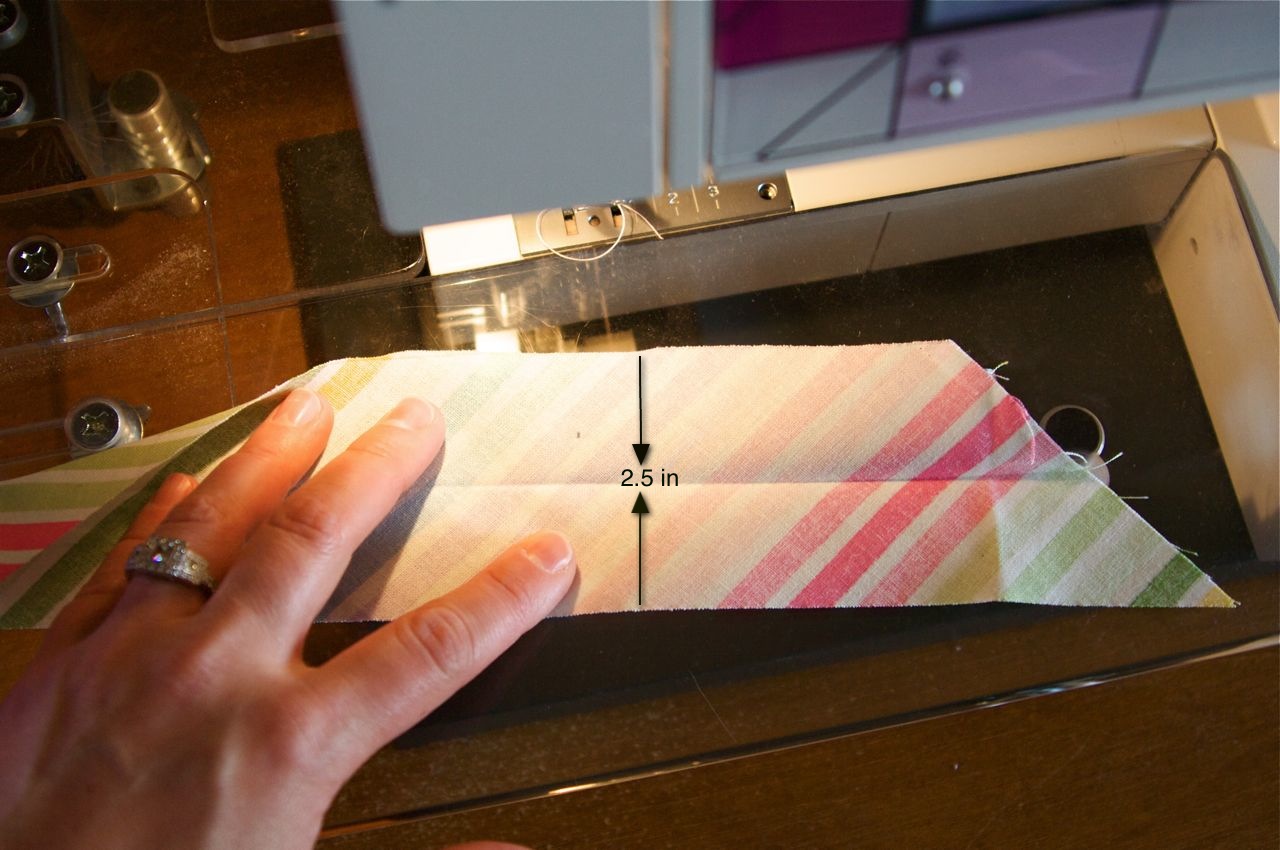
I use 2.5 inch strips--when I first started quilting I used 3 inches, then went down to 2.75 in, and finally down to 2.5in, and I believe I will stay with this width. I'm happy here. I have done 2.25, but it's just too tight for me to pull around my quilt.

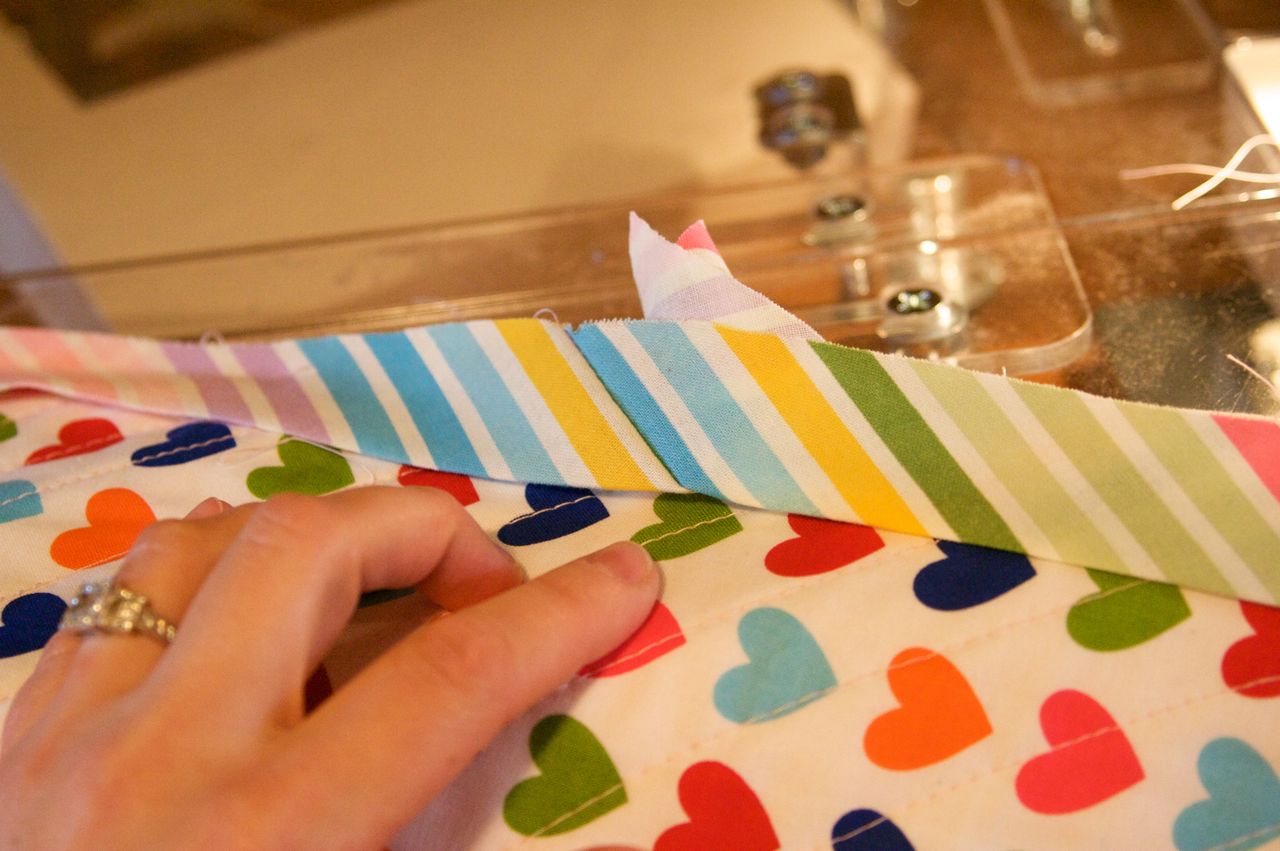
Line up your binding with edge of your quilt, about a third down one side of the BACK of your quilt. Leave about 6-10 inches of binding unstitched (I actually moved my needle down about 3 inches to leave a longer tail after I took this picture).
This next part is the part that takes some trial and error. I know that on my machine I set my needle at a 1, and use a stitch length of 3.5. Every machine is different, so you will have to try it out for yourself. I don't think the length of the stitch is as important as where your needle is. I move mine one notch to the right toward the edge of the quilt.

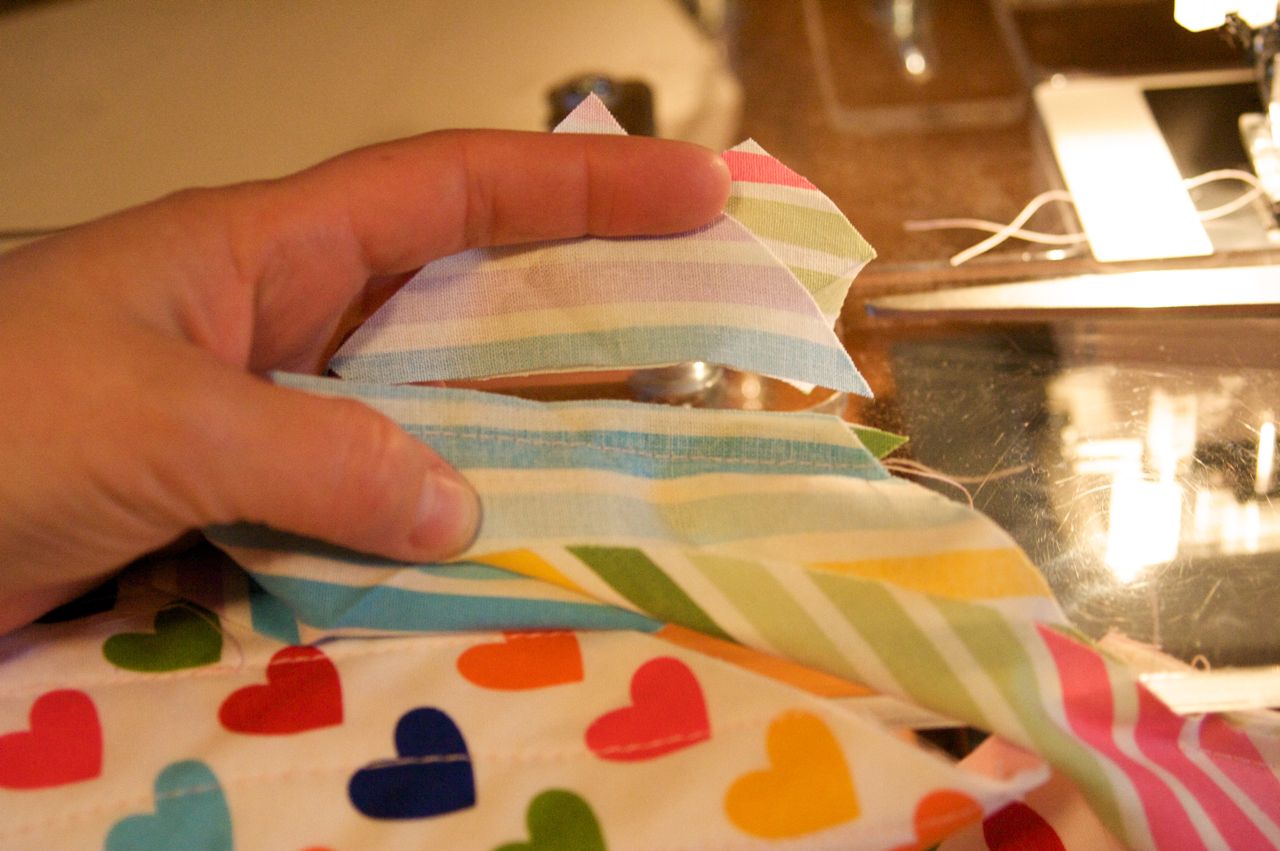
I line everything up...my quilt sandwich, my binding (both layers) and the edge of my foot. I highly recommend a walking foot to do this, it makes it so much more enjoyable and much less frustrating.
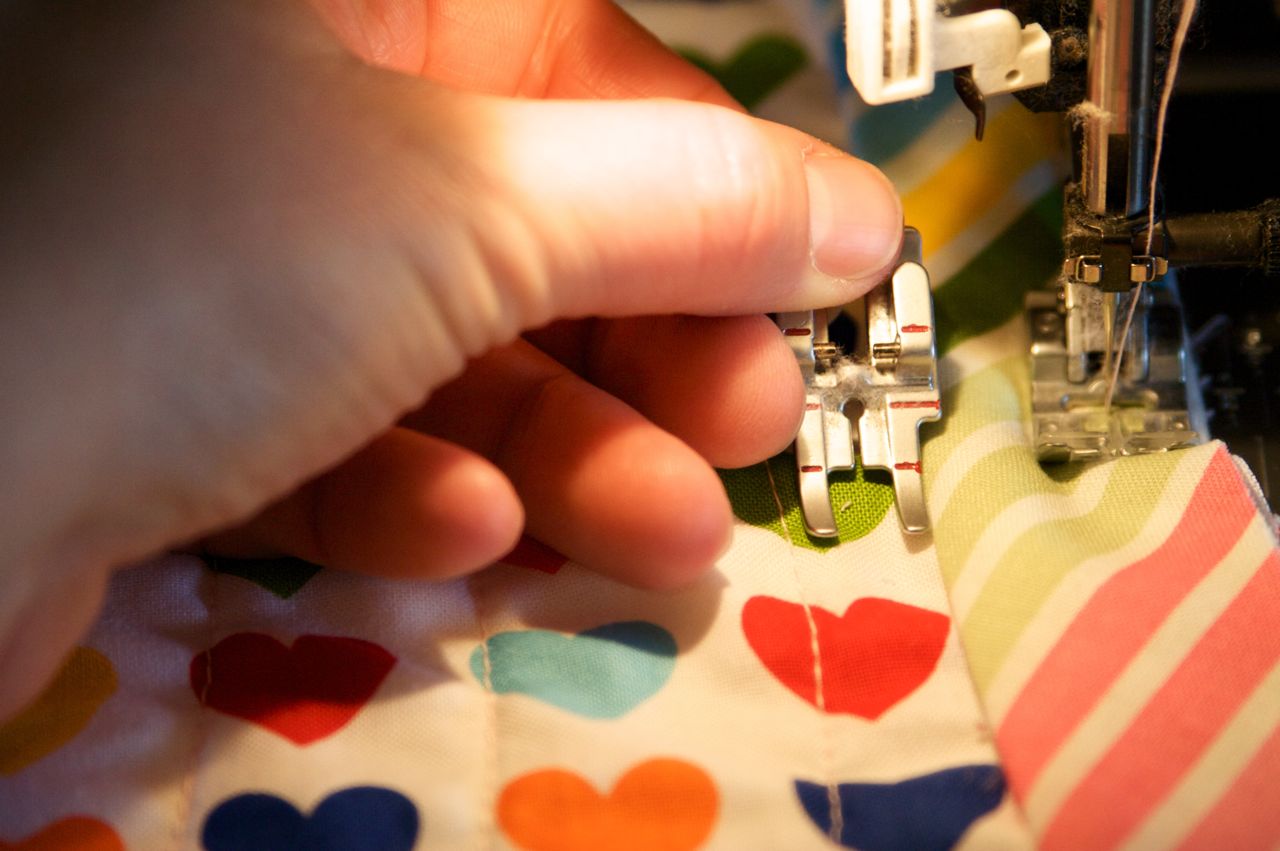
It is important to note that I do not use my quarter inch foot to do attach my binding. I like the girth of this foot more than my quarter inch. This foot works better for me to line everything up on the edge (as seen in the picture above this one). The size of your foot will make a difference on needle placement.
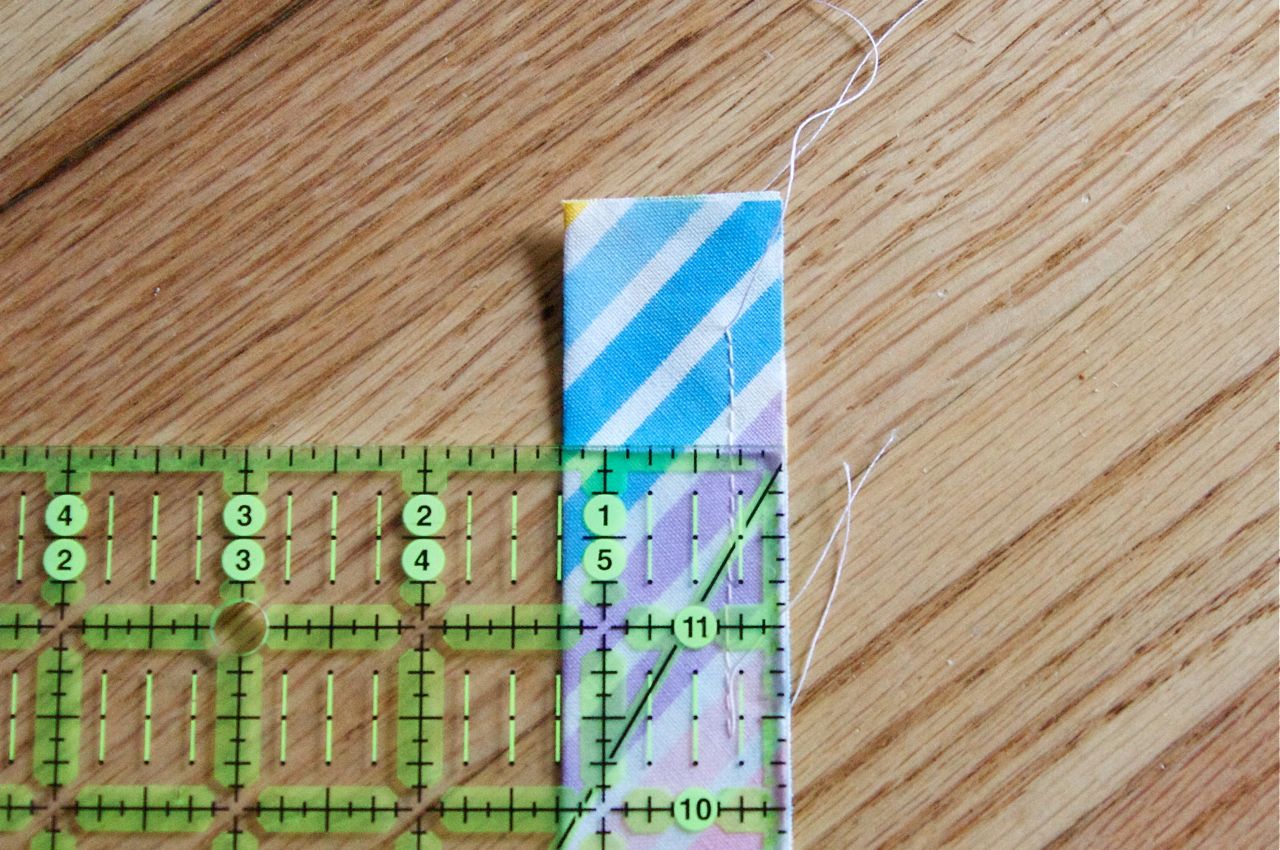
If you like numbers and measures, this is the distance from the edge I sew my binding on, looks like a generous quarter inch. (Am I stressing this distance thing too much? Trust me, it is important).
So, once everything is lined up and your needle is in place, start sewing. If it makes you feel better to pin it, then pin away. I prefer not to pin. (this quilt happens to have rounded corners, so no mitering happened with it.) If you need help with mitered corners, check out this tutorial, or this one. Sew around the entire quilt (mitering if needed) until you come back to the beginning.

Leave about 8-12 inches unstitched.
next comes the tricky part. If I successfully close up my binding on the first try, I count it as a win! Usually there is some unstitching going on.
Trim your binding so that both ends over lap about 6-8 inches.
I lay my quilt across my ironing board with the back facing up. Open up the right flap and iron it into a right angle (I eyeball it) with a small amount hanging over the top.
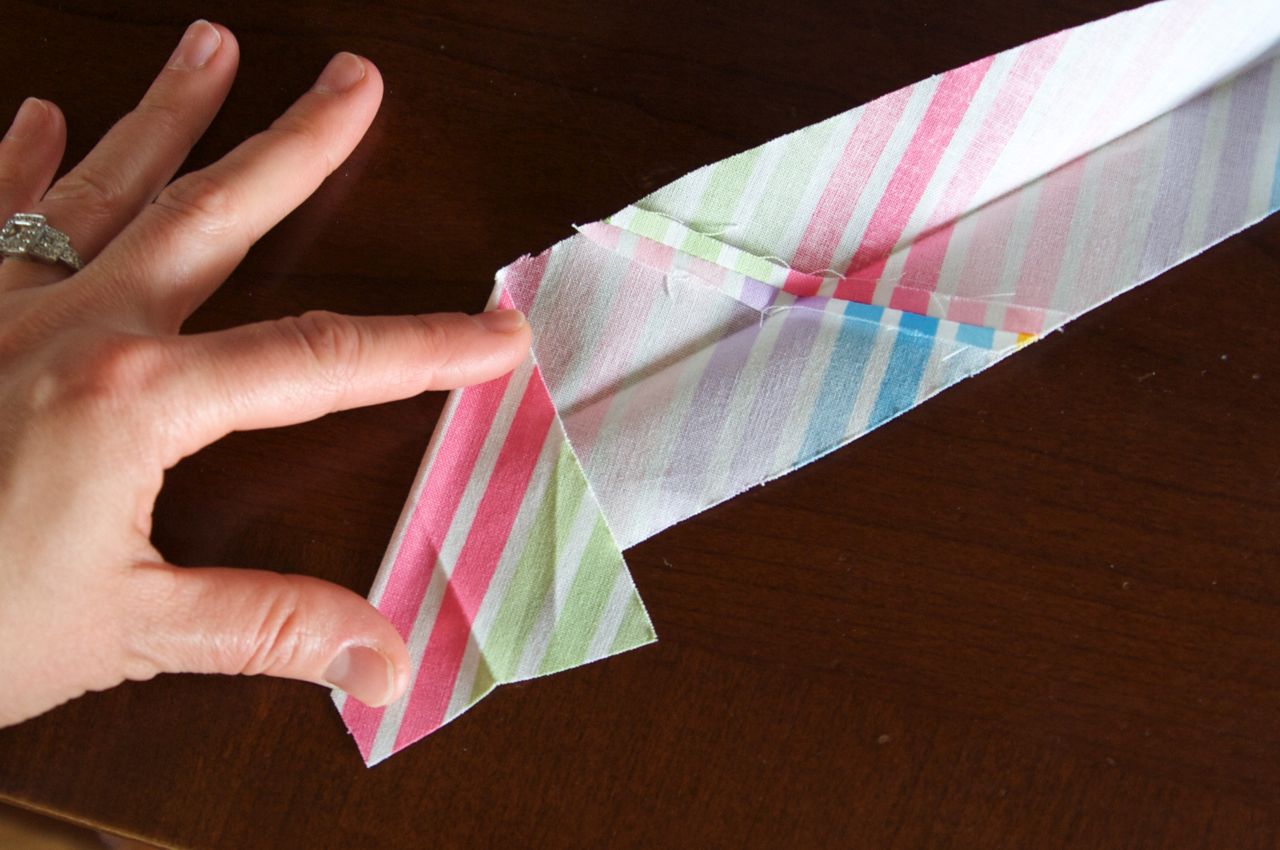
I didn't take a picture when I did it, but this is what the backside will look like.

The left flap will be opened and pinned down. (Be careful to keep your binding even with your quilt, don't let the quilt pucker, you will have to do some adjusting to get the bottom end pinned down, and it will appear that the quilt puckers. Just make sure the top edges are flush.)
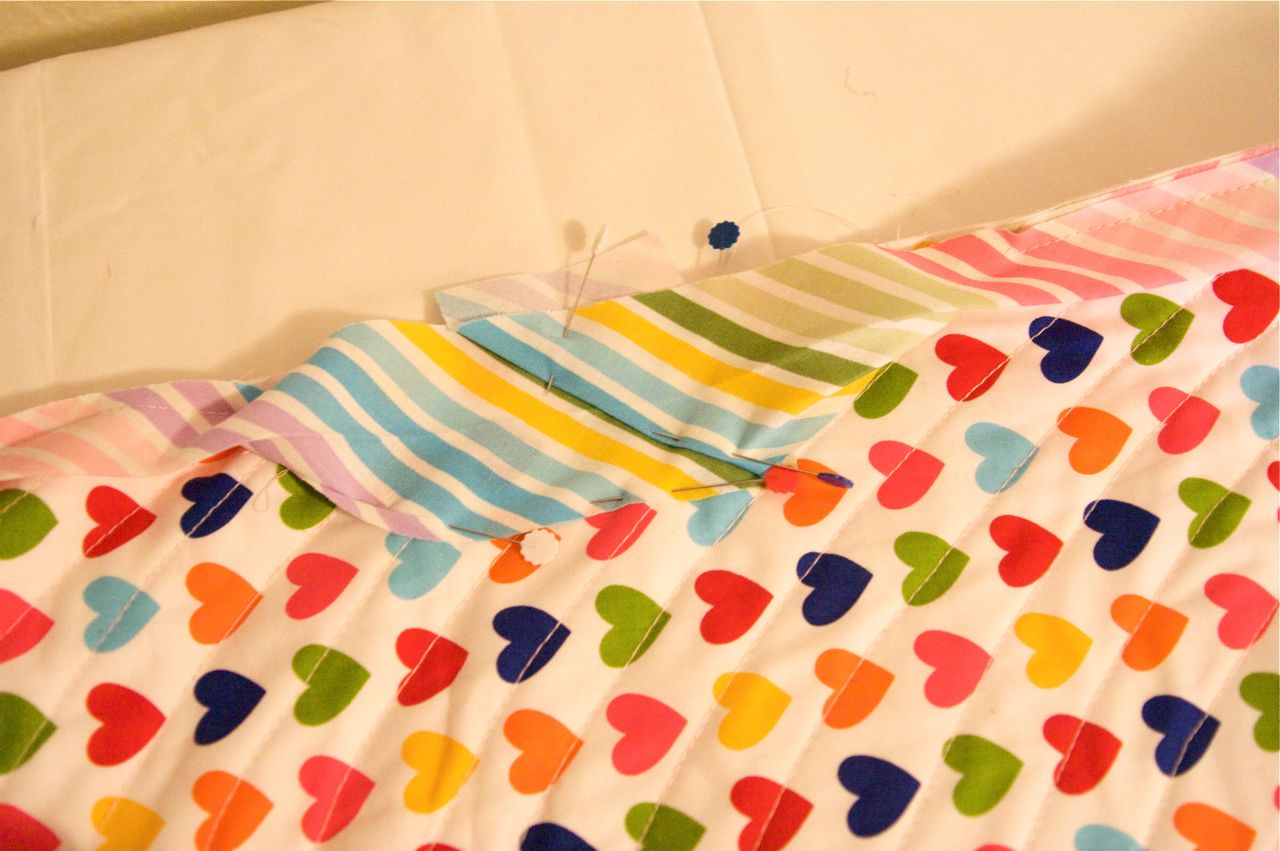
Next, lay the right flap over the left and pin it down. Try not to stretch the fabric, you want it to lay as naturally as possible.
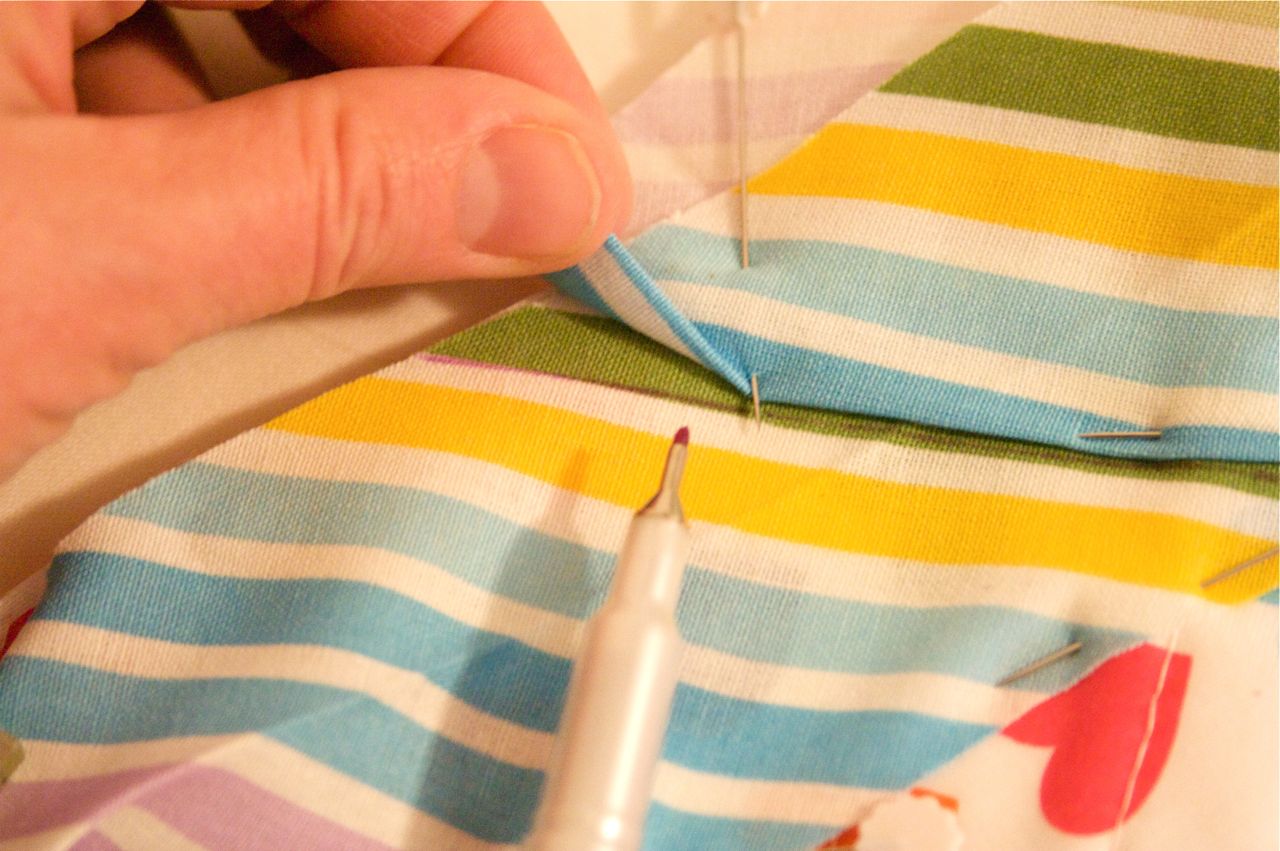
Using the folded edge as your guide, draw a line on the binding with a disappearing ink marker.

Now, line up the drawn line and the fold line from each flap of binding, and pin. (I apologize that this image is blurry).

Use the fold line as your guide, and sew down it.

I always pull my binding tight to see if it "fits" my quilt. You don't want to have much slack or the binding won't attach well.
If it looks good, trim off the excess (I leave about a quarter inch).

Iron your new seam open, and then iron the binding.
Now that your binding is closed you can finish attaching it to your quilt.
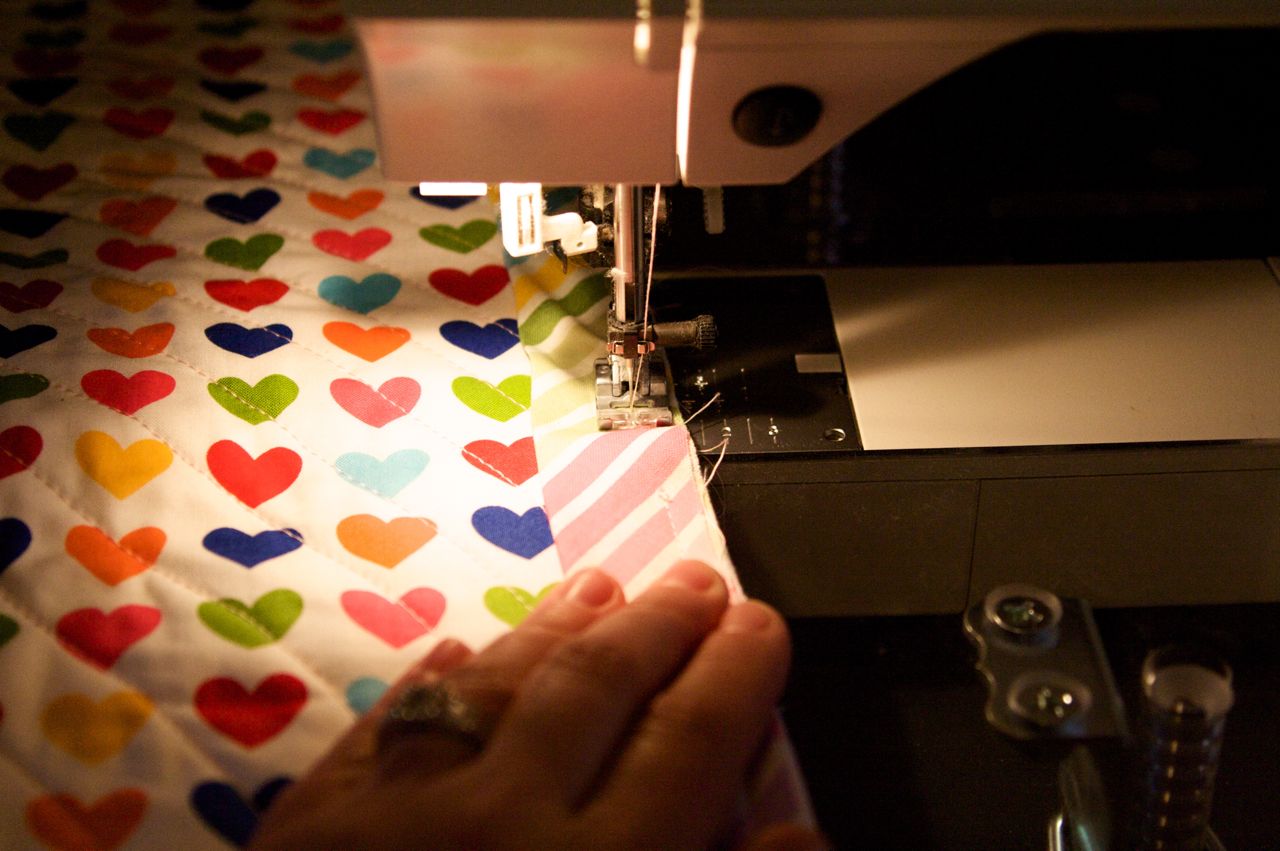
Next we will wrap the binding around the quilt and stitch it down to the top of the quilt. I still use the stitch length of 3.5 (it's about 9 stitches per inch).
If you want to pin it or use clips, go for it.
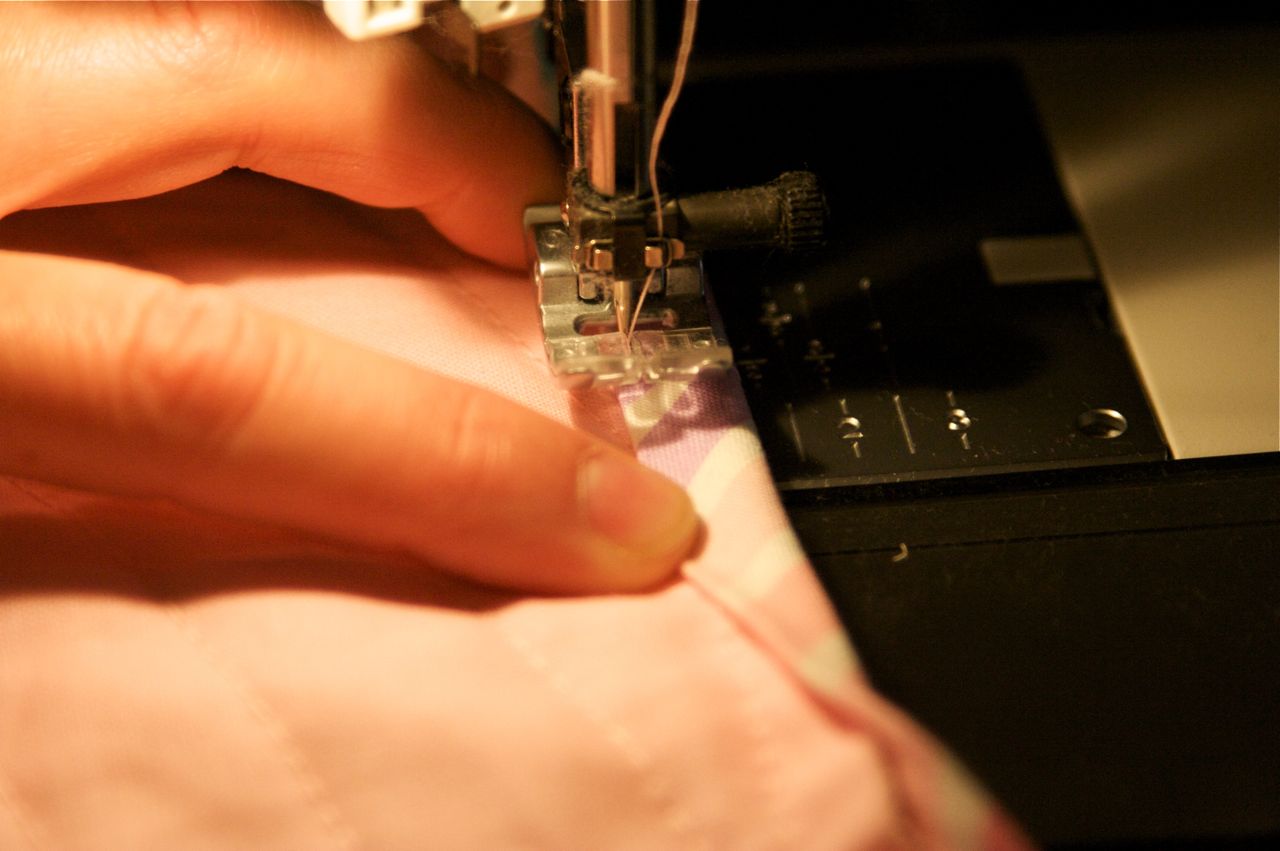
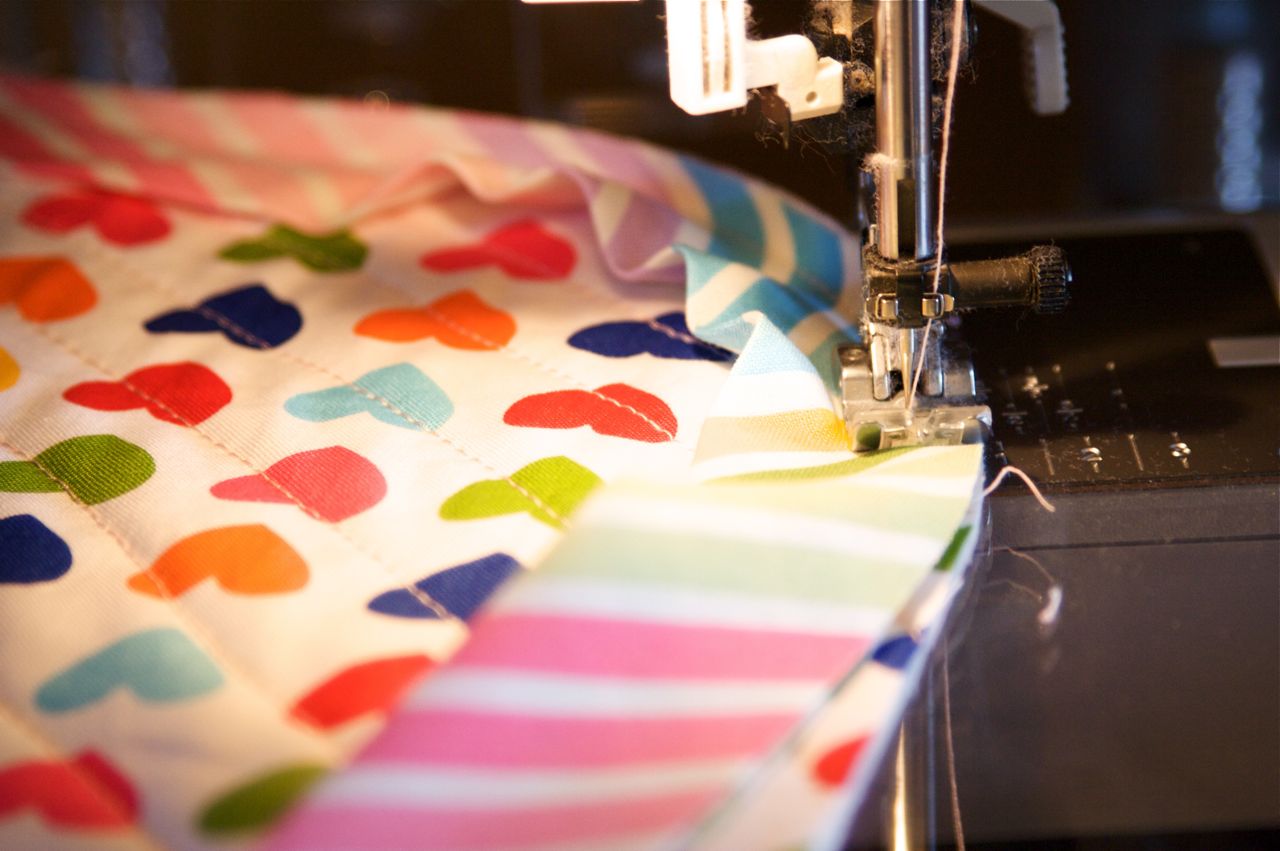
I straddle the foot and hold down in front and behind the foot until I have the needle in place.

Put your foot down and start sewing. I use my fingers to fold the binding over and guide it into my machine. Take your time on this part, it takes practice. I sew as close to the edge of the fold as I can.
It should fit around just perfectly and cover your seam line. This is why measuring when you sew the binding on is important, you don't want it to be too tight, and you don't want it to be too loose.
Continue around corners. When mitering, I use my seam ripper to hold down the folds until they are stitched.

This is the back of the quilt. It's not perfect, but it works. Once the quilt gets used and washed the fabric shifts and it pretty much disappears.
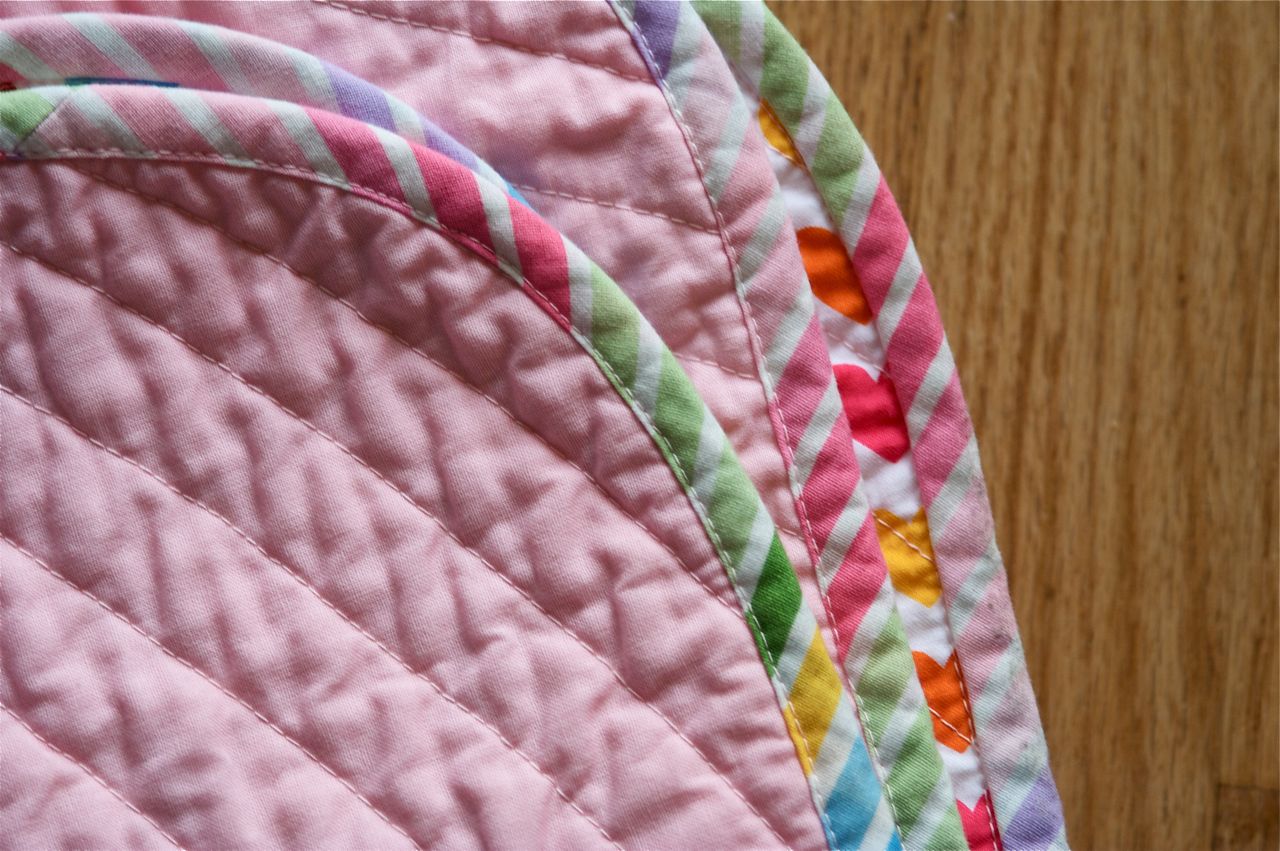
Here's the top...I hope this helps. Let me know if you have questions, or if anything is unclear.
p.s. isn't that heart backing fabric the best? I got it at my new local quilt shop. It's Robert Kaufman Remix (I think).http://aquiltisnice.blogspot.jp/2011/03/machine-binding-tutorial.html